Unraveling the Power of System Restore Points in Windows 10
Related Articles: Unraveling the Power of System Restore Points in Windows 10
Introduction
In this auspicious occasion, we are delighted to delve into the intriguing topic related to Unraveling the Power of System Restore Points in Windows 10. Let’s weave interesting information and offer fresh perspectives to the readers.
Table of Content
Unraveling the Power of System Restore Points in Windows 10

Windows 10, like its predecessors, offers a robust feature known as System Restore. This invaluable tool allows users to revert their system to a previous state, effectively undoing unwanted changes, resolving software conflicts, or recovering from malware infections. System Restore achieves this by leveraging "restore points," snapshots of your system’s configuration at specific moments in time. These points serve as a safety net, providing a path back to a stable and functional system.
Understanding System Restore Points
Imagine a time machine for your computer. System Restore points act as checkpoints, capturing the state of your system at various intervals. They store crucial information such as:
- System files: Essential files responsible for core operating system functions.
- Registry settings: Configuration data that governs the behavior of your system and applications.
- Installed programs: A record of all software installed on your computer.
- Driver files: Software responsible for communicating with hardware components.
When a system restore is initiated, Windows uses these snapshots to roll back your system to the selected restore point. This effectively reverses any changes made to your system since that point, restoring it to a previous state.
The Benefits of System Restore Points
System Restore points offer a powerful and often overlooked tool for maintaining system stability and recovering from unforeseen issues. Here are some key benefits:
- Reversing unwanted changes: Accidental program installations, driver updates, or even configuration changes can sometimes lead to unexpected issues. System Restore allows you to undo these changes, restoring your system to a working state.
- Resolving software conflicts: When different programs clash, leading to system instability or errors, System Restore can help isolate and rectify the conflict.
- Recovering from malware infections: Malicious software can wreak havoc on your system, modifying files, altering settings, and even stealing sensitive information. System Restore can help remove these changes, restoring your system to a clean state.
- Troubleshooting complex issues: When facing difficult system problems, System Restore can be a valuable tool for testing and isolating potential causes.
- Protecting against data loss: While System Restore does not directly protect your personal files, it can help prevent data loss by restoring your system to a point before a critical error or data corruption occurred.
Creating System Restore Points
Windows 10 automatically creates restore points at specific intervals, such as before installing major updates or drivers. However, users can manually create restore points at any time, ensuring a snapshot of their system is captured before making significant changes.
To manually create a restore point:
- Open the Control Panel: Search for "Control Panel" in the Windows search bar and select the result.
- Navigate to System and Security: Locate and click on "System and Security" in the Control Panel window.
- Select System: Click on "System" within the System and Security options.
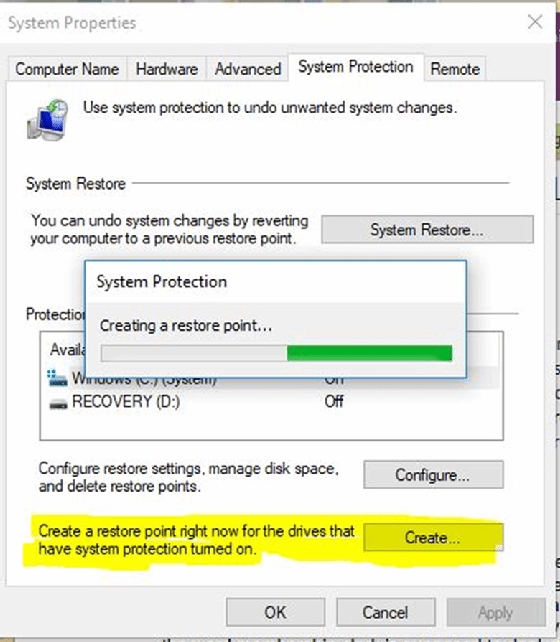
- Access System Protection: In the System window, click on "System Protection" in the left-hand menu.
- Create a restore point: Click on the "Create" button in the System Protection window.
- Provide a description: Enter a descriptive name for your restore point, helping you remember the context of its creation.
- Confirm creation: Click on the "Create" button to finalize the process.
Finding System Restore Points
To locate existing system restore points:
- Open the Control Panel: Search for "Control Panel" in the Windows search bar and select the result.
- Navigate to System and Security: Locate and click on "System and Security" in the Control Panel window.
- Select System: Click on "System" within the System and Security options.
- Access System Protection: In the System window, click on "System Protection" in the left-hand menu.
- View restore points: The "System Protection" window displays a list of available restore points, including their creation date and time, and a brief description.
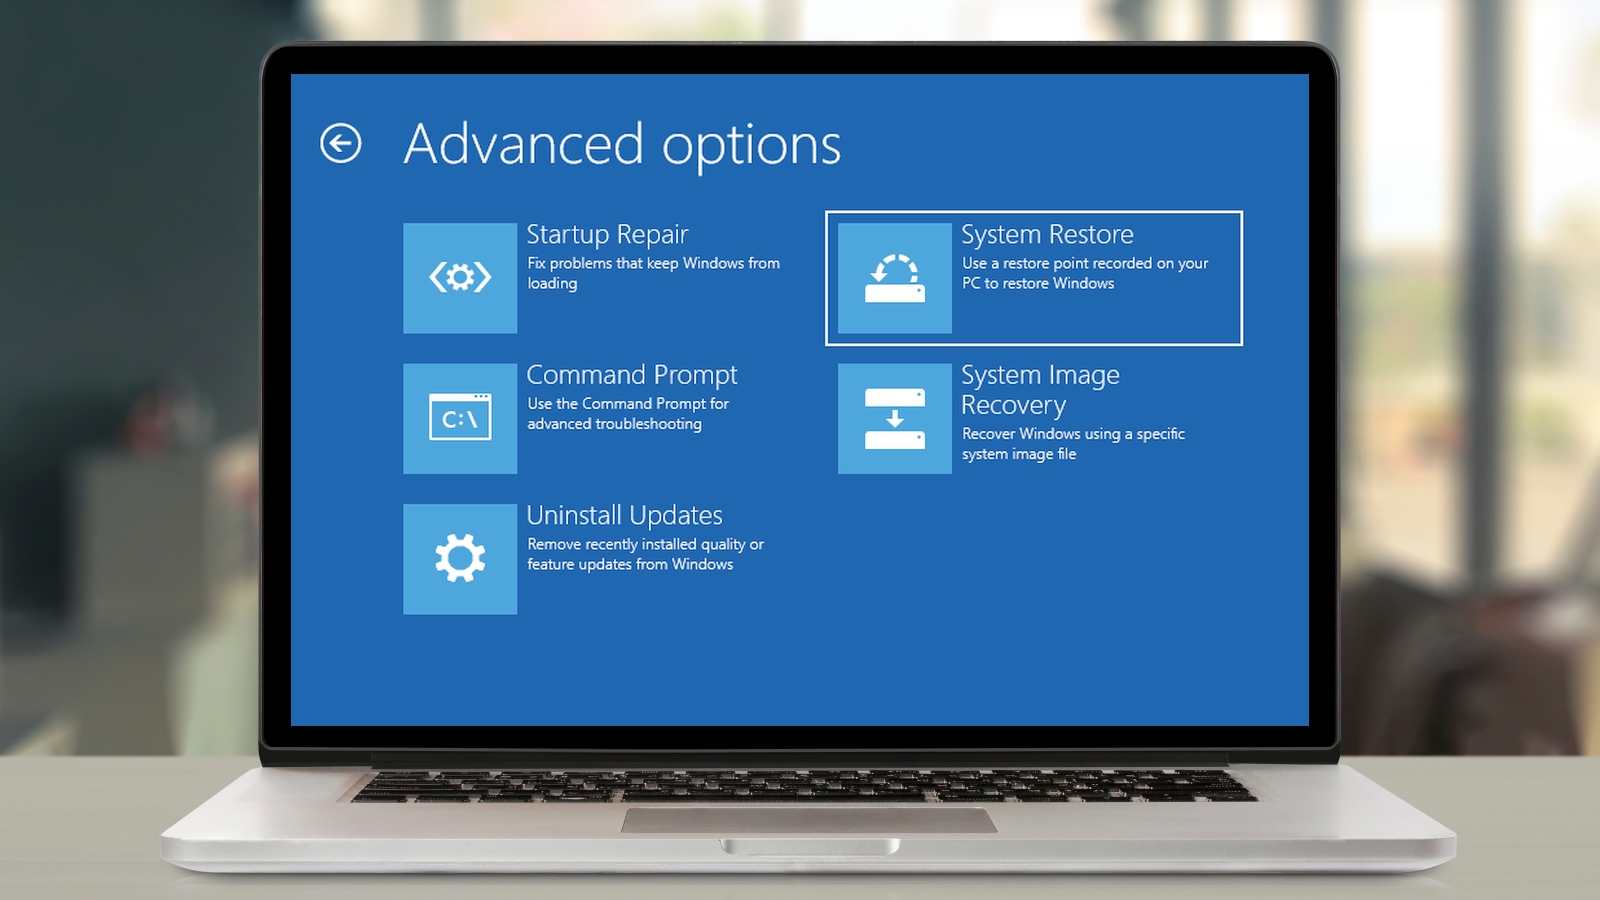
Using System Restore
To initiate a system restore:
- Open the Control Panel: Search for "Control Panel" in the Windows search bar and select the result.
- Navigate to System and Security: Locate and click on "System and Security" in the Control Panel window.
- Select System: Click on "System" within the System and Security options.
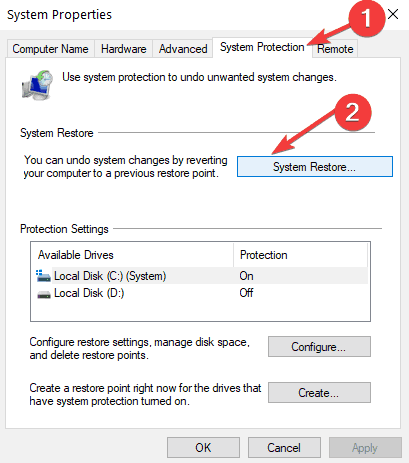
- Access System Protection: In the System window, click on "System Protection" in the left-hand menu.
- Initiate restore: Click on the "System Restore" button in the "System Protection" window.
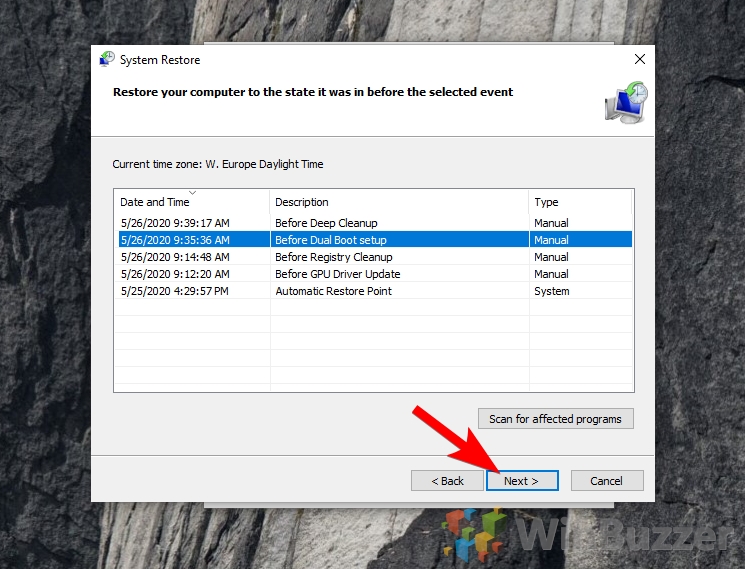
- Select a restore point: Choose the desired restore point from the list of available options.
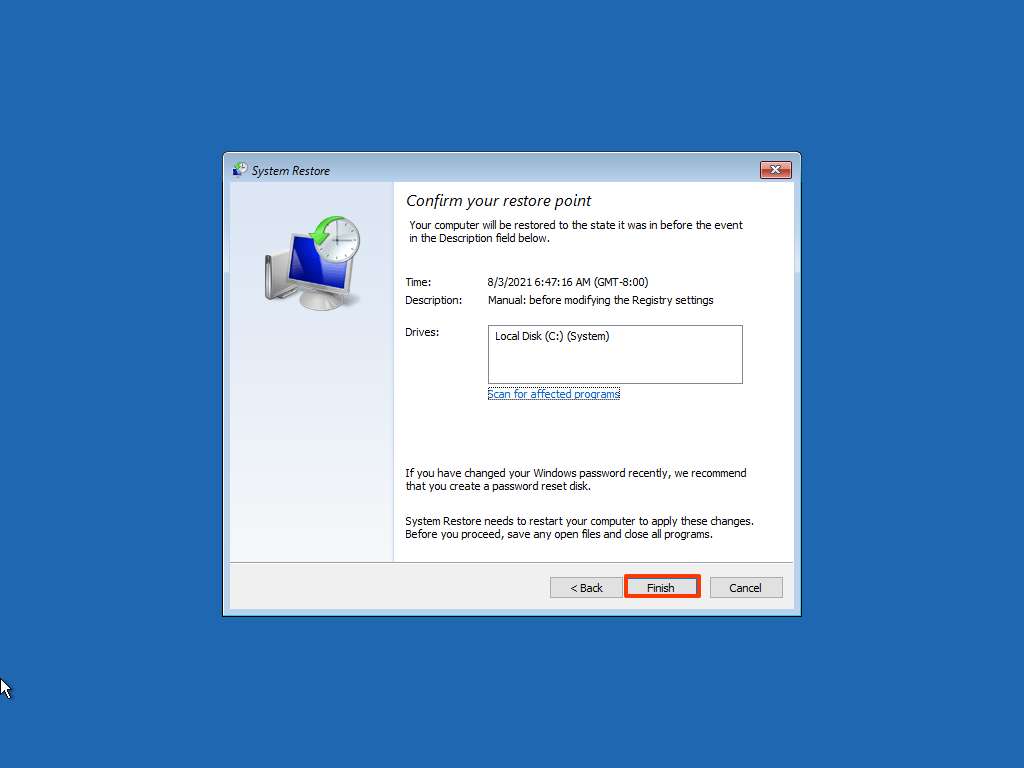
- Review and confirm: Carefully review the selected restore point and its potential impact on your system. Click on "Next" to proceed.
- Complete the restore: The system will begin the restoration process, which may take some time.
Important Considerations
- System Restore does not affect personal files: While it restores system files and settings, it does not impact your personal documents, pictures, or other user data.
- Backups are crucial: System Restore is a valuable tool but should not be considered a substitute for regular backups. It’s essential to have backups of your important data to ensure you can recover it even if System Restore fails to resolve an issue.
- Restore points can be deleted: To manage disk space, you can delete older restore points. However, ensure you retain enough restore points to cover critical events or recent changes.
FAQs
Q: How often are restore points created automatically?
A: Windows 10 automatically creates restore points before significant events like installing updates or drivers. The frequency of these automatic creations can vary depending on system activity and configuration.
Q: Can I disable System Restore?
A: Yes, you can disable System Restore to free up disk space. However, this is not recommended as it removes a valuable safety net for your system.
Q: What happens if I restore to a point before installing a program?
A: Restoring to a point before installing a program will uninstall that program and revert your system to its state before the installation.
Q: Can I restore to a point before a specific date?
A: While you can’t directly select a date, you can browse the list of restore points and choose the one closest to your desired date.
Q: What if System Restore fails?
A: If System Restore fails to complete, it may be due to system corruption or other issues. In such cases, you may need to consider other recovery options, such as using a system repair disk or performing a clean install of Windows.
Tips
- Create a restore point before making significant changes: Always create a restore point before installing new software, updating drivers, or making major configuration changes.
- Keep a record of your restore points: Note down the dates and descriptions of your restore points, making it easier to identify the appropriate point for a specific situation.
- Regularly check your disk space: Ensure you have sufficient disk space for System Restore to function properly. You can manage restore point sizes and delete older points to free up space.
- Explore alternative recovery options: While System Restore is a powerful tool, it may not be suitable for all situations. Explore other recovery options like using a system image backup or a bootable recovery drive for more comprehensive recovery.
Conclusion
System Restore points offer a valuable safety net for Windows 10 users, enabling them to revert their system to a previous state, undoing unwanted changes, resolving software conflicts, and recovering from malware infections. By understanding the benefits, creating restore points regularly, and utilizing this feature effectively, users can enhance system stability, reduce downtime, and protect their system from unexpected issues. While System Restore is a powerful tool, it’s crucial to remember that it’s not a substitute for regular backups. By combining System Restore with comprehensive backup strategies, users can ensure their system and data are protected against unforeseen events, providing peace of mind and ensuring a stable and functional computing experience.
![How to turn on System Restore in Windows 10 [Tip] Reviews, news, tips, and tricks dotTechdotTech](https://dt.azadicdn.com/wp-content/uploads/2015/08/system_restore_1.png?5006)


Closure
Thus, we hope this article has provided valuable insights into Unraveling the Power of System Restore Points in Windows 10. We hope you find this article informative and beneficial. See you in our next article!