Understanding and Resolving Underscan Issues in Windows 11 with HDMI Connections
Related Articles: Understanding and Resolving Underscan Issues in Windows 11 with HDMI Connections
Introduction
With enthusiasm, let’s navigate through the intriguing topic related to Understanding and Resolving Underscan Issues in Windows 11 with HDMI Connections. Let’s weave interesting information and offer fresh perspectives to the readers.
Table of Content
Understanding and Resolving Underscan Issues in Windows 11 with HDMI Connections

The seamless transition of digital signals from a source device to a display is a fundamental aspect of modern computing. However, this process can sometimes be disrupted by unexpected issues, one of which is "underscan." This phenomenon, commonly observed with HDMI connections in Windows 11, manifests as a display that appears smaller than the intended size, with black borders appearing around the screen. While seemingly minor, underscan can significantly impact the user experience, particularly for visually-intensive tasks like gaming or video editing.
Delving into the Nature of Underscan
Underscan, also known as "overscan," is a display setting that determines the portion of the signal displayed on the screen. In underscan, the display shows a smaller portion of the signal, leaving a black border around the edges. This behavior can arise due to various factors, including:
- Display Settings: Incorrect display settings on the monitor or within Windows 11 can lead to underscan. This can occur due to misconfigured resolutions, aspect ratios, or scaling options.
- Driver Issues: Outdated or incompatible display drivers can cause the operating system to misinterpret the signal, leading to underscan.
- HDMI Cable Quality: A faulty or low-quality HDMI cable can compromise the signal integrity, resulting in underscan or other display anomalies.
- Monitor Settings: Certain monitor settings, particularly those related to overscan or aspect ratio, can contribute to underscan issues.
- Windows 11 Configuration: Specific Windows 11 settings, such as the "Display Scaling" option, can impact the display behavior and potentially cause underscan.
The Importance of Addressing Underscan Issues
While underscan might seem like a cosmetic issue, it can significantly impact the user experience:
- Loss of Display Area: The black borders resulting from underscan reduce the usable screen area, limiting the visual information available to the user. This can be particularly problematic for tasks that require maximum screen space, such as gaming, video editing, or multitasking.
- Distorted Content: Underscan can distort the aspect ratio of displayed content, leading to stretched or compressed images. This can negatively impact the visual quality of videos, games, and other multimedia applications.
- Reduced Clarity: The black borders can create a sense of "clutter" around the displayed content, reducing the overall visual clarity and potentially hindering the user’s focus.
Strategies to Resolve Underscan Issues in Windows 11
Addressing underscan issues in Windows 11 requires a methodical approach, involving troubleshooting various potential causes:
-
Adjusting Display Settings:
- Monitor Settings: Access the monitor’s on-screen menu and navigate to the "Overscan" or "Aspect Ratio" settings. Adjust these settings to ensure they are set to "Off" or "Full Screen."
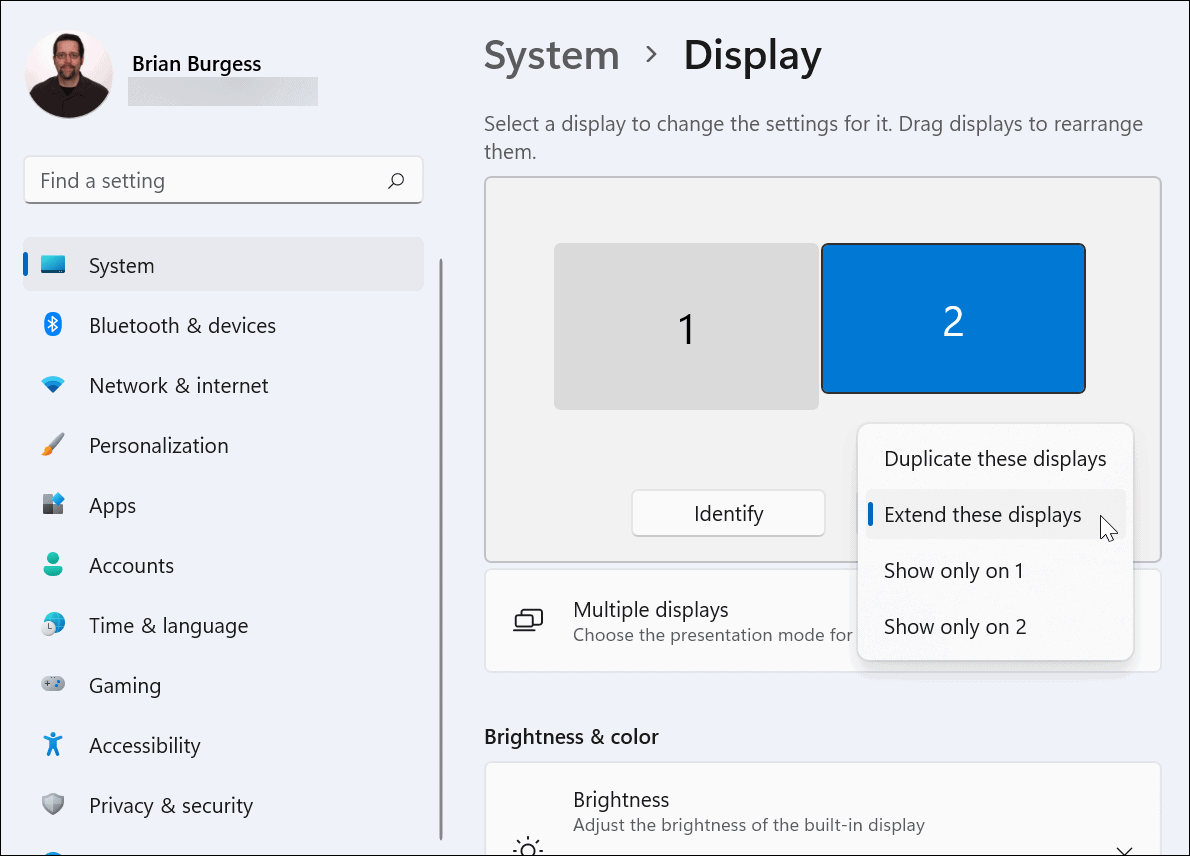
- Windows 11 Display Settings: Open the "Settings" app, navigate to "System > Display," and adjust the "Scale and layout" settings. Ensure the "Scale" option is set to 100% or a value that aligns with the monitor’s native resolution.
- Resolution Settings: Ensure the display is set to its native resolution. Navigate to "System > Display" and select the "Advanced display settings" option. Adjust the resolution to match the monitor’s native resolution.
-
Updating Display Drivers:
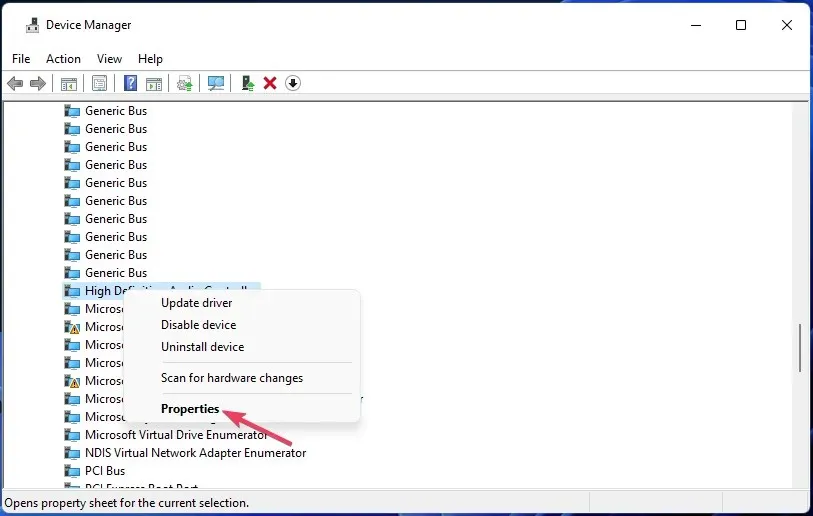
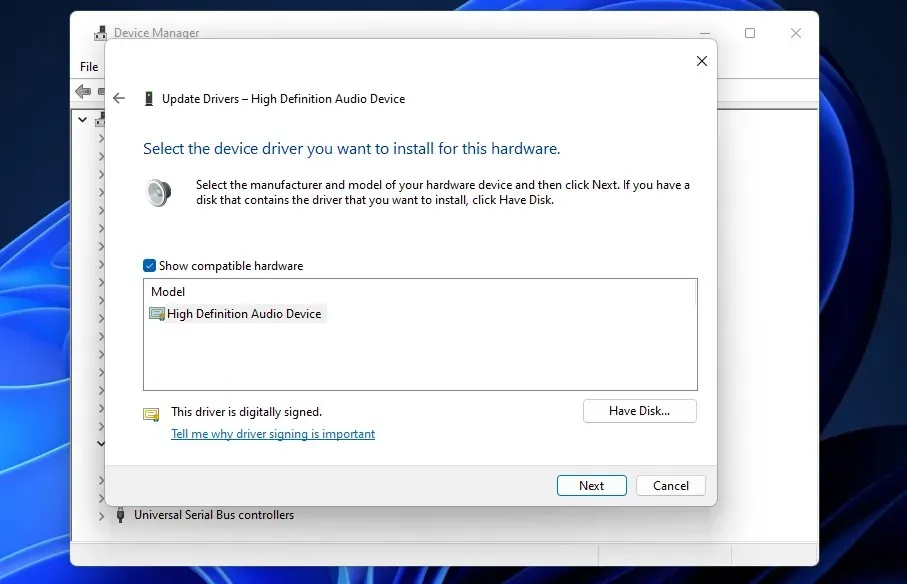
- Device Manager: Open the "Device Manager" by searching for it in the Windows search bar. Locate the "Display adapters" section, right-click on the active display driver, and select "Update driver."
- Manufacturer Website: Visit the manufacturer’s website for your graphics card or motherboard and download the latest display driver for your specific model and operating system. Install the updated driver following the manufacturer’s instructions.
-
Checking HDMI Cable Quality:
- Cable Integrity: Inspect the HDMI cable for any physical damage, such as bends, kinks, or loose connections. Replace the cable if any damage is found.
- Cable Quality: Consider upgrading to a high-quality HDMI cable, preferably one that supports the latest HDMI standard (HDMI 2.1) for optimal signal transmission.
-
Troubleshooting Windows 11 Configuration:
- Display Scaling: In the "System > Display" settings, adjust the "Scale and layout" option to ensure it is set to 100%. Experiment with different scaling options if the issue persists.
- Advanced Display Settings: Navigate to "System > Display > Advanced display settings" and explore the various options, such as "Color depth," "Refresh rate," and "Output color space." Experiment with these settings to see if they affect the underscan behavior.
Frequently Asked Questions
Q: Can underscan be caused by the monitor’s physical size?
A: No, underscan is a software-related issue and is not directly influenced by the monitor’s physical size.
Q: Can I fix underscan using the "Zoom" feature in Windows 11?
A: While zooming can temporarily enlarge the content on the screen, it does not address the underlying cause of underscan and may lead to blurry or pixelated content.
Q: Is underscan a common issue in Windows 11?
A: Underscan can occur in any operating system, but it is more frequently observed in Windows 11 due to the complexity of its display settings and the prevalence of high-resolution displays.
Q: What are the best practices to avoid underscan issues in the future?
A:
- Use a High-Quality HDMI Cable: Ensure the HDMI cable is of high quality and supports the latest HDMI standard.
- Update Drivers Regularly: Regularly update display drivers to ensure compatibility and optimal performance.
- Maintain Proper Display Settings: Configure the monitor and Windows 11 display settings to match the monitor’s native resolution and aspect ratio.
- Check Monitor Settings: Ensure the monitor’s overscan or aspect ratio settings are adjusted correctly.
Tips for Troubleshooting Underscan Issues
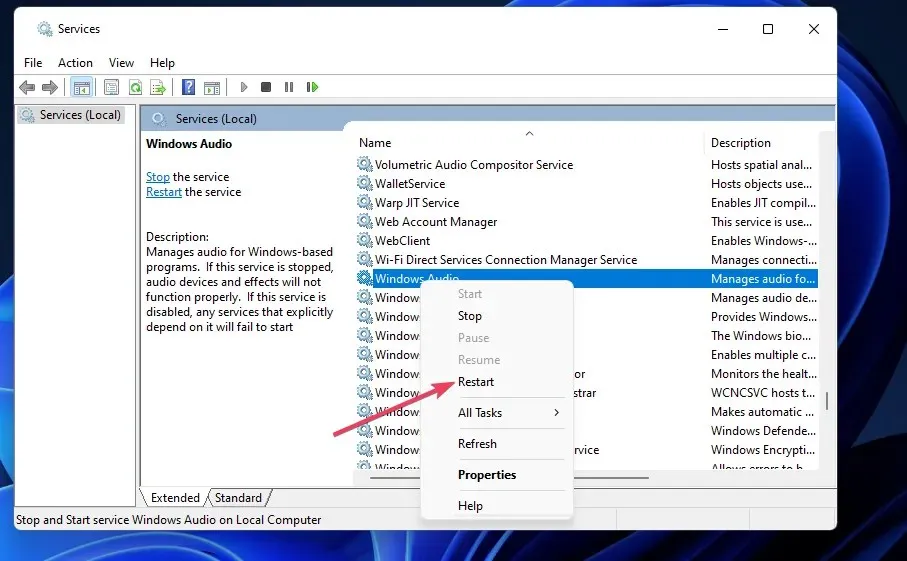
- Restart Your Computer: A simple restart can sometimes resolve minor display issues, including underscan.
- Connect to a Different Display: Connecting the device to a different monitor can help isolate whether the issue is related to the display or the source device.
- Use a Different HDMI Port: Try connecting the device to a different HDMI port on the monitor or the source device.
- Consult the Monitor’s User Manual: Refer to the monitor’s user manual for detailed information on adjusting overscan or aspect ratio settings.
- Contact Technical Support: If the issue persists, contact the manufacturer’s technical support for assistance.
Conclusion
Underscan issues, while seemingly minor, can significantly impact the user experience, particularly for visually-intensive tasks. Understanding the causes and implementing the strategies outlined above can effectively resolve underscan issues in Windows 11, ensuring a seamless and enjoyable user experience. By diligently troubleshooting the display settings, drivers, cable quality, and Windows configuration, users can reclaim their full screen real estate and enjoy the intended visual experience.


Closure
Thus, we hope this article has provided valuable insights into Understanding and Resolving Underscan Issues in Windows 11 with HDMI Connections. We appreciate your attention to our article. See you in our next article!