The Enduring Utility of CD Burning: A Guide to Using Windows 10 Media Player
Related Articles: The Enduring Utility of CD Burning: A Guide to Using Windows 10 Media Player
Introduction
In this auspicious occasion, we are delighted to delve into the intriguing topic related to The Enduring Utility of CD Burning: A Guide to Using Windows 10 Media Player. Let’s weave interesting information and offer fresh perspectives to the readers.
Table of Content
The Enduring Utility of CD Burning: A Guide to Using Windows 10 Media Player
In the era of streaming and cloud storage, the humble CD might seem like a relic of the past. However, the ability to burn CDs remains a valuable skill, particularly for those who value physical media or require a format compatible with older devices. Windows 10 Media Player, despite its streamlined design, retains the functionality to create CDs, offering a user-friendly solution for those seeking to preserve memories, share music, or create custom compilations.
Understanding the Process: A Step-by-Step Guide
Burning a CD involves transferring digital data from your computer to a blank, writable CD. This process requires a CD burner, a type of optical drive capable of writing data onto the CD. Most modern computers come equipped with these drives, typically housed within the system unit or connected via a USB port.
Step 1: Gathering the Necessary Components
Before embarking on the CD burning process, ensure you have the following:
- A blank, writable CD: These CDs are specifically designed for recording data and can be purchased from electronics stores or online retailers.
- A CD burner: As mentioned earlier, most computers have built-in CD burners. If your computer lacks this feature, you can purchase an external CD burner that connects via USB.
- The files you wish to burn: These could be music files, images, documents, or any other digital content you desire to preserve on a CD.
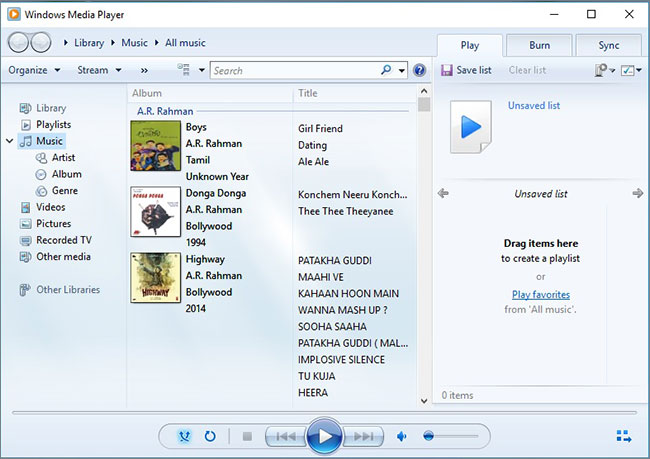
Step 2: Launching Windows 10 Media Player
To access the CD burning functionality, open Windows 10 Media Player. You can do this by searching for "Media Player" in the Windows search bar or by navigating to the Start menu and selecting the Media Player icon.
Step 3: Navigating to the "Rip Music" Tab
Once Media Player is open, click on the "Rip Music" tab located at the top of the window. This tab is designed to handle the process of transferring music files from your computer to a CD.
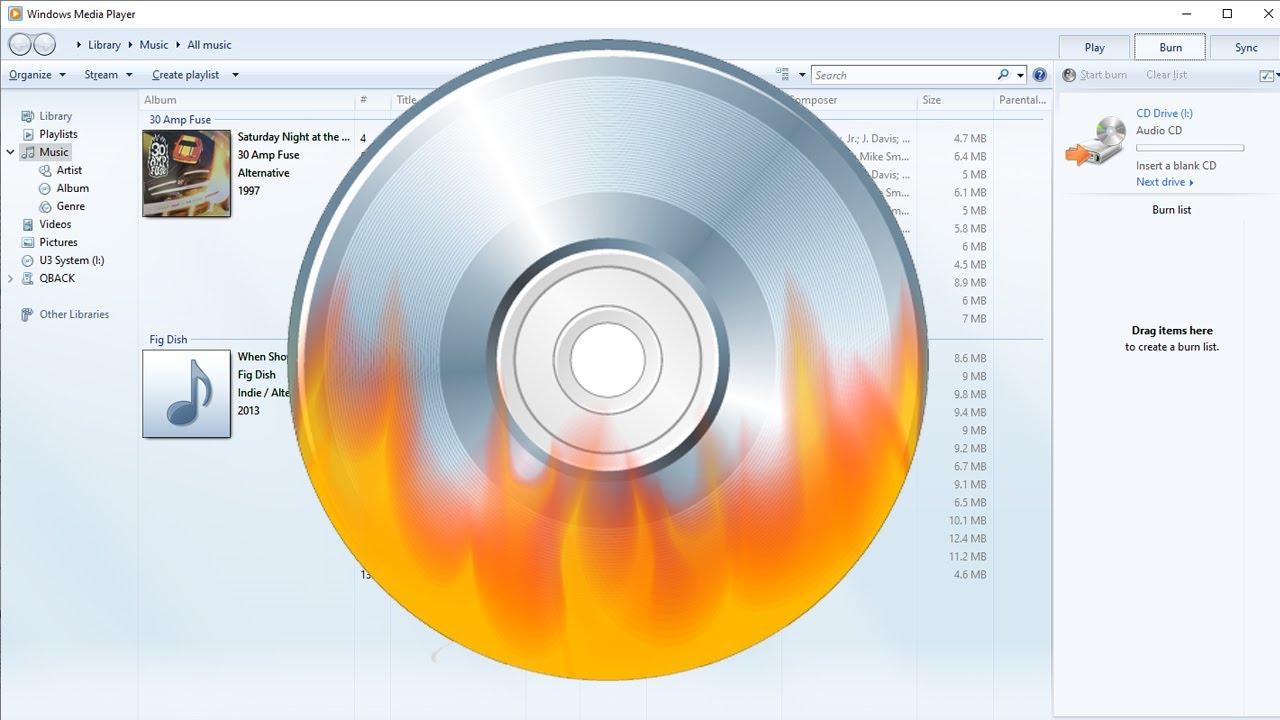
Step 4: Selecting the "Burn an audio CD" Option
Within the "Rip Music" tab, you’ll find a "Burn an audio CD" option. Click on this option to initiate the CD burning process.
Step 5: Adding Files to the Burn List
A new window will appear, displaying the "Burn List." This list serves as a virtual container for the files you wish to burn onto the CD. To add files, simply drag and drop them from your computer’s file explorer into the "Burn List." You can also use the "Add" button to browse your computer and select files manually.
Step 6: Selecting the Burn Speed
The "Burn List" window also allows you to adjust the burn speed. The burn speed determines how quickly the data is transferred to the CD. While a faster speed might seem appealing, it can sometimes lead to errors. It’s generally advisable to stick to the default speed unless you have a specific reason to change it.
Step 7: Inserting a Blank CD
With the files selected and the burn speed adjusted, insert a blank, writable CD into your CD burner. Windows 10 Media Player will automatically detect the CD and initiate the burning process.
Step 8: Initiating the Burn
Once the CD is inserted, click on the "Start Burn" button located at the bottom of the "Burn List" window. This action will begin the process of transferring the selected files onto the CD.
Step 9: Monitoring the Progress
As the burning process progresses, a progress bar will appear, indicating the percentage of files that have been transferred. This progress bar allows you to monitor the burning process and ensures that the CD is being burned successfully.
Step 10: Ejecting the CD
Once the progress bar reaches 100%, the burning process is complete. A message will appear indicating that the CD has been successfully burned. You can now safely eject the CD from the drive.
Beyond Music: Expanding the Scope of CD Burning
While Windows 10 Media Player is primarily designed for burning audio CDs, it can also be used to burn data CDs. To achieve this, you’ll need to use a different approach, utilizing the "Burn to Disc" feature within Windows Explorer.
Step 1: Accessing the "Burn to Disc" Feature
Open Windows Explorer and navigate to the folder containing the files you wish to burn. Select all the desired files and right-click on them. From the context menu, select "Burn to Disc."
Step 2: Choosing the Disc Type
A new window will appear, allowing you to choose the type of disc you wish to burn. Select "Like a USB flash drive" for a data CD.
Step 3: Adding Files and Initiating the Burn
The "Burn to Disc" window will display a list of files that will be burned. You can add or remove files as needed. Once you’re satisfied with the file selection, click on the "Burn" button to initiate the burning process.
FAQs: Addressing Common Concerns
Q: What types of files can I burn onto a CD?
A: You can burn various types of files onto a CD, including music, images, documents, videos, and even program files. The specific file types that can be burned may vary depending on the CD burner and the software used.
Q: What is the maximum capacity of a CD?
A: Standard CDs have a maximum capacity of 700 MB. This means you can store up to 700 MB of data on a single CD.
Q: Can I burn a CD using a USB drive?
A: No, you cannot burn a CD using a USB drive. A CD burner is required to burn CDs.
Q: What happens if the burning process is interrupted?
A: If the burning process is interrupted, the CD may become unusable. It’s essential to ensure that the CD remains in the drive and the computer is not interrupted during the burning process.
Tips for Optimal CD Burning
- Use high-quality blank CDs: Using high-quality blank CDs can improve the reliability and longevity of your burned CDs.
- Keep the CD burner clean: Dust and debris can accumulate on the CD burner, affecting its performance. Regularly clean the CD burner with a soft, dry cloth.
- Avoid using the CD burner for other tasks during the burn: The CD burner should be dedicated solely to the burning process to prevent errors.
- Check the CD for errors after burning: After burning the CD, verify that all the files have been transferred correctly and that the CD is readable.
Conclusion: A Timeless Tool for Data Preservation
While the digital landscape evolves at a rapid pace, the ability to burn CDs remains a valuable skill for those seeking to preserve memories, share music, or create custom compilations. Windows 10 Media Player provides a user-friendly interface for this task, allowing users to create CDs effortlessly. By understanding the process and adhering to best practices, you can ensure that your CDs are burned successfully and remain reliable for years to come.


Closure
Thus, we hope this article has provided valuable insights into The Enduring Utility of CD Burning: A Guide to Using Windows 10 Media Player. We appreciate your attention to our article. See you in our next article!