The Comprehensive Guide to Custom Installing Windows 10
Related Articles: The Comprehensive Guide to Custom Installing Windows 10
Introduction
In this auspicious occasion, we are delighted to delve into the intriguing topic related to The Comprehensive Guide to Custom Installing Windows 10. Let’s weave interesting information and offer fresh perspectives to the readers.
Table of Content
The Comprehensive Guide to Custom Installing Windows 10
Customizing a Windows 10 installation offers a significant advantage over a standard installation. It allows for greater control over the operating system, enabling users to tailor it to their specific needs and preferences. This approach can lead to a more efficient and streamlined system, optimized for specific tasks and hardware configurations.
This guide provides a comprehensive overview of the custom installation process, addressing various aspects from preparation to post-installation configuration.
Preparing for a Custom Windows 10 Installation
Before embarking on the installation process, it is crucial to ensure adequate preparation. This involves gathering necessary tools, understanding system requirements, and creating backups.
1. Essential Tools and Resources
- USB Drive: A USB drive with at least 8GB of free space is required to create a bootable Windows 10 installation media.
- Windows 10 ISO Image: Download the official Windows 10 ISO image from Microsoft’s website. Ensure the downloaded image is legitimate and matches the intended version of Windows 10.
- Product Key: A valid Windows 10 product key is required to activate the operating system. This key can be obtained during the purchase of a new computer or through separate purchase.
- Hardware Drivers: Gather the latest drivers for all hardware components, including motherboard, graphics card, network card, and peripherals. These drivers can be downloaded from the manufacturer’s website.
- Software: Determine the software applications that will be installed after the operating system installation. This allows for efficient planning and prioritization.
2. System Requirements
- Processor: 1 gigahertz (GHz) or faster processor.
- RAM: 1 gigabyte (GB) for 32-bit or 2 GB for 64-bit.
- Hard Disk Space: 16 GB for 32-bit or 20 GB for 64-bit.
- Graphics Card: Microsoft DirectX 9 graphics device with WDDM 1.0 driver.
- Internet Access: Internet access is required for online activation and downloading updates.
3. Backup
Creating a backup of important data is crucial. This ensures data recovery in case of unforeseen issues during the installation process. Backups can be created using external hard drives, cloud storage services, or specialized backup software.
Creating a Bootable Windows 10 Installation Media
The first step in the custom installation process is creating a bootable USB drive. This allows the computer to boot from the USB drive and initiate the Windows 10 installation.
1. Using the Media Creation Tool
- Download the Media Creation Tool from Microsoft’s website.
- Run the tool and select "Create installation media for another PC."
- Choose the language, edition, and architecture of Windows 10.
- Select "USB flash drive" as the media type.
- Insert a USB drive and follow the on-screen instructions to create the bootable media.
2. Using Rufus
- Download and install Rufus, a free and open-source utility for creating bootable USB drives.
- Launch Rufus and insert a USB drive.
- Select the Windows 10 ISO image file.
- Choose the appropriate partition scheme and target system type.
- Click "Start" to create the bootable media.
Initiating the Custom Installation
Once the bootable USB drive is created, the computer can be configured to boot from the USB drive. This allows the Windows 10 installation process to begin.
1. Boot from the USB Drive
- Restart the computer and access the BIOS settings by pressing the appropriate key (usually F2, F10, or Del).
- Navigate to the Boot menu and select the USB drive as the first boot device.
- Save the changes and exit the BIOS settings.
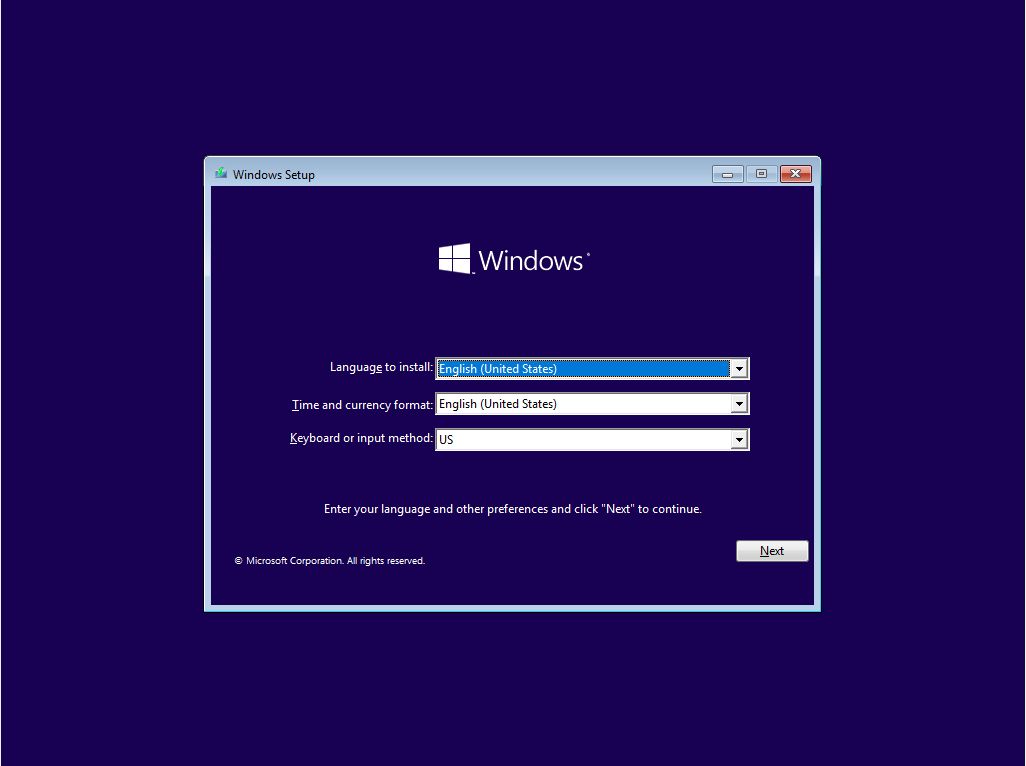
2. The Windows 10 Setup Screen
- The Windows 10 setup screen will appear. Select the desired language, time and currency format, and keyboard layout.
- Click "Next" to proceed.
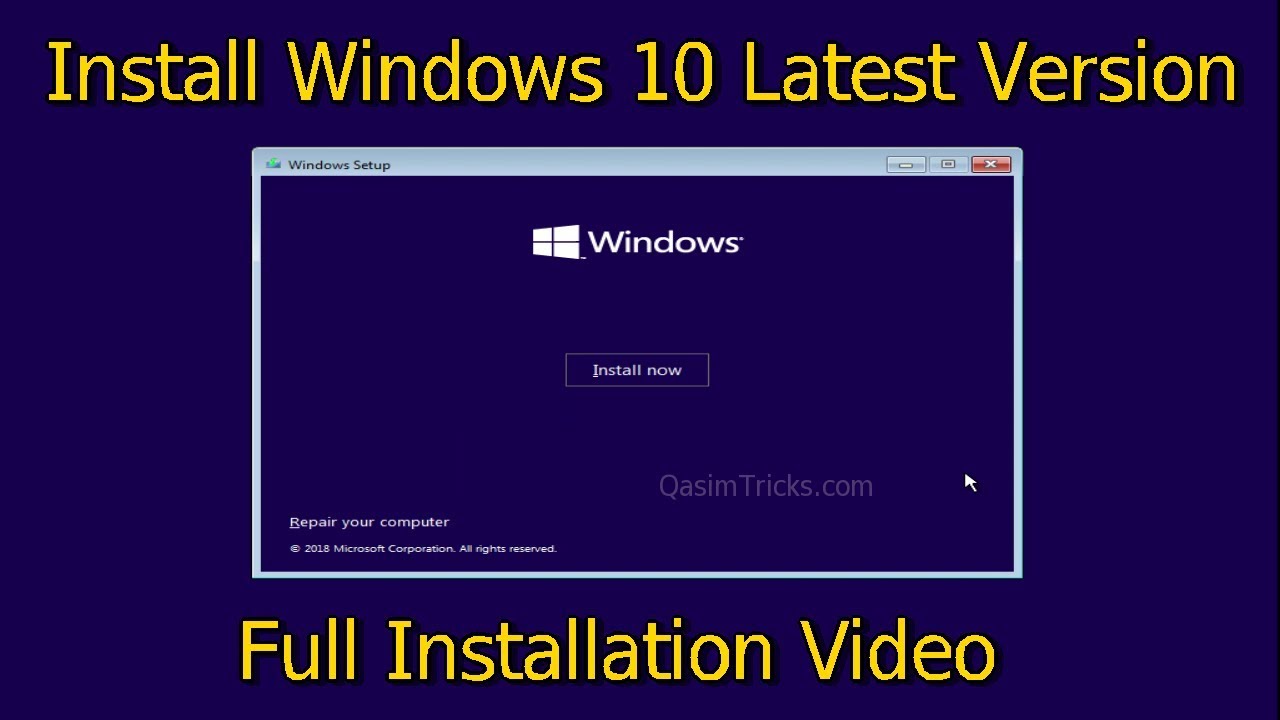
3. Custom Installation
- On the "Install Now" screen, select "Custom: Install Windows only (advanced)."
- This option allows for a custom installation, providing greater control over partitions and drive allocation.
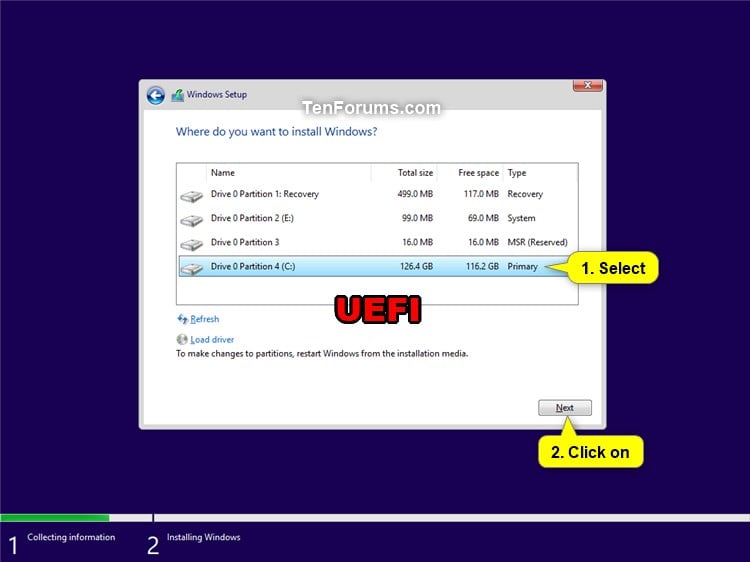
4. Partitioning the Hard Drive
- The next screen will display the available hard drive partitions.
- If the hard drive is not partitioned, it is recommended to create a dedicated partition for the Windows 10 installation.
- This ensures that the operating system and its files are separated from other data, improving system stability and organization.
- To create a new partition, select "Unallocated Space" and click "New."
- Specify the desired size for the partition and click "Apply."
- Select the newly created partition and click "Next" to proceed with the installation.
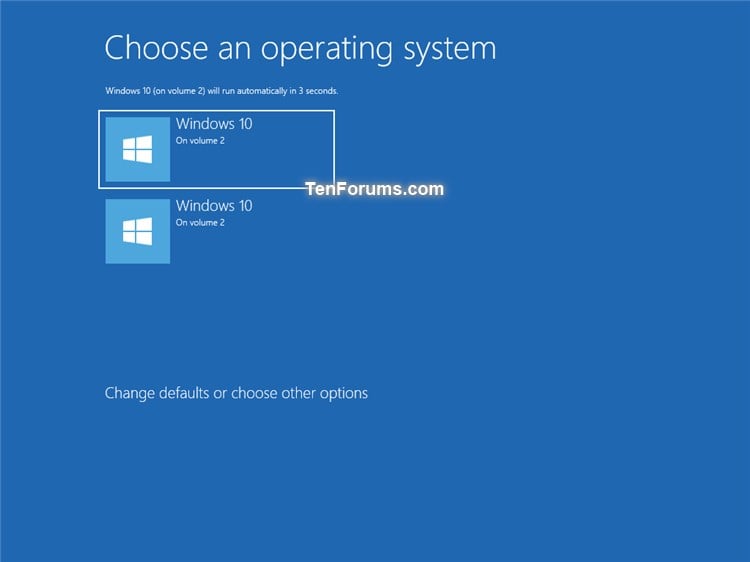
5. Installing Windows 10
- The Windows 10 installation process will begin. This may take several minutes to complete.
- During the installation, the computer will restart several times.
- Once the installation is complete, the computer will reboot again.
Post-Installation Configuration
After the installation is complete, it is important to configure the operating system and install necessary software.
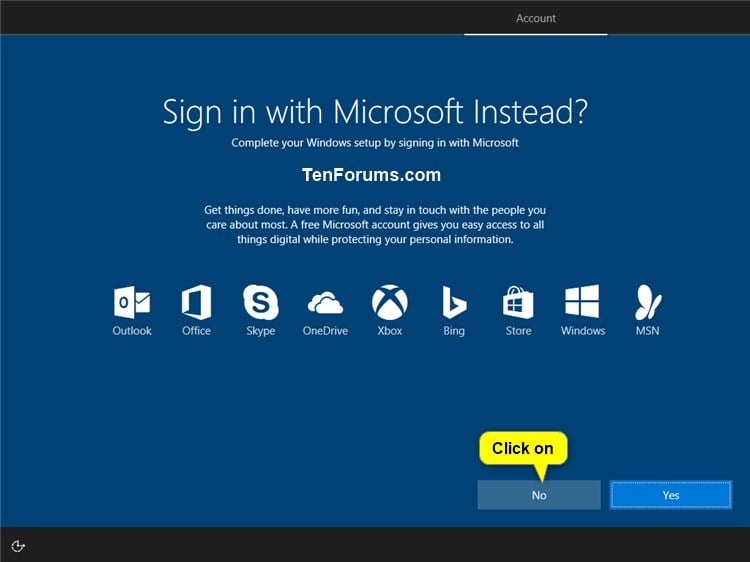
1. Initial Setup
- The initial setup wizard will guide the user through basic configuration steps, including setting up a user account, connecting to a Wi-Fi network, and customizing settings.
- It is recommended to create a strong password for the user account and enable two-factor authentication for added security.
2. Installing Drivers
- Install the necessary hardware drivers for all components. These drivers ensure that the hardware functions correctly and interacts with the operating system seamlessly.
- Drivers can be installed manually by downloading them from the manufacturer’s website or automatically using a driver update tool.
3. Software Installation
- Install essential software applications, including antivirus software, productivity tools, and web browsers.
- Prioritize installing security software to protect the system from malware and other threats.
4. System Optimization
- Perform system optimization tasks, such as defragmenting the hard drive, cleaning up temporary files, and disabling unnecessary startup programs.
- These tasks can improve system performance and responsiveness.
5. Updates and Security
- Install the latest Windows updates and security patches to ensure the system is protected from known vulnerabilities.
- Enable automatic updates to ensure that the system is always up-to-date with the latest security features.
FAQs about Custom Installing Windows 10
1. What are the benefits of a custom Windows 10 installation?
Custom installations offer greater control over the operating system, allowing for optimized performance and tailored configurations. They enable users to:
- Allocate disk space efficiently: Create dedicated partitions for specific purposes, such as operating system, data storage, and applications.
- Install only necessary software: Avoid installing bloatware or unwanted applications that can consume resources and slow down the system.
- Customize settings: Adjust system settings to suit individual preferences and optimize performance for specific tasks.
2. Can I perform a custom installation without a product key?
No, a valid Windows 10 product key is required to activate the operating system after a custom installation.
3. What happens if I choose the wrong partition during the installation?
Choosing the wrong partition can result in data loss. It is crucial to carefully select the correct partition for the Windows 10 installation.
4. How can I recover data if I accidentally format the wrong partition?
Data recovery software can be used to attempt to recover lost data from a formatted partition. However, data recovery is not guaranteed, and it is always recommended to have a backup of important data.
5. What are the risks associated with a custom Windows 10 installation?
Custom installations can be more complex than standard installations and require a deeper understanding of operating system configuration. There is a risk of data loss if not performed correctly.
Tips for Custom Installing Windows 10
- Research and plan: Thoroughly research the process and plan the installation steps in advance.
- Back up data: Create a comprehensive backup of all important data before proceeding with the installation.
- Use a reliable USB drive: Ensure the USB drive is of high quality and has sufficient space.
- Download drivers beforehand: Gather necessary drivers for all hardware components.
- Proceed with caution: Carefully select partitions and options during the installation process.
- Test thoroughly: After the installation, test all hardware components and installed software to ensure they function correctly.
Conclusion
Custom installing Windows 10 provides users with a greater level of control and flexibility, allowing for a more efficient and personalized computing experience. By following the steps outlined in this guide, users can confidently perform a custom installation, optimizing their system for specific needs and preferences. Remember to back up data, gather necessary tools and drivers, and proceed with caution to ensure a successful installation. With proper planning and execution, a custom Windows 10 installation can unlock a more powerful and tailored computing experience.
![How to Install Windows 10 on Your PC [Step by Step Guide]](http://www.zerodollartips.com/wp-content/uploads/2015/02/installing-windows-10.jpg)


Closure
Thus, we hope this article has provided valuable insights into The Comprehensive Guide to Custom Installing Windows 10. We hope you find this article informative and beneficial. See you in our next article!