Securing Windows 10: A Guide to Disabling Ports
Related Articles: Securing Windows 10: A Guide to Disabling Ports
Introduction
In this auspicious occasion, we are delighted to delve into the intriguing topic related to Securing Windows 10: A Guide to Disabling Ports. Let’s weave interesting information and offer fresh perspectives to the readers.
Table of Content
Securing Windows 10: A Guide to Disabling Ports

In the interconnected world of today, safeguarding one’s digital presence is paramount. Windows 10, a widely used operating system, provides various security mechanisms, among which port management plays a crucial role. Ports, essentially virtual pathways, allow communication between applications and services on a computer and the external network. Understanding and controlling these ports can significantly enhance system security. This article will delve into the intricacies of port management in Windows 10, outlining methods for disabling ports and elucidating the benefits associated with this practice.
Understanding Ports and Their Significance
Imagine your computer as a bustling city with numerous buildings representing applications and services. Ports are like the entrances to these buildings, facilitating the flow of information. Each port is assigned a unique number, allowing specific applications to receive and send data. For instance, port 80 is commonly used for web traffic, while port 22 is associated with Secure Shell (SSH) connections.
While ports enable vital communication, they can also become vulnerabilities. Malicious actors may exploit open ports to gain unauthorized access to a system, potentially causing data breaches, system instability, or even complete system takeover. Disabling unnecessary ports effectively shuts down these potential entry points, strengthening the system’s security posture.
Methods for Disabling Ports in Windows 10
Windows 10 offers multiple avenues for port management, each catering to different levels of expertise and user preferences.
1. Using Windows Firewall
Windows Firewall is a built-in security feature that acts as a barrier between your computer and the outside world. It can be configured to block specific ports, preventing unwanted communication.
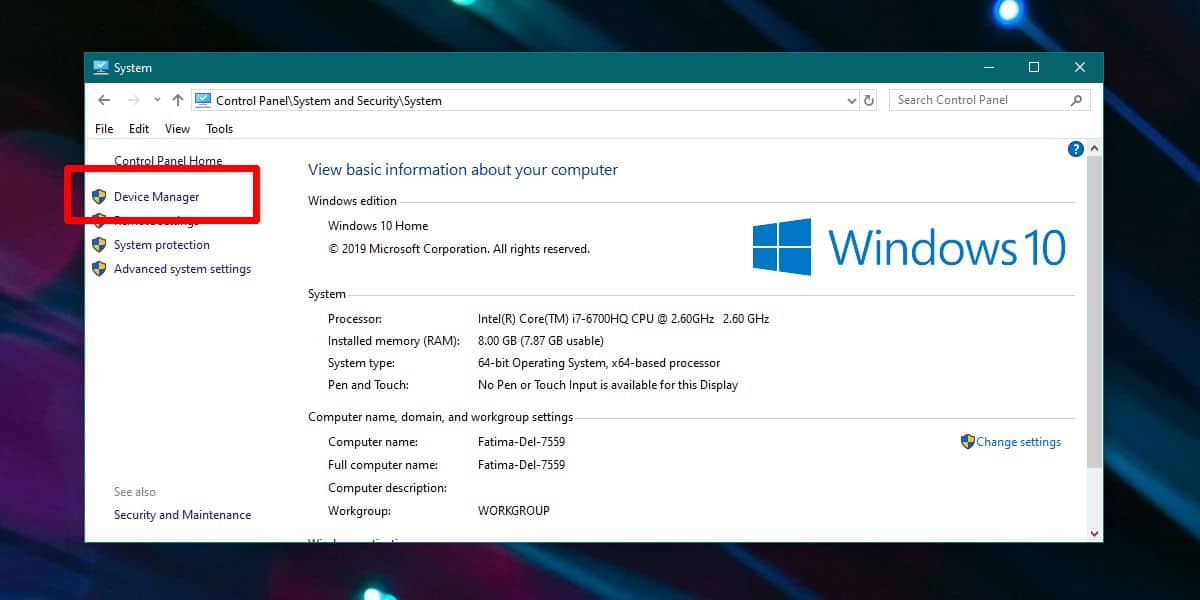
- Accessing Windows Firewall: Navigate to the "Control Panel" and select "Windows Firewall".
- Creating a Rule: Click on "Advanced Settings" and choose "Inbound Rules" or "Outbound Rules" depending on the direction of traffic you wish to control.
- Adding a New Rule: Select "New Rule" and choose "Port" as the rule type.
- Defining the Port: Specify the port number or range of ports you want to block. You can also choose the protocol (TCP or UDP) associated with the port.
- Action: Select "Block the connection" to prevent traffic through the specified port.
- Scope: Define the scope of the rule, specifying which profiles (domain, private, or public) the rule should apply to.
- Name and Description: Provide a descriptive name and description for the rule for easy identification.
2. Modifying the Registry
The Windows Registry is a central database containing system settings and configurations. By modifying specific registry keys, one can control port access. This method requires advanced technical knowledge and caution, as incorrect modifications can lead to system instability.
- Accessing the Registry Editor: Press "Windows key + R" to open the "Run" dialog box and type "regedit" to launch the Registry Editor.
-
Navigating to the Relevant Key: Locate the following key:
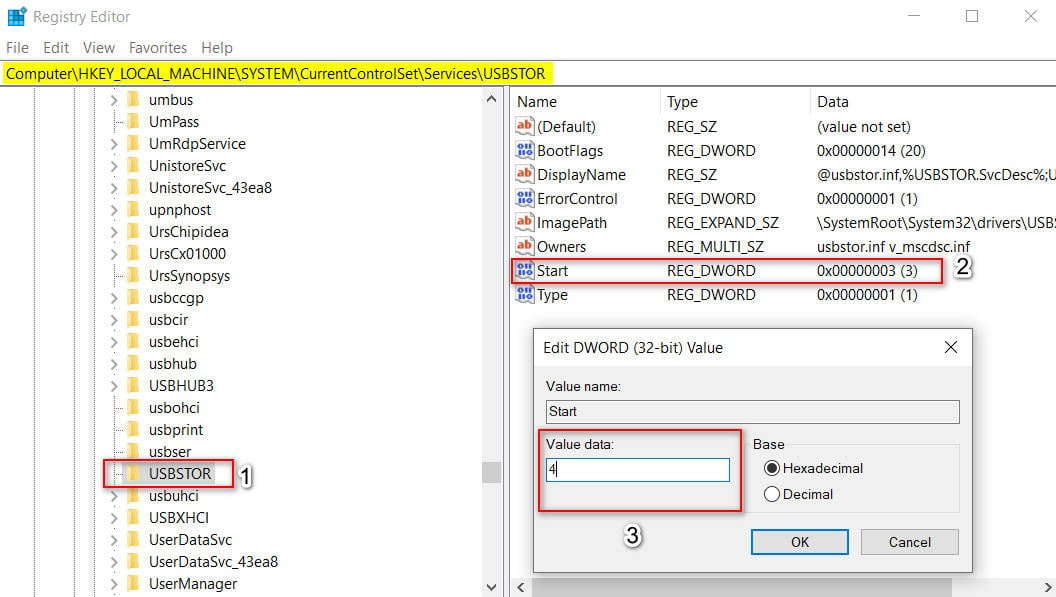
HKEY_LOCAL_MACHINESYSTEMCurrentControlSetServicesTcpipParameters. - Creating a New Value: Right-click within the "Parameters" folder and select "New" -> "DWORD (32-bit) Value".
- Naming and Setting the Value: Name the new value with the port number you wish to block, for example, "80" for blocking port 80. Double-click the newly created value and set its "Value data" to "0" to disable the port.
3. Using Third-Party Firewall Software
Numerous third-party firewall applications offer more granular control over port access than the built-in Windows Firewall. These programs often provide user-friendly interfaces and advanced features like port blocking, application-specific rules, and real-time monitoring.
- Choosing a Firewall: Research and select a reputable third-party firewall software.
- Installation and Configuration: Install the software and follow the instructions for setting up the firewall.
- Disabling Ports: Locate the port management section within the firewall’s interface and configure rules to block specific ports.
4. Utilizing Command Prompt
Command Prompt provides a powerful command-line interface for managing system settings. It can be used to disable ports using the "netsh" command.
- Opening Command Prompt: Search for "cmd" in the Windows search bar and run the Command Prompt as administrator.
-
Using the "netsh" Command: Execute the following command to disable a specific port:
netsh advfirewall firewall set rule name="Block Port [Port Number]" new enable=no. Replace "[Port Number]" with the actual port number you want to block.
Benefits of Disabling Ports
Disabling unnecessary ports offers numerous benefits, significantly enhancing system security and mitigating potential risks.
- Reduced Attack Surface: By closing unused ports, you effectively shrink the attack surface, making it more difficult for attackers to find and exploit vulnerabilities.
- Enhanced Privacy: Disabling ports associated with applications that leak sensitive information can help protect your privacy.
- Improved System Performance: Blocking unnecessary connections can reduce network traffic and improve overall system performance.
- Reduced Risk of Malware Infection: By limiting potential entry points, you can minimize the risk of malware infection through compromised ports.
- Compliance with Security Standards: Some security standards require the disabling of specific ports, which can be easily achieved using the methods described above.
FAQs about Disabling Ports in Windows 10
1. What ports should I disable?
The specific ports to disable depend on your individual needs and the applications you use. As a general rule, it is recommended to disable ports associated with applications you do not use or that are not essential for your system’s functionality. Refer to online resources and security best practices for a comprehensive list of ports to consider disabling.
2. Can I disable all ports?
Disabling all ports is not recommended as it will prevent essential services from functioning. This could lead to system instability and hinder your ability to access the internet and other online resources.
3. Will disabling ports affect my internet connection?
Disabling ports will only affect specific applications and services that rely on those ports. Your internet connection will generally remain unaffected, but you might experience issues with certain applications that require access to blocked ports.
4. Can I re-enable ports later?
Yes, you can easily re-enable ports by simply reversing the steps you took to disable them. You can modify firewall rules, delete registry entries, or use the "netsh" command to re-enable access to specific ports.
5. Is disabling ports completely safe?
Disabling ports is generally safe when done correctly. However, it is crucial to understand the implications of blocking specific ports and ensure that you are not disabling ports that are essential for the functioning of critical applications.
Tips for Disabling Ports in Windows 10
- Research and Plan: Before disabling any ports, research the specific port numbers and their associated applications to ensure you are not disabling essential services.
- Backup Your System: Create a system backup before making any significant changes to your system settings, including disabling ports. This will allow you to restore your system to its previous state if necessary.
- Start with a Few Ports: Begin by disabling a few ports that you are confident you do not need, and gradually expand your port management strategy as you gain more experience.
- Monitor System Performance: After disabling ports, monitor your system’s performance and functionality to ensure that everything is working as expected.
- Stay Updated: Regularly update your system and firewall software to benefit from the latest security enhancements and patches.
Conclusion
Disabling unnecessary ports in Windows 10 is a crucial step towards strengthening system security. By effectively managing port access, you can minimize vulnerabilities, protect your privacy, and enhance your system’s overall resilience against malicious attacks. While the process may seem daunting, the benefits of a secure and protected system far outweigh the effort involved. By following the methods and tips outlined in this article, you can confidently secure your Windows 10 environment and navigate the digital world with greater peace of mind.


Closure
Thus, we hope this article has provided valuable insights into Securing Windows 10: A Guide to Disabling Ports. We appreciate your attention to our article. See you in our next article!