Reverting to Windows 10: A Guide to Downgrading from Windows 11
Related Articles: Reverting to Windows 10: A Guide to Downgrading from Windows 11
Introduction
With great pleasure, we will explore the intriguing topic related to Reverting to Windows 10: A Guide to Downgrading from Windows 11. Let’s weave interesting information and offer fresh perspectives to the readers.
Table of Content
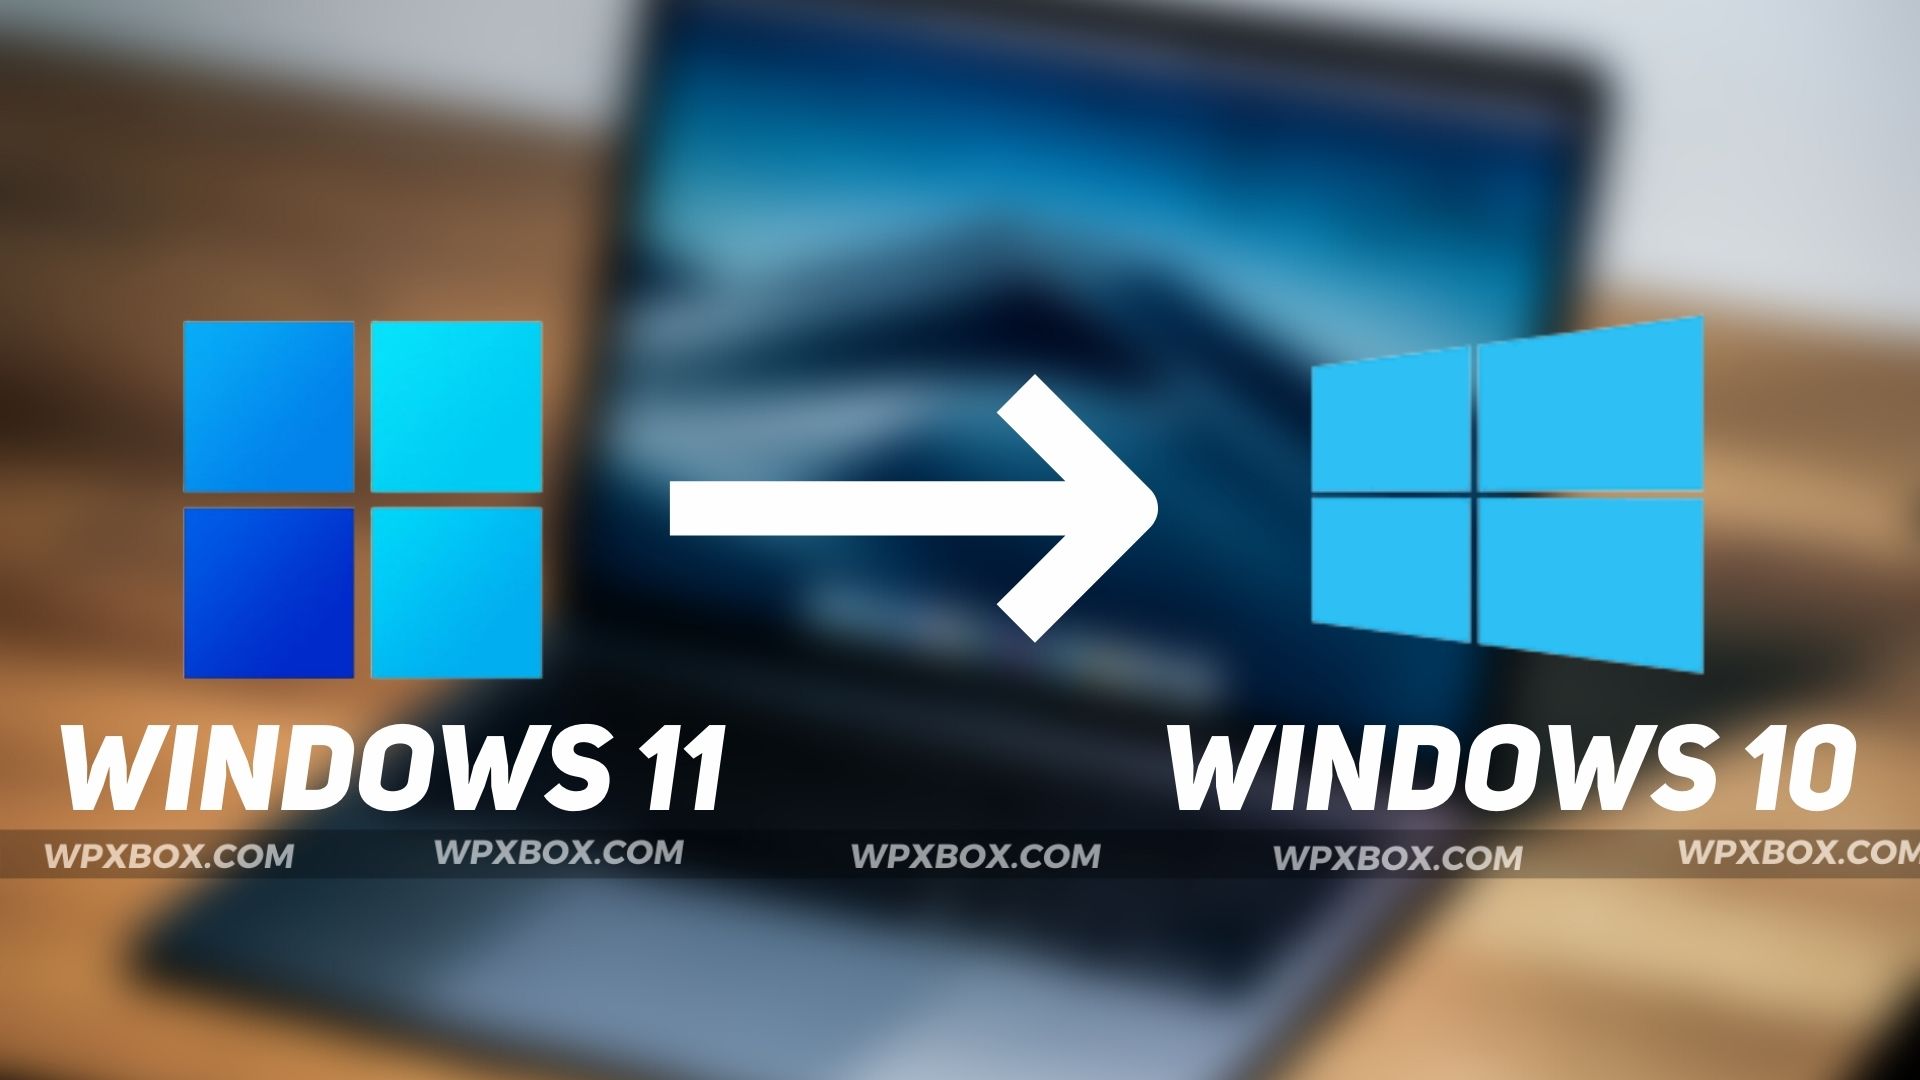
Reverting to Windows 10: A Guide to Downgrading from Windows 11
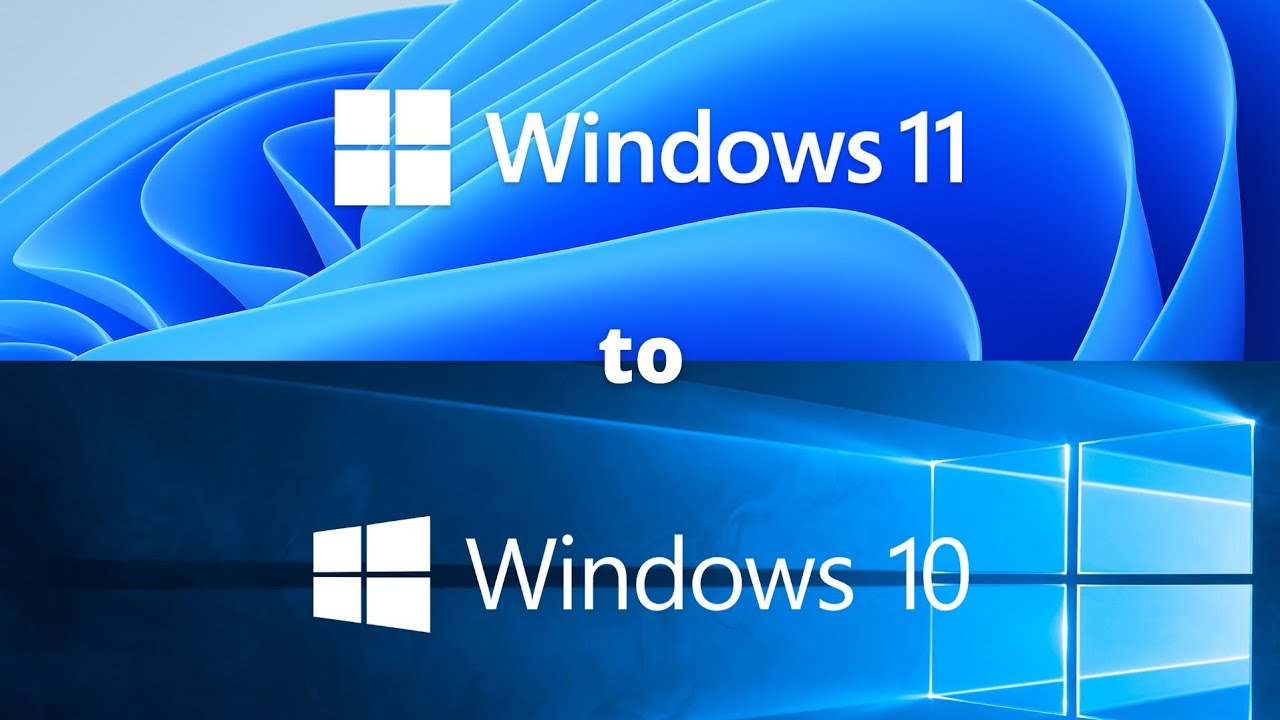
While Windows 11 offers numerous advancements, some users may find themselves preferring the familiarity and stability of Windows 10. This could be due to compatibility issues with specific software or hardware, performance concerns, or simply a preference for the user interface. Regardless of the reason, reverting to Windows 10 is a viable option, and this guide will provide a comprehensive understanding of the process.
Understanding the Downgrade Process
Downgrading from Windows 11 to Windows 10 involves reinstalling Windows 10 on your system, effectively replacing Windows 11. This process necessitates a clean installation, meaning all data and programs on your computer will be erased. Therefore, it is crucial to create a backup of all critical files and data before proceeding.
Methods for Downgrading
There are two primary methods for downgrading from Windows 11 to Windows 10:
-
Using a Windows 10 Installation Media: This method involves creating a bootable USB drive containing the Windows 10 installation files and then booting your computer from the drive to initiate the installation process.
-
Utilizing the Windows 11 "Go Back" Option: Windows 11 provides a built-in "Go Back" feature that allows users to revert to the previous operating system, provided they have not exceeded the 10-day window for reverting to the prior operating system. This method is generally simpler but has limitations.
Method 1: Using a Windows 10 Installation Media
Step 1: Create a Bootable USB Drive:
- Download the Windows 10 ISO file from Microsoft’s official website.
- Use a tool like Rufus or the Windows USB/DVD Download Tool to create a bootable USB drive with the downloaded ISO file.
Step 2: Backup Your Data:
- Create a complete backup of all your essential files, documents, and programs. This can be done using cloud storage services, external hard drives, or other backup solutions.
Step 3: Boot from the USB Drive:
- Restart your computer and enter the BIOS settings.
- Configure the boot order to prioritize the USB drive.
- Save the changes and exit the BIOS.
Step 4: Install Windows 10:
- Follow the on-screen instructions to install Windows 10.
- Choose the "Custom" installation option to ensure a clean installation.
- Format the hard drive where Windows 11 was previously installed.
- Proceed with the installation process.
Step 5: Restore Data:
- Once Windows 10 is installed, restore your backed-up data.
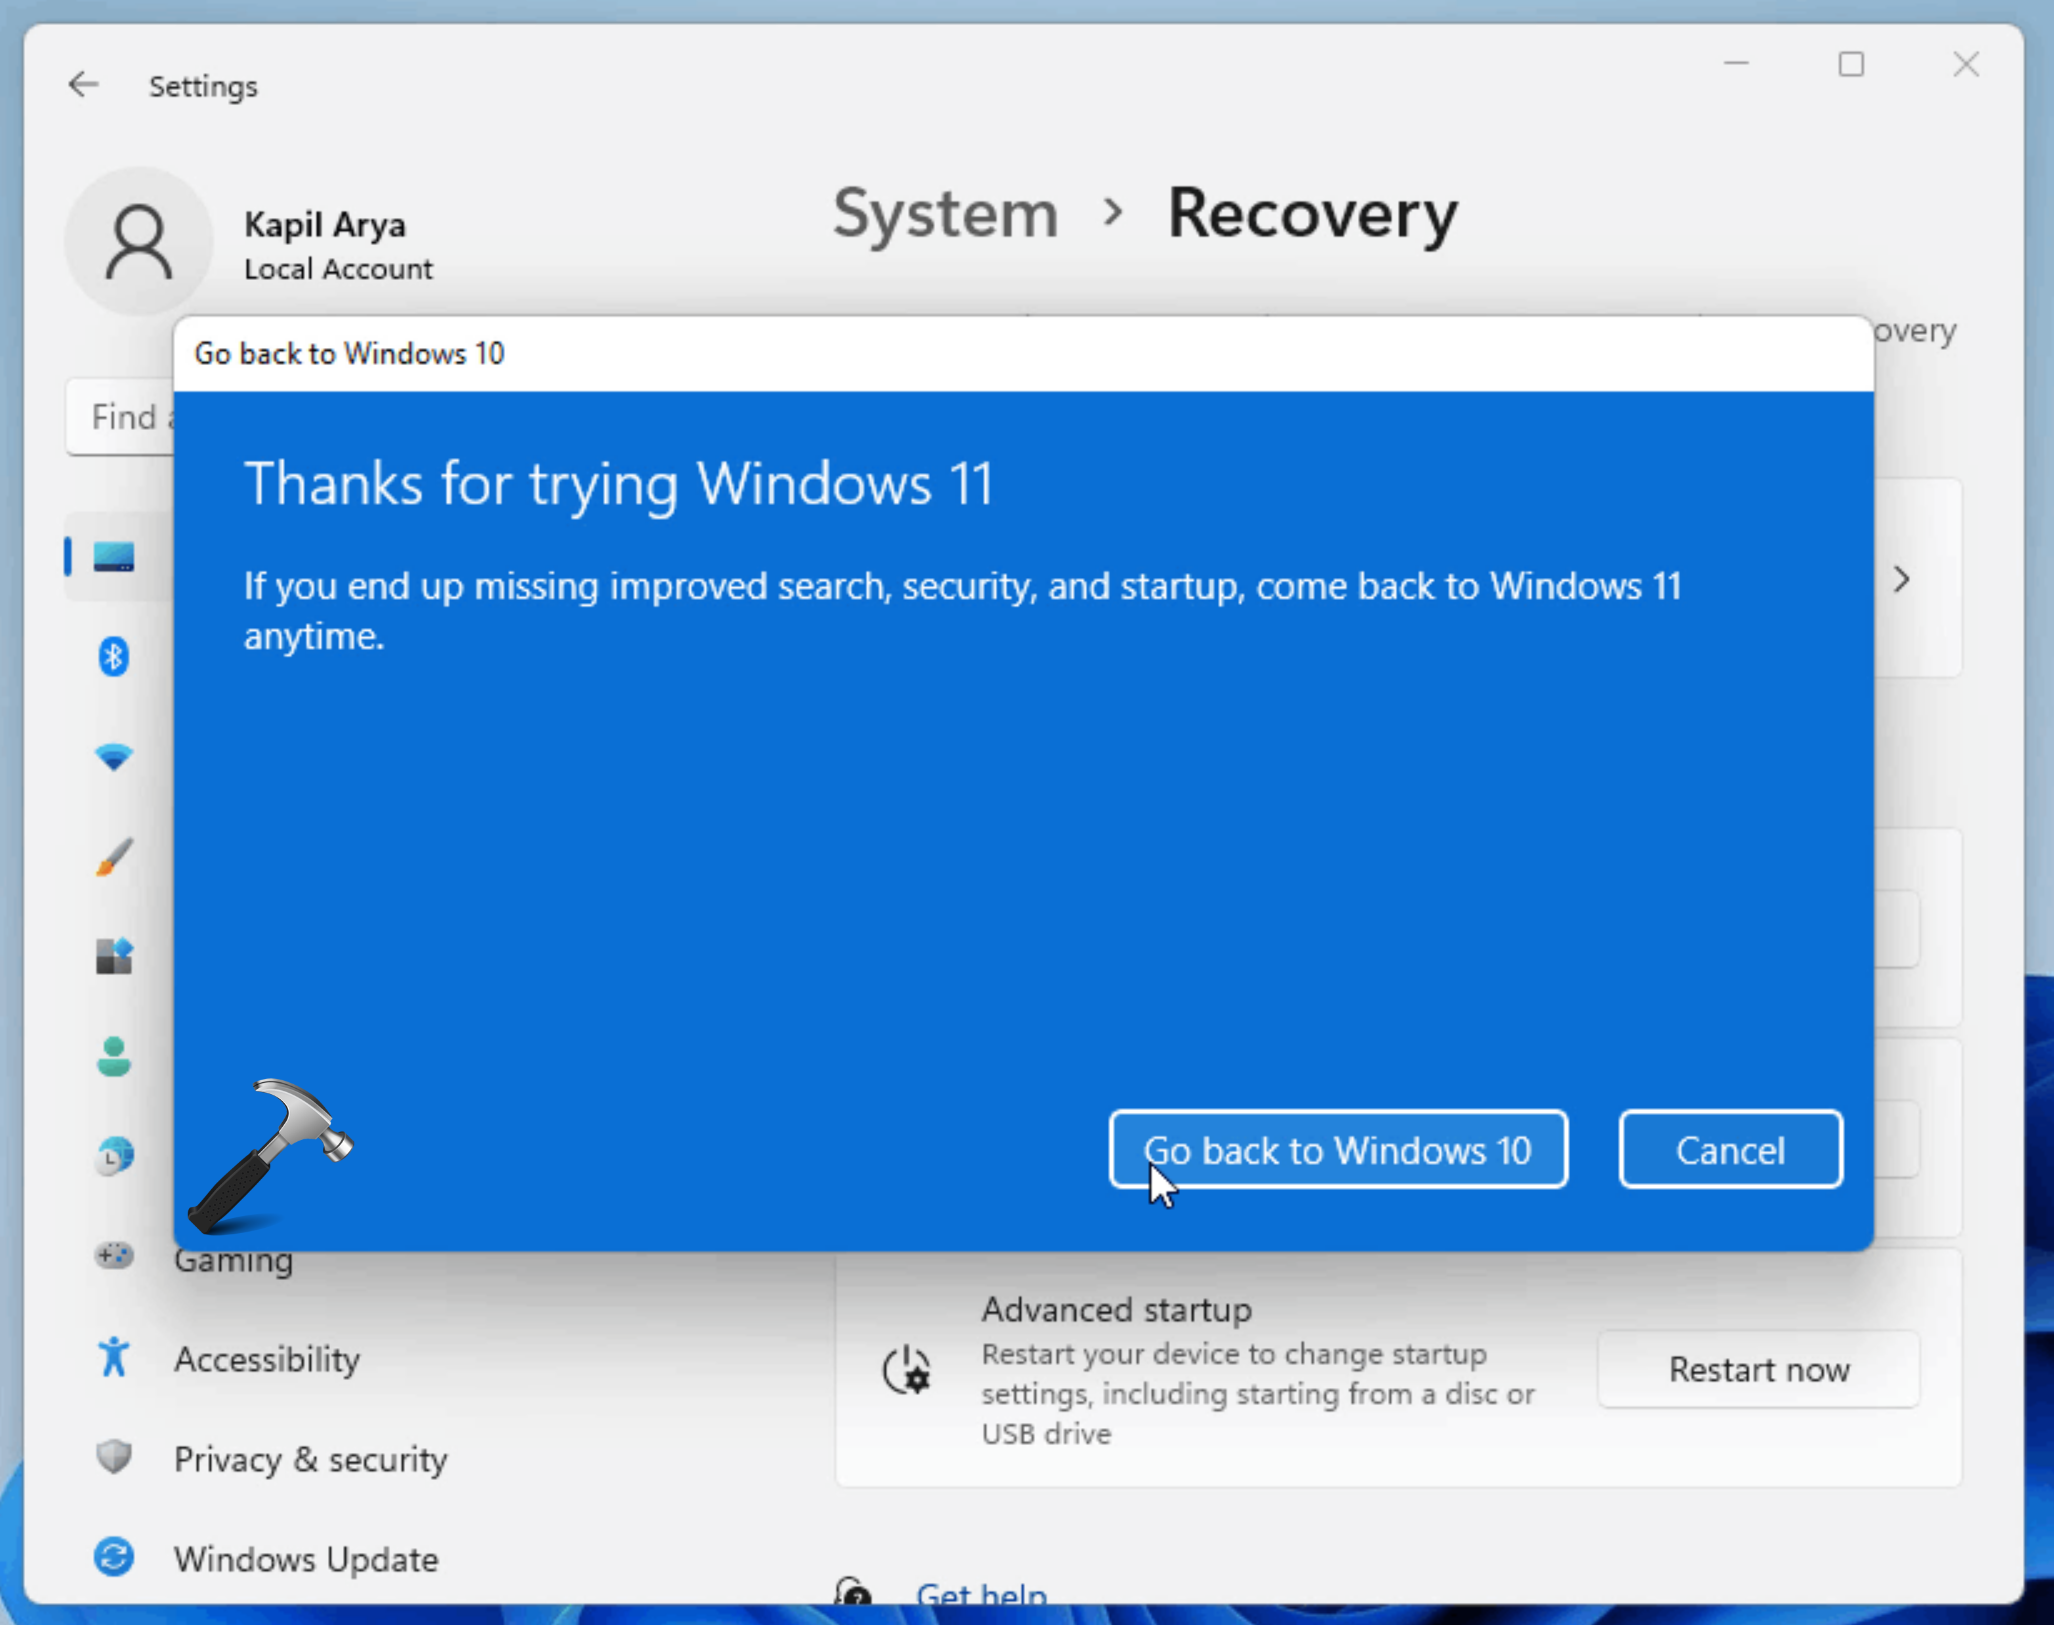
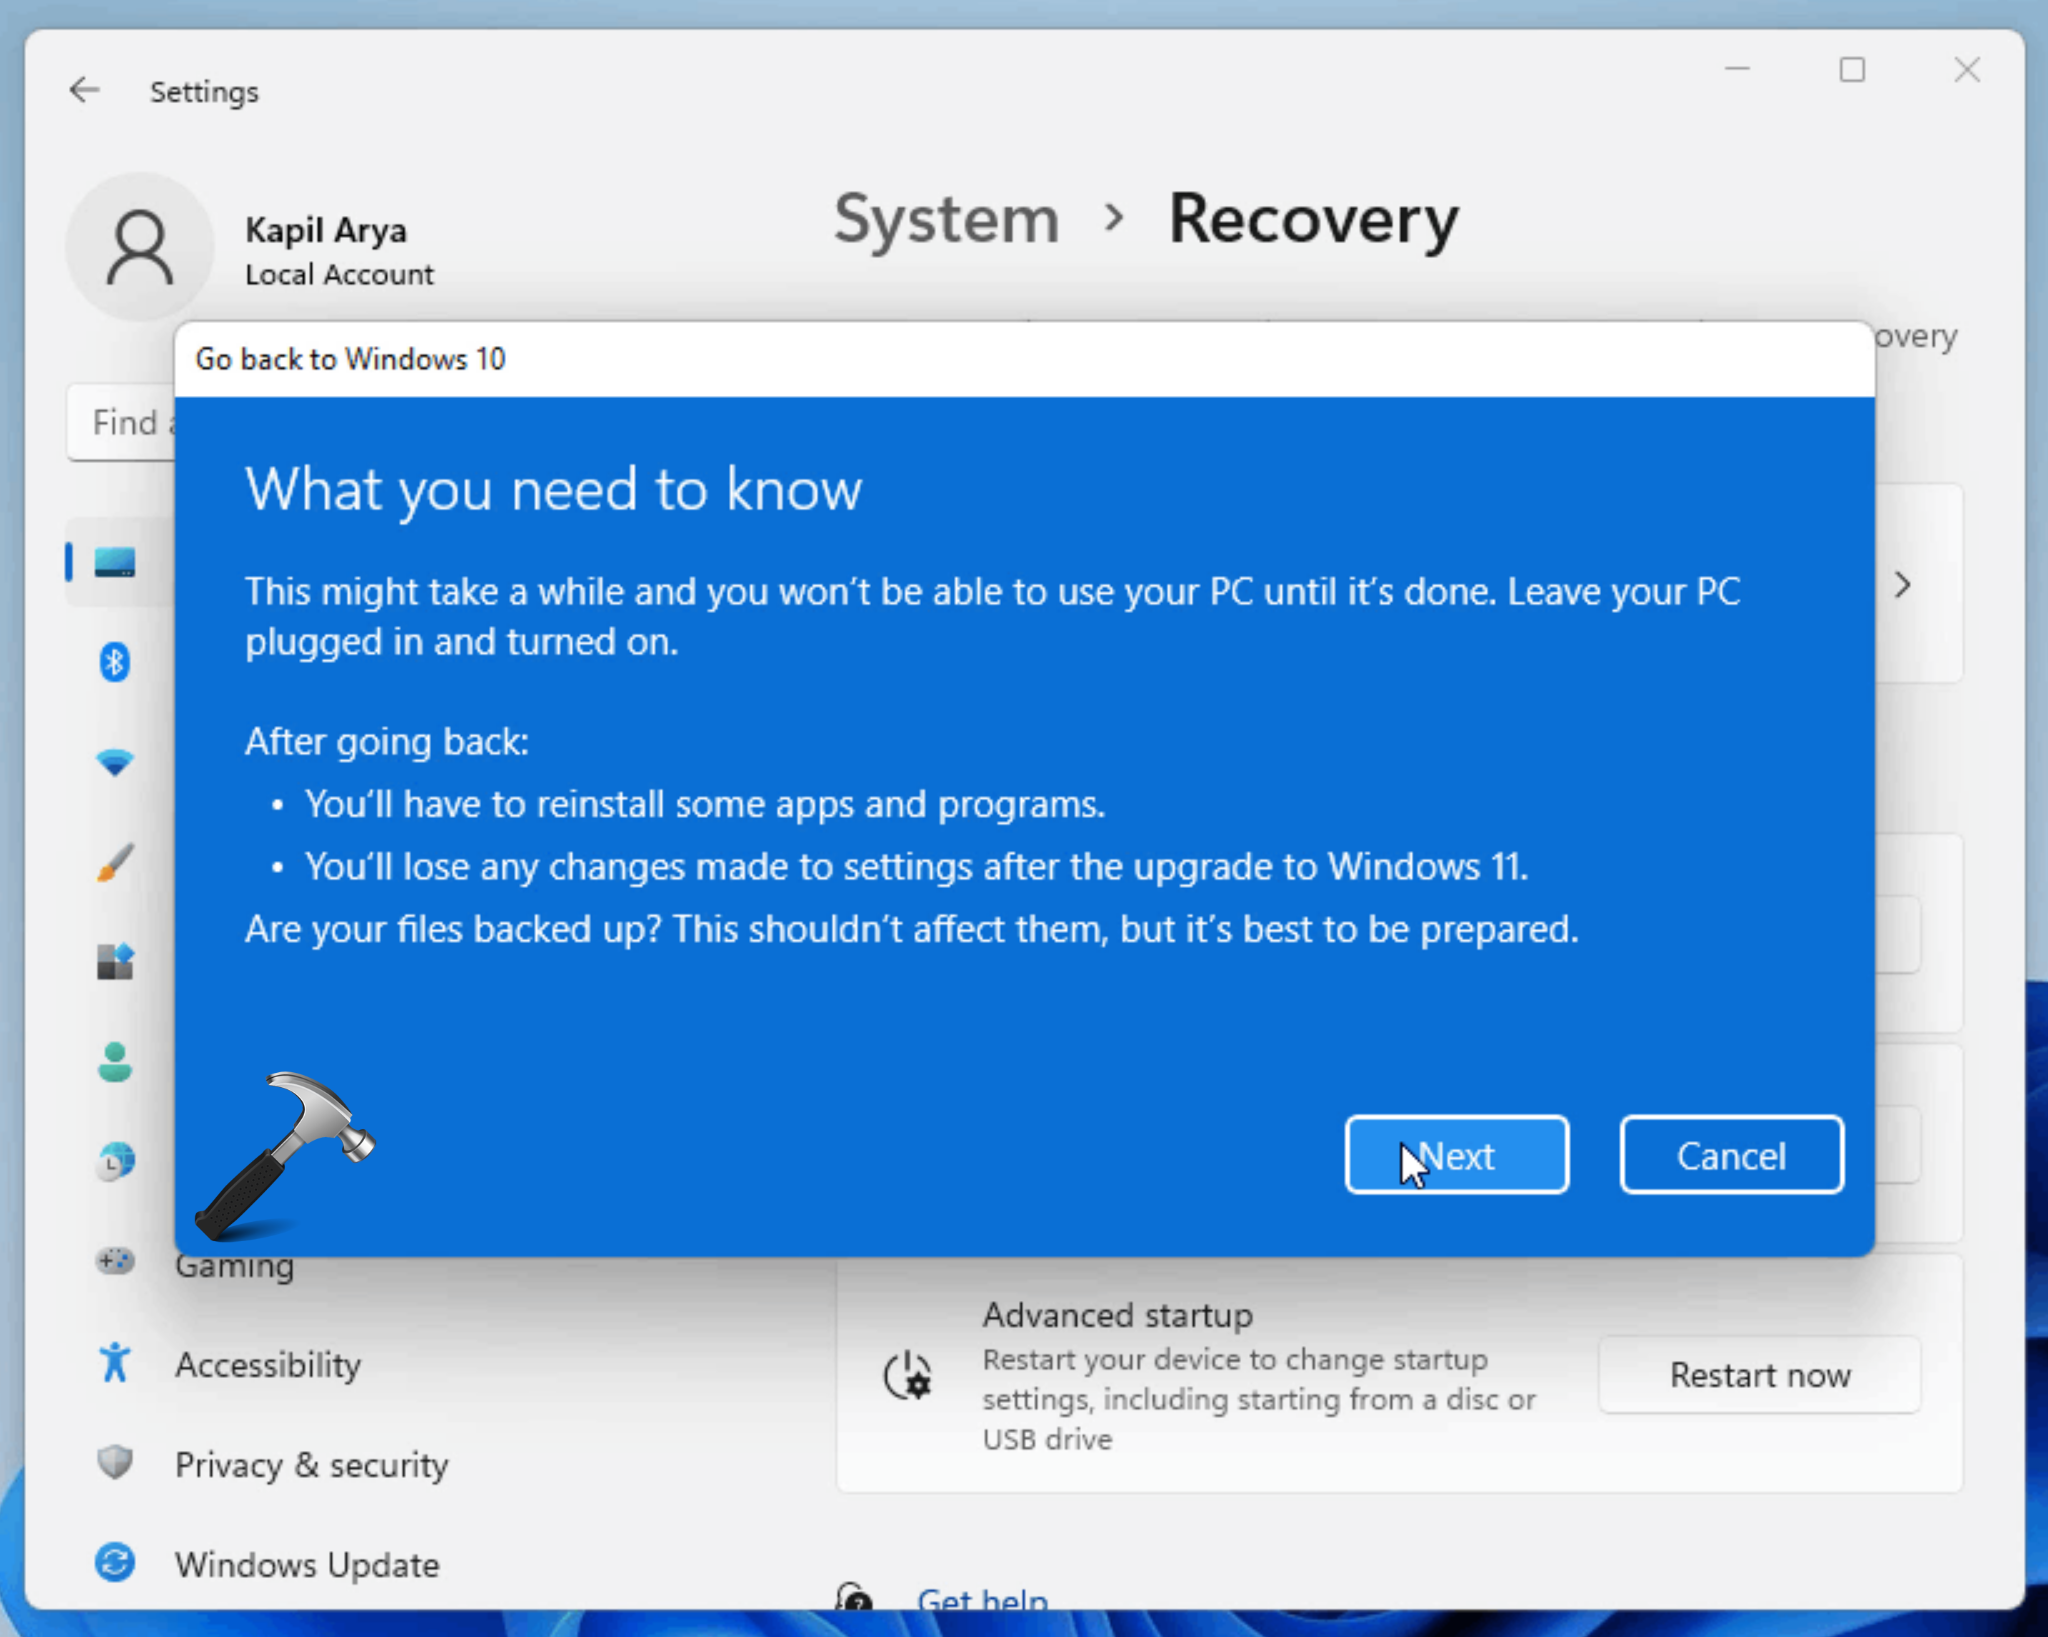
Method 2: Utilizing the Windows 11 "Go Back" Option
Step 1: Access the "Go Back" Feature:
- Navigate to "Settings" > "System" > "Recovery."
- Click on "Go Back to Previous Build."
Step 2: Confirm the Downgrade:
- Follow the on-screen prompts to confirm the downgrade process.
- This option will only be available within the 10-day window after upgrading to Windows 11.
Step 3: Complete the Downgrade:
- The system will automatically revert to Windows 10.
- This method is generally faster and simpler than using installation media.
Importance of Downgrading
Downgrading to Windows 10 can be beneficial for various reasons:
- Improved Compatibility: Some software and hardware may not be compatible with Windows 11, and downgrading to Windows 10 can resolve these issues.
- Enhanced Performance: Users may experience better performance with Windows 10, especially on older systems or those with limited resources.
- Familiarity and User Interface Preference: The Windows 10 interface is familiar to many users, and some may prefer its design and features over Windows 11.
FAQs Regarding Downgrading from Windows 11 to 10
Q: What happens to my files and programs after downgrading?
A: All data and programs will be erased during the downgrade process. It is essential to create a backup of all critical files and data before proceeding.
Q: Can I downgrade to Windows 10 without losing my data?
A: No, downgrading to Windows 10 involves a clean installation, which erases all data on the hard drive.
Q: How long does the downgrade process take?
A: The time required for the downgrade process varies depending on the method used and the system’s specifications. It can range from 30 minutes to several hours.
Q: Can I upgrade back to Windows 11 after downgrading to Windows 10?
A: Yes, you can upgrade back to Windows 11 after downgrading to Windows 10. You can either use the Windows Update feature or download the Windows 11 ISO file and perform a clean installation.
Q: What if I encounter issues during the downgrade process?
A: If you face difficulties during the downgrade process, consult Microsoft’s official documentation or contact their support team for assistance.
Tips for Downgrading from Windows 11 to 10
- Ensure a Stable Internet Connection: A reliable internet connection is crucial for downloading and installing Windows 10.
- Back Up Your Data: Create a complete backup of all your important files, documents, and programs before proceeding with the downgrade.
- Check System Requirements: Verify that your computer meets the minimum system requirements for Windows 10.
- Use a Licensed Copy of Windows 10: Ensure you have a valid product key for Windows 10 before starting the installation process.
- Consider Using a Bootable USB Drive: Creating a bootable USB drive allows for a clean installation of Windows 10 and avoids potential conflicts with existing files.
Conclusion
Downgrading from Windows 11 to Windows 10 is a viable option for users who encounter compatibility issues, prefer the Windows 10 interface, or seek improved performance. This guide has provided a comprehensive overview of the process, outlining the necessary steps and addressing common concerns. By following the instructions carefully and taking appropriate precautions, users can successfully revert to Windows 10 and regain the functionality and experience they desire. Remember to back up your data before proceeding and seek professional assistance if needed.


![How to downgrade from windows 11 to windows 10 without losing data? [within 30 minutes] - Say Geeks](https://saygeeks.com/wp-content/uploads/2021/07/How-to-downgrade-from-windows-11-to-windows-10-without-losing-data1.jpg)

Closure
Thus, we hope this article has provided valuable insights into Reverting to Windows 10: A Guide to Downgrading from Windows 11. We hope you find this article informative and beneficial. See you in our next article!