Preserving Digital Memories: A Guide to Burning CDs from YouTube on Windows 10
Related Articles: Preserving Digital Memories: A Guide to Burning CDs from YouTube on Windows 10
Introduction
With great pleasure, we will explore the intriguing topic related to Preserving Digital Memories: A Guide to Burning CDs from YouTube on Windows 10. Let’s weave interesting information and offer fresh perspectives to the readers.
Table of Content
Preserving Digital Memories: A Guide to Burning CDs from YouTube on Windows 10

In the digital age, where streaming services and cloud storage reign supreme, the humble CD might seem like a relic of the past. However, there are still compelling reasons to consider burning CDs from YouTube. For those seeking a physical backup of their favorite music, podcasts, or videos, CDs offer a tangible and durable solution. They also provide a convenient way to share content with others who may not have access to the internet or prefer a physical format. Furthermore, CDs can be a valuable tool for archiving and preserving digital memories, ensuring their longevity even if technology evolves.
This guide will provide a comprehensive explanation of how to burn CDs from YouTube on Windows 10, outlining the necessary steps and considerations. It will delve into the various tools and methods available, addressing common questions and offering helpful tips for a successful burning experience.
Step 1: Downloading the Content
Before burning a CD, the desired content from YouTube must be downloaded. This can be achieved through dedicated YouTube downloaders or online converters.
Using Dedicated Downloaders:
- 4K Video Downloader: This popular software offers a user-friendly interface and supports downloading videos, playlists, and channels in various formats, including MP3 and MP4.
- VLC Media Player: While primarily a media player, VLC also incorporates a built-in download feature. It can be accessed by right-clicking on a video in the player and selecting "Save Video".
- YouTube-dl: This command-line tool is a powerful option for experienced users. It offers advanced download options and can be integrated with scripting languages for automation.
Using Online Converters:
- OnlineVideoConverter: This website allows users to paste a YouTube video link and convert it to various formats, including MP3, MP4, and WAV.
- Flixier: This platform provides a comprehensive suite of tools for video editing and conversion, including YouTube download capabilities.
Important Considerations:
- Copyright: Downloading copyrighted content without permission is illegal. Ensure that the content you are downloading is in the public domain or that you have obtained the necessary rights.
- File Format: Choose a suitable file format for your needs. MP3 is ideal for audio, while MP4 is suitable for videos.
- Quality: Higher-quality downloads will result in larger file sizes, which may affect the number of tracks that can be burned onto a CD.
Step 2: Selecting a CD Burning Software
Once the content is downloaded, a CD burning software program is required to create the CD. Windows 10 includes a built-in program called "Windows Media Player", but there are also numerous third-party options available.
Windows Media Player:
- Pros: Built-in and easy to use.
- Cons: Limited features compared to third-party software.
Third-Party Software:
- Nero Burning ROM: A comprehensive suite of tools for burning CDs, DVDs, and Blu-ray discs.
- Ashampoo Burning Studio: Offers a wide range of features, including disc image creation and data backup.
- CDBurnerXP: A free and open-source program that supports various disc formats and burning tasks.
Step 3: Burning the CD
With the downloaded content and chosen burning software, the CD burning process can begin.
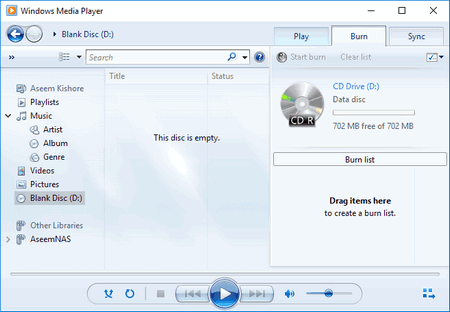
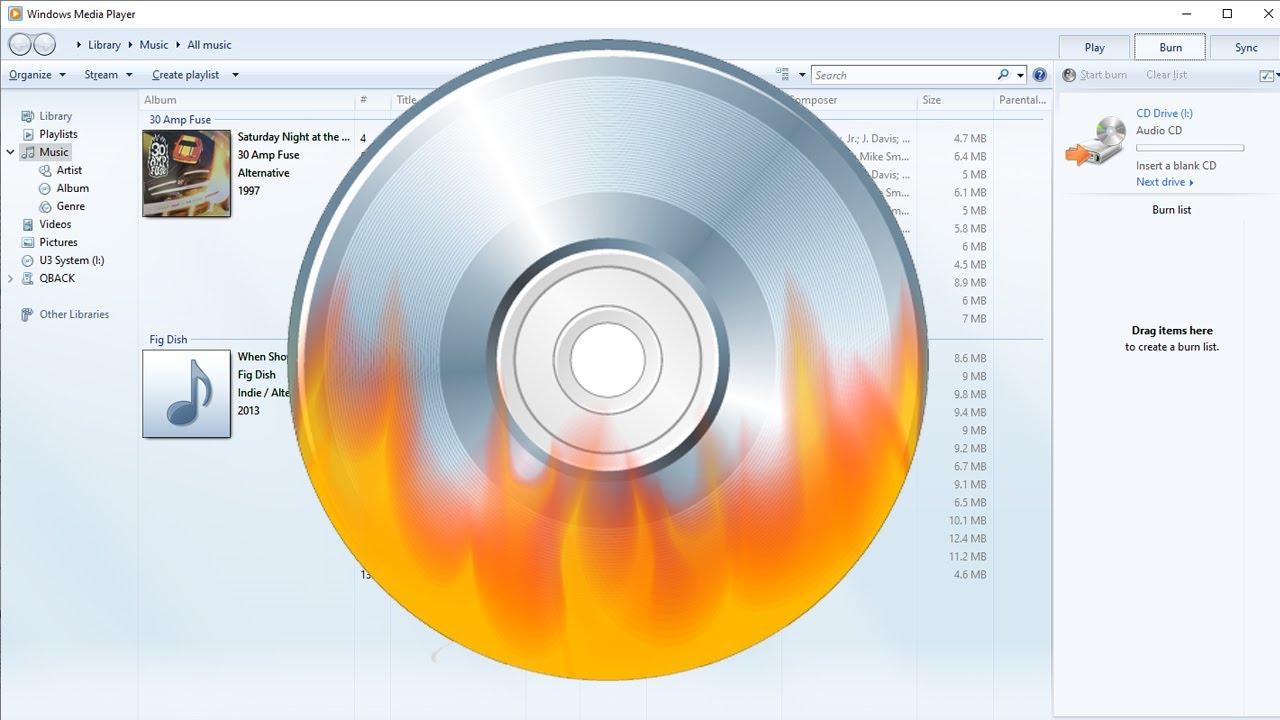
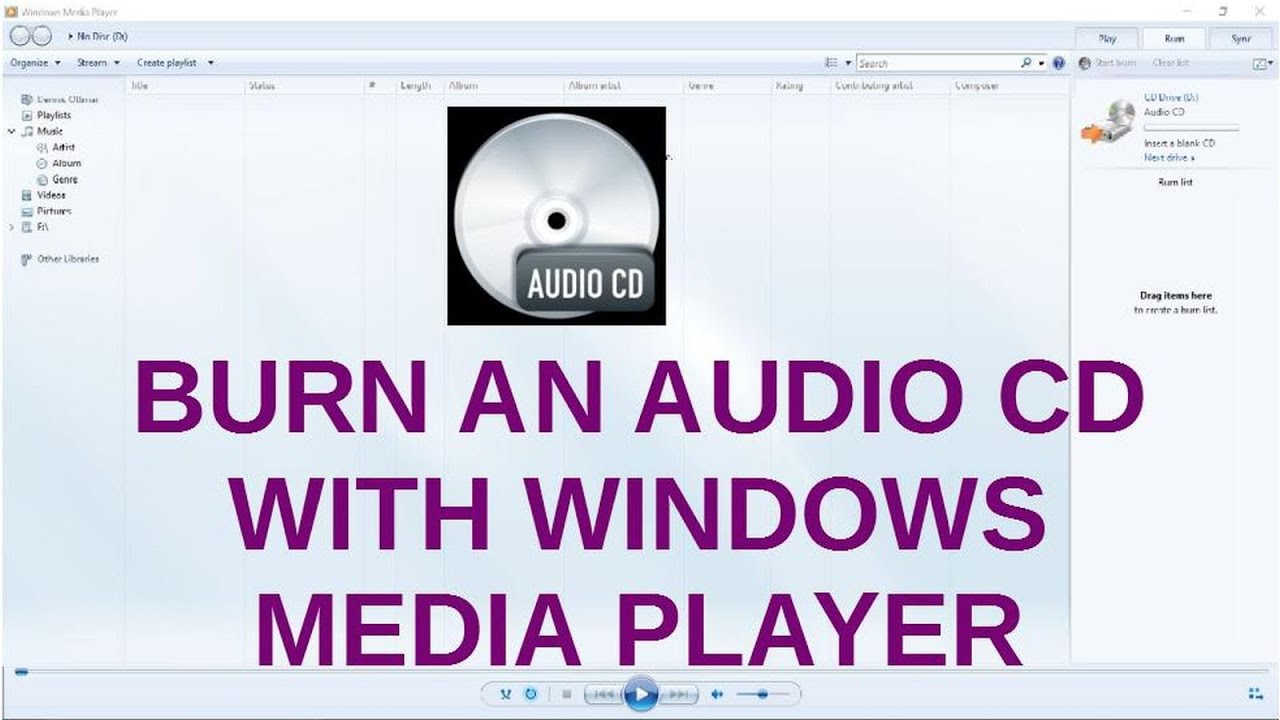
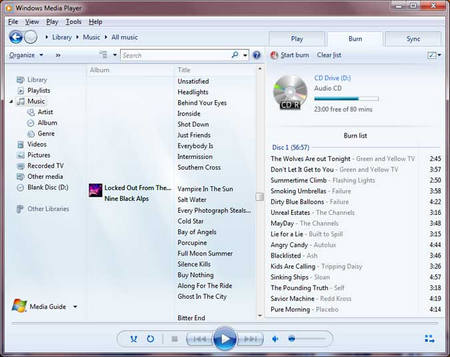
Using Windows Media Player:
- Insert a blank CD into the drive.
- Open Windows Media Player and navigate to the "Rip Music" tab.
- Click "Add items" and select the downloaded files.
- Choose "Audio CD" as the format and click "Start burn".
Using Third-Party Software:
The specific steps may vary depending on the software used. However, the general process involves:
- Launching the software and selecting "Create Data Disc" or "Create Audio CD".
- Adding the desired files to the burning queue.
- Selecting the burning speed and other options.
- Clicking "Start Burn".
Important Considerations:
- Disc Type: Ensure that the CD is compatible with the burning software and the chosen format (audio or data).
- Burning Speed: Higher burning speeds may lead to errors. Start with a lower speed and gradually increase it if needed.
- Verification: After the burn is complete, verify the disc by playing it back to ensure all files are present and playable.
FAQs
Q: Can I burn a CD from YouTube without downloading the content?
A: No, you need to download the content first. YouTube does not offer a direct burn feature.
Q: What are the different CD formats, and which one should I use?
A:
- Audio CD: Designed for storing music in a format compatible with most CD players.
- Data CD: Can store any type of digital data, including documents, images, and software.
- Mixed CD: Combines audio and data files on the same disc.
Q: How many songs can I fit on a CD?
A: A standard CD can hold approximately 80 minutes of music. The exact number of songs depends on the length of each track and the compression used.
Q: What if the burning process fails?
A: If the burn fails, try again with a lower burning speed or a different disc. Ensure the disc is clean and free of scratches.
Tips
- Use high-quality blank CDs.
- Check the disc for errors before and after burning.
- Label the CD with a permanent marker.
- Store CDs in a cool, dry place to prevent damage.
Conclusion
Burning CDs from YouTube can be a valuable way to preserve digital memories, share content with others, and enjoy the convenience of a physical format. By following the steps outlined in this guide, users can successfully create CDs from their favorite YouTube videos and music. With careful planning and the right tools, the process can be straightforward and rewarding. Remember to prioritize the legal and ethical considerations of downloading copyrighted content and to always ensure the integrity of the final product.


Closure
Thus, we hope this article has provided valuable insights into Preserving Digital Memories: A Guide to Burning CDs from YouTube on Windows 10. We hope you find this article informative and beneficial. See you in our next article!