Overscan: Understanding and Resolving Display Issues in Windows 11
Related Articles: Overscan: Understanding and Resolving Display Issues in Windows 11
Introduction
With enthusiasm, let’s navigate through the intriguing topic related to Overscan: Understanding and Resolving Display Issues in Windows 11. Let’s weave interesting information and offer fresh perspectives to the readers.
Table of Content
Overscan: Understanding and Resolving Display Issues in Windows 11
Overscan, a phenomenon often encountered on older displays, occurs when the signal from a device extends beyond the physical boundaries of the screen. This results in a portion of the image being cut off, leading to a distorted and incomplete visual experience. While modern displays have largely eliminated this issue, older monitors, particularly those connected via legacy interfaces like VGA or composite video, may still exhibit overscan.
In the context of Windows 11, overscan can manifest as a variety of problems:
- Missing content: Parts of the user interface, such as toolbars, menus, or even crucial information within applications, might be hidden outside the visible screen area.
- Distorted proportions: The aspect ratio of the displayed content may be altered, leading to stretched or squashed images.
- Unusable screen space: The overall usable screen area is reduced, diminishing the effectiveness of the display.
Addressing overscan in Windows 11 is crucial for ensuring a seamless and visually complete user experience. This article will delve into the causes, symptoms, and solutions for overscan, providing a comprehensive guide to resolving this display issue.
Understanding the Root of Overscan
Overscan originates from the way older displays interpret video signals. These displays were designed to accommodate a variety of signal formats, and they often included a built-in margin around the active display area. This margin served to compensate for variations in signal timing and to provide a buffer for potential overshoot or undershoot in the signal.
When a video signal is sent to an overscan display, the display interprets the signal as containing a larger area than the actual physical screen. Consequently, the display attempts to display the entire signal, including the intended margin, resulting in the image being cut off at the edges.
Identifying Overscan in Windows 11
Several telltale signs can indicate the presence of overscan in Windows 11:
- Missing elements: Observing missing portions of the user interface, such as toolbars, menu bars, or scroll bars, is a strong indicator of overscan.
- Incomplete windows: Applications might appear truncated, with portions of their content hidden outside the visible screen area.
- Distorted aspect ratios: Images and videos might appear stretched or compressed, betraying a mismatch between the intended and displayed aspect ratios.
- Black borders: Some displays might exhibit black borders around the visible content, further confirming the presence of overscan.
Resolving Overscan in Windows 11
Addressing overscan in Windows 11 requires identifying the source of the issue and implementing the appropriate solution. The following methods can be employed:
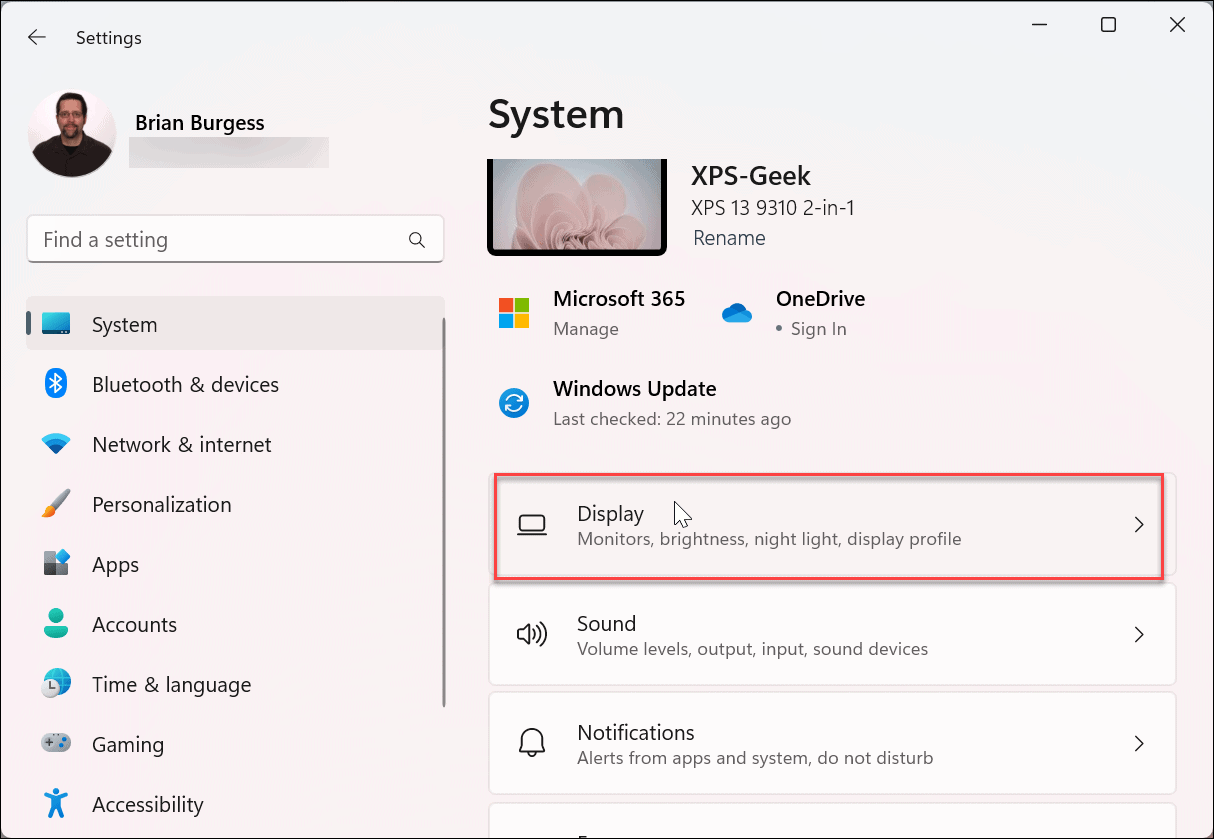
1. Adjusting Display Settings
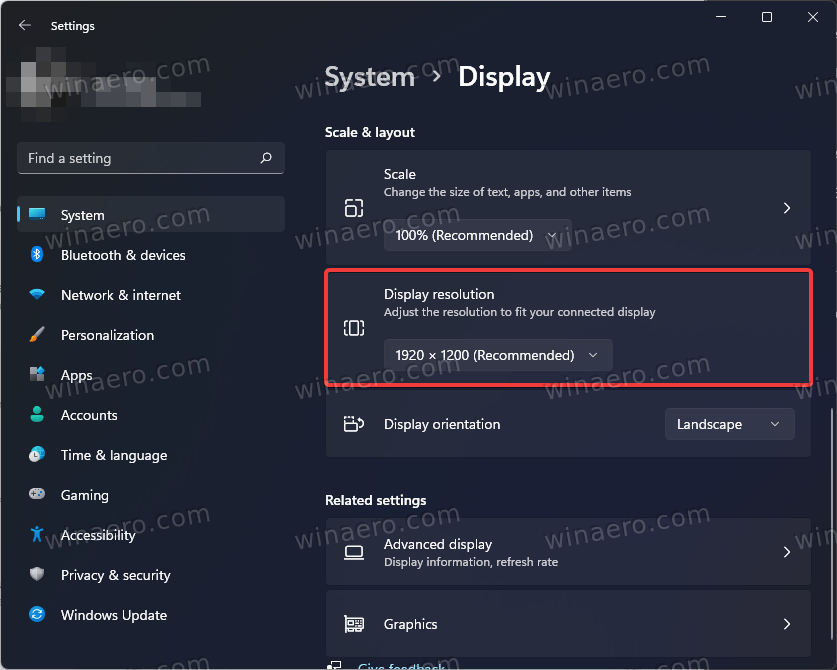
Windows 11 provides built-in tools for adjusting display settings, including the ability to control overscan.
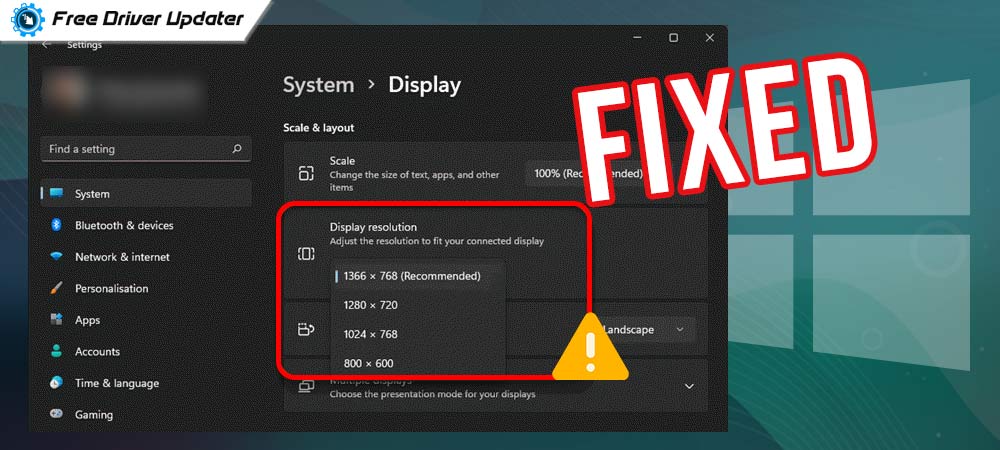
- Scaling and Layout: Within the Display Settings, users can access the "Scaling and layout" section. Here, they can adjust the scaling percentage, effectively shrinking or expanding the display to fit the physical screen.
- Advanced Display Settings: The "Advanced display settings" section allows for more granular control over the display’s properties. This includes options for adjusting the resolution, refresh rate, and color depth, which can sometimes influence overscan behavior.
- Custom Scaling: For more precise control, users can utilize the "Custom scaling" option, which allows them to define a custom scaling percentage for the display.
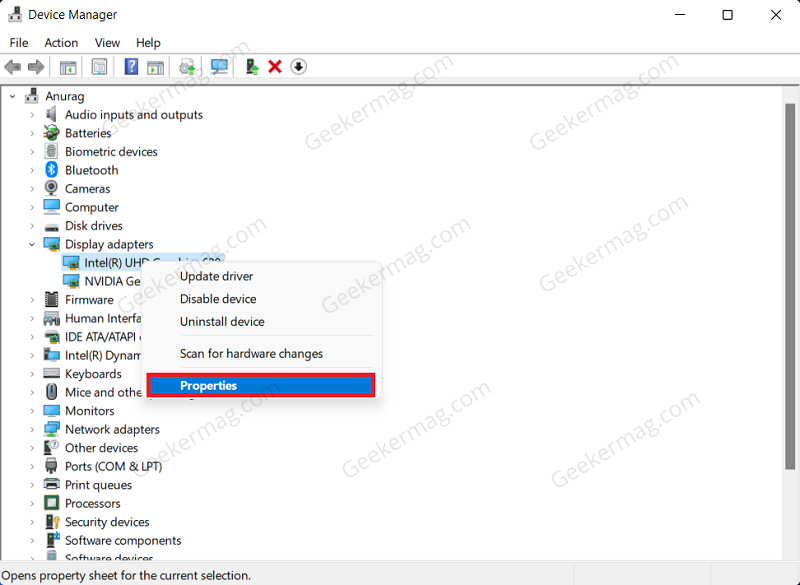
2. Using the Display Driver’s Control Panel
Many graphics card manufacturers provide their own control panels, offering additional display settings beyond those available in Windows 11. These control panels often include options for adjusting overscan compensation.
- NVIDIA Control Panel: NVIDIA users can access the NVIDIA Control Panel to adjust display settings, including options for overscan compensation.
- AMD Radeon Software: AMD users can utilize the AMD Radeon Software to fine-tune display settings, potentially addressing overscan.
- Intel Graphics Command Center: Intel graphics card users can access the Intel Graphics Command Center to adjust display settings, including overscan compensation.
3. Adjusting the Monitor’s OSD (On-Screen Display)
Some monitors, particularly older models, provide their own on-screen display (OSD) menus. These menus offer access to various display settings, including overscan compensation.
- Monitor Buttons: Locate the buttons on the monitor itself and use them to access the OSD menu.
- Overscan Control: Navigate through the OSD menu to find options related to overscan compensation or display area adjustment.
4. Utilizing Third-Party Software
Third-party software can also provide assistance in resolving overscan issues. These applications typically offer more advanced display settings and customization options.
- DisplayFusion: DisplayFusion is a popular multi-monitor management tool that includes features for adjusting overscan and other display settings.
- Custom Resolution Utility: This utility allows users to create custom display resolutions, which can be helpful in addressing overscan problems.
5. Employing Legacy Display Modes
In some cases, using legacy display modes can help mitigate overscan. These modes often offer a more restricted display area, effectively reducing the impact of overscan.
- VGA Mode: Connecting the display to the computer using a VGA cable and selecting the VGA mode can sometimes alleviate overscan.
- Composite Video Mode: Using a composite video cable and selecting the composite video mode might also help address overscan.
Tips for Resolving Overscan in Windows 11
- Start with Basic Adjustments: Begin by adjusting the display settings within Windows 11, specifically focusing on the scaling and layout options.
- Experiment with Resolutions: Try different display resolutions to determine if any particular resolution minimizes or eliminates overscan.
- Utilize the Monitor’s OSD: If the monitor has an OSD menu, explore the options related to overscan compensation or display area adjustment.
- Consider Third-Party Tools: If basic adjustments fail, explore third-party software designed for display management and overscan control.
- Consult the Monitor’s Manual: Refer to the monitor’s user manual for specific instructions on adjusting overscan settings.
FAQs Regarding Overscan in Windows 11
1. What is the difference between overscan and underscan?
Overscan refers to the display showing more content than the physical screen can accommodate, resulting in content being cut off. Underscan, on the other hand, involves the display showing less content than the physical screen can accommodate, leaving black borders around the displayed content.
2. Is overscan a common issue in modern displays?
Overscan is less common in modern displays, as they are generally designed to display the entire signal without any clipping. However, older displays, particularly those connected via legacy interfaces like VGA, may still exhibit overscan.
3. How can I tell if the overscan is caused by the monitor or the graphics card?
To determine if the overscan is caused by the monitor or the graphics card, try connecting the display to a different computer or using a different graphics card. If the overscan persists, it is likely caused by the monitor. If the overscan disappears, it is likely caused by the graphics card.
4. Can I permanently fix overscan without making any adjustments?
While there is no permanent fix for overscan, adjusting the display settings, utilizing the monitor’s OSD, or employing third-party software can effectively address the issue.
5. What are the potential downsides to adjusting overscan settings?
Adjusting overscan settings might result in a slight reduction in the overall display area or a change in the aspect ratio of the displayed content. However, these adjustments are generally minor and do not significantly impact the user experience.
Conclusion
Overscan can be a frustrating issue, leading to a distorted and incomplete visual experience. However, by understanding the causes, symptoms, and solutions, users can effectively address overscan in Windows 11. Through a combination of display settings adjustments, monitor OSD controls, third-party software, and legacy display modes, users can regain control of their display and enjoy a seamless and visually complete user experience.
![Overscaling Or Overscan in Windows 10 and Windows 11 [Fixed]](https://www.techcommuters.com/wp-content/uploads/2021/05/1.-Change-Display-Setting-1024x718.png)
![Overscaling Or Overscan in Windows 10 and Windows 11 [Fixed]](https://www.techcommuters.com/wp-content/uploads/2021/05/5.-Calibrate-Display-768x432.jpg)

Closure
Thus, we hope this article has provided valuable insights into Overscan: Understanding and Resolving Display Issues in Windows 11. We thank you for taking the time to read this article. See you in our next article!