Navigating Time: How to Adjust the Time Format in Windows 11
Related Articles: Navigating Time: How to Adjust the Time Format in Windows 11
Introduction
In this auspicious occasion, we are delighted to delve into the intriguing topic related to Navigating Time: How to Adjust the Time Format in Windows 11. Let’s weave interesting information and offer fresh perspectives to the readers.
Table of Content
Navigating Time: How to Adjust the Time Format in Windows 11
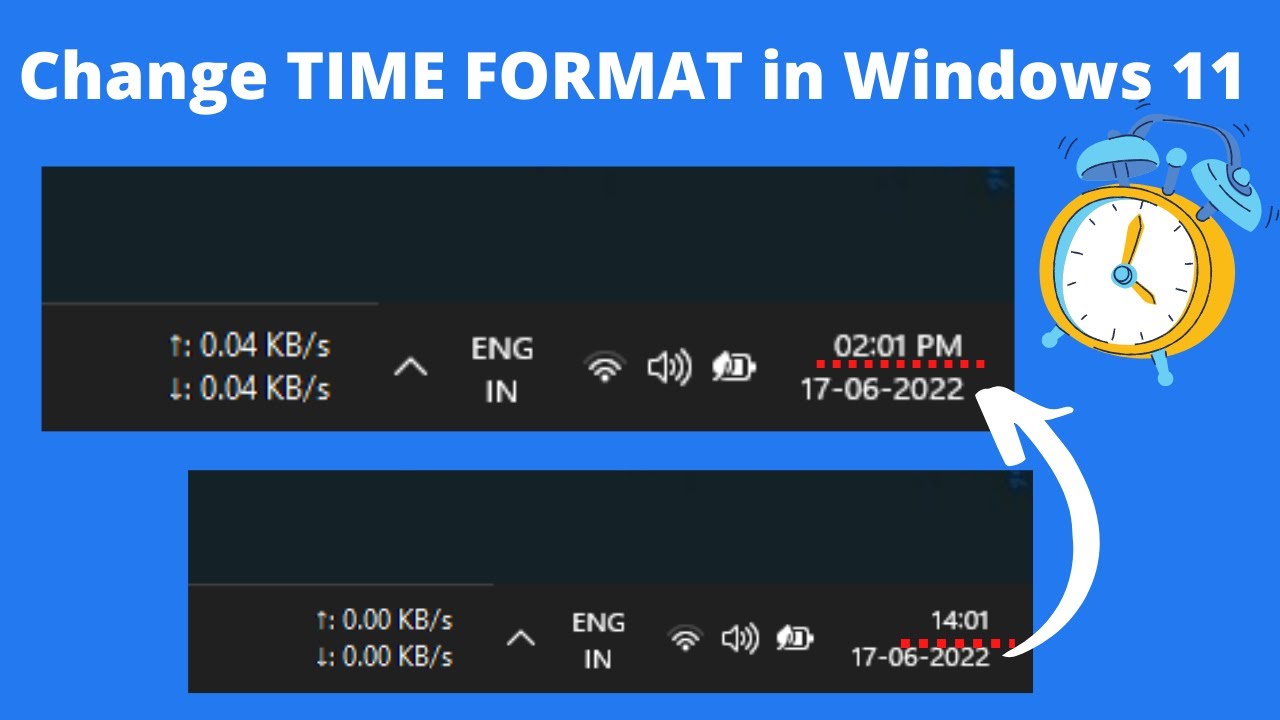
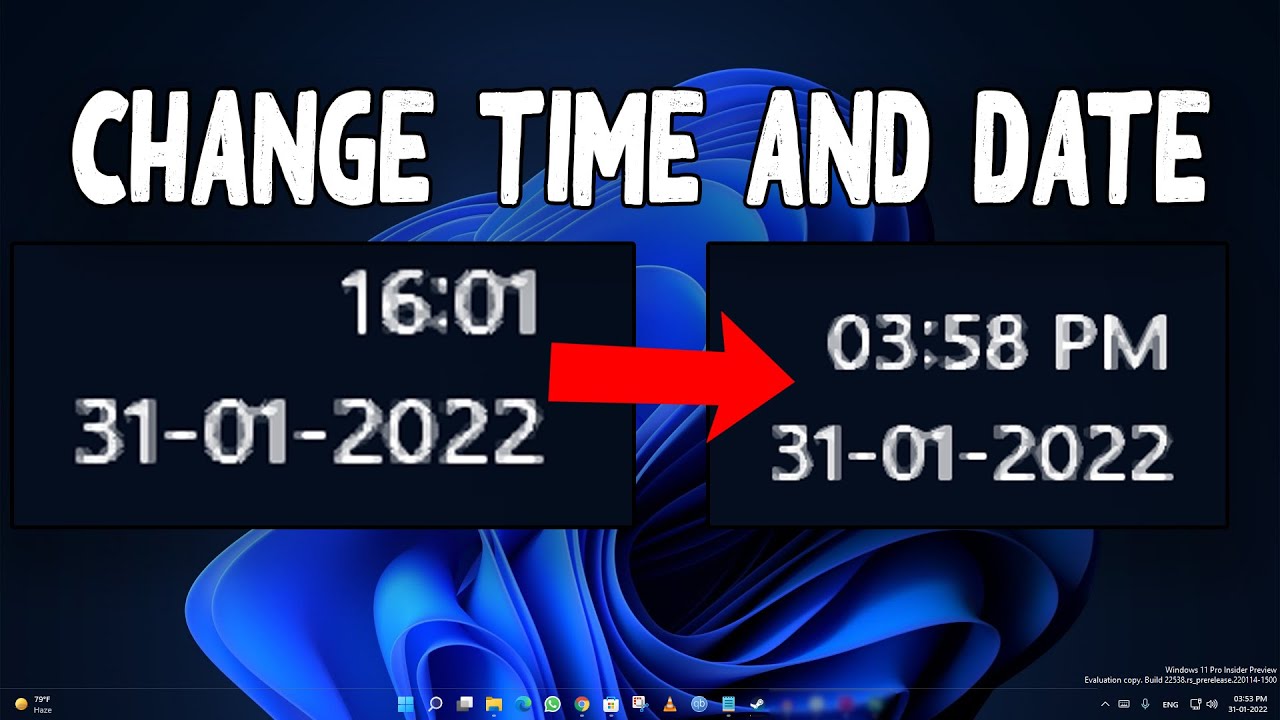
Windows 11, with its sleek interface and enhanced features, offers users a personalized experience. One aspect of this personalization lies in tailoring the display of time, choosing between the 12-hour and 24-hour formats. This seemingly minor adjustment can significantly impact user experience, particularly for those accustomed to a specific time format.
Understanding the Importance of Time Format
The time format, whether it’s the familiar AM/PM system or the straightforward 24-hour clock, influences how we perceive and interact with time. For individuals who predominantly use the 12-hour format, switching to the 24-hour format can lead to confusion and potential errors, especially when scheduling appointments or setting alarms. Conversely, those accustomed to the 24-hour format might find the 12-hour system less efficient, requiring an extra mental calculation to determine the exact time.
Adjusting the Time Format: A Step-by-Step Guide
Windows 11 provides a simple and intuitive method to switch between the 12-hour and 24-hour time formats. Here’s a detailed breakdown of the process:
-
Accessing the Settings: Begin by opening the Settings app. You can do this by either clicking the Start button and selecting the Settings icon, or by pressing the Windows key + I shortcut.
-
Navigating to Time and Language: Within the Settings app, locate and click on the Time & Language option. This section houses various settings related to time, date, and language preferences.
-
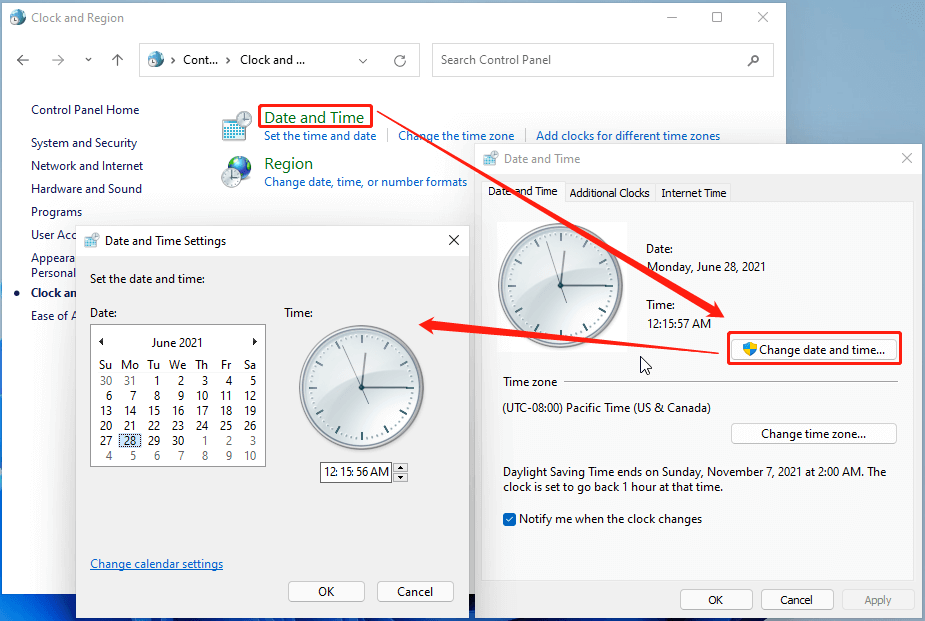
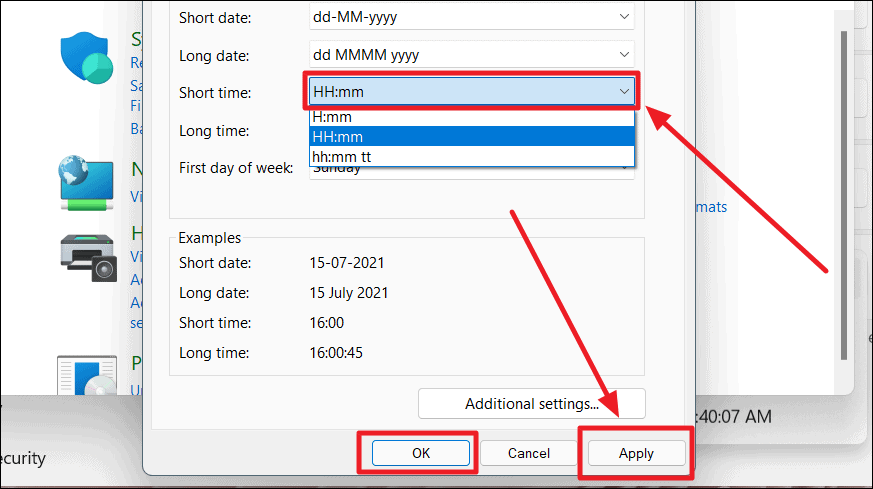
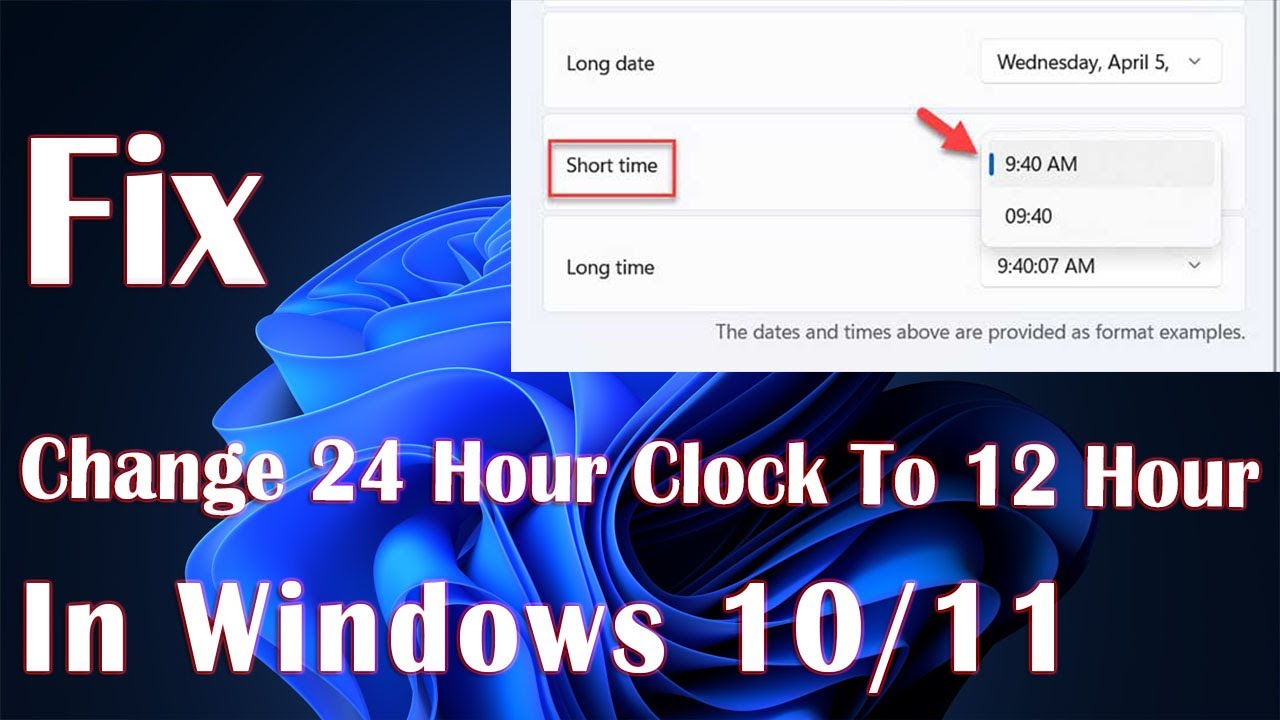
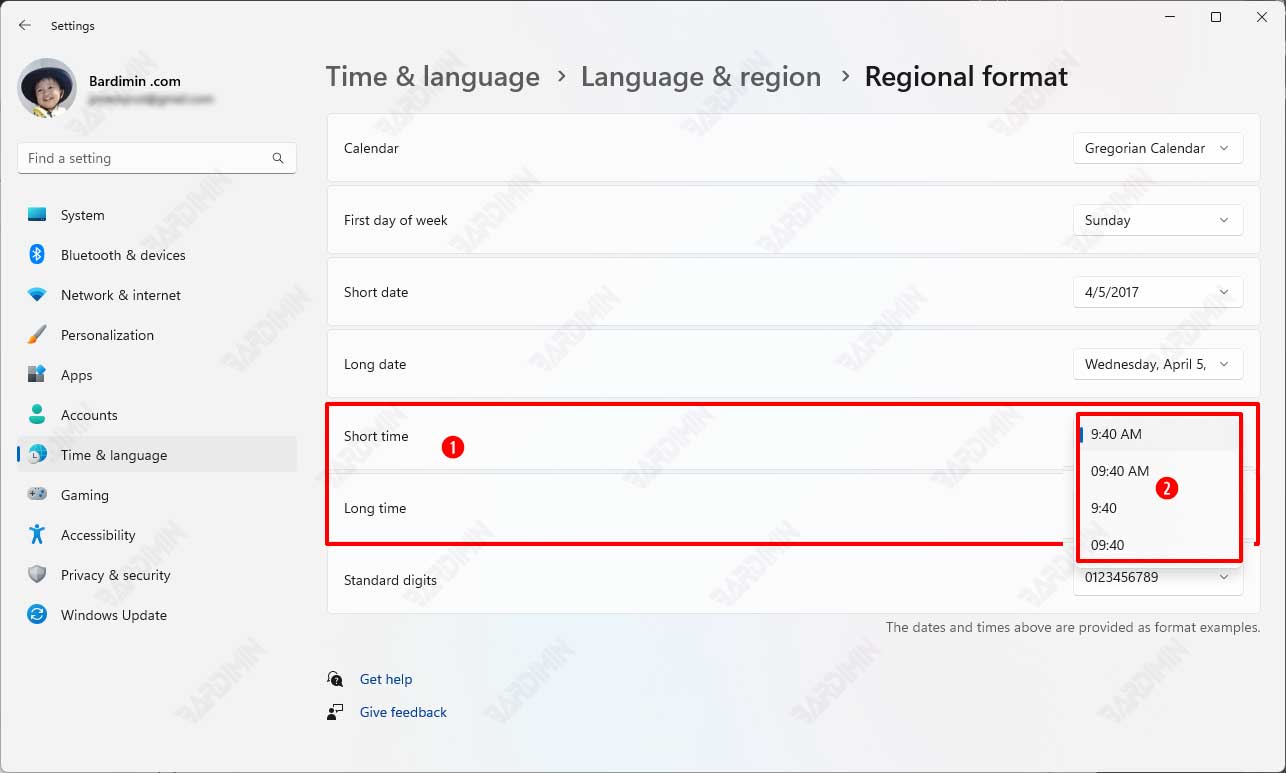
Selecting the Time Format: On the left-hand side of the Time & Language window, choose Date & time. This will display a series of options related to time and date settings.
-
Making the Change: Look for the Time format section. Here, you will find a dropdown menu with two options: 12-hour and 24-hour. Select the desired format based on your preference.
-
Confirmation and Application: Once you have selected the preferred time format, the change will be applied immediately across the operating system. This means that all clocks, calendars, and time-related applications will now display time according to the chosen format.
Additional Considerations
While the steps outlined above provide a straightforward method for adjusting the time format, there are a few additional points to consider:
-
Regional Settings: The time format is often influenced by regional settings. If you are located in a region that predominantly uses the 24-hour format, Windows may default to this setting. Similarly, if you are in a region that primarily uses the 12-hour format, Windows might automatically set the time format accordingly.
-
Language Preferences: The language settings can also impact the time format. For example, if you have selected a language that uses the 24-hour format, the time display might automatically switch to this format, regardless of the regional settings.
-
Consistency Across Devices: It’s important to ensure consistency in the time format across all your devices. If you have multiple devices, such as a desktop computer, laptop, and smartphone, consider setting the same time format across all of them to avoid confusion.
Frequently Asked Questions
Q: Can I change the time format for specific applications?
A: While Windows 11 allows you to set a system-wide time format, individual applications may have their own time display settings. You may need to explore the settings within the specific application to adjust its time format.
Q: Will changing the time format affect my time zone settings?
A: No, changing the time format will not affect your time zone settings. The time zone setting determines the actual time offset from Coordinated Universal Time (UTC), while the time format determines how this time is displayed.
Q: Can I switch back to the previous time format?
A: Absolutely. You can easily revert back to the previous time format by following the same steps outlined above and selecting the desired format from the dropdown menu.
Tips for Seamless Time Format Adjustment
-
Consistency is Key: Maintain consistency in the time format across all your devices to avoid confusion and errors.
-
Consider Your Needs: Evaluate your daily routine and determine which time format best suits your needs and preferences.
-
Experiment and Explore: Don’t be afraid to experiment with both time formats and observe how they impact your workflow and overall user experience.
Conclusion
Adjusting the time format in Windows 11 is a simple yet powerful personalization option that can significantly enhance user experience. By understanding the importance of time format and following the steps outlined above, users can easily tailor the time display to their specific preferences, ensuring a more efficient and comfortable interaction with the operating system.


![How to Change Date and Time in Windows 11 [Four Methods] Beebom](https://beebom.com/wp-content/uploads/2021/08/Method-1-Change-Date-and-Time-Through-Settings-body-2.jpg)
Closure
Thus, we hope this article has provided valuable insights into Navigating Time: How to Adjust the Time Format in Windows 11. We hope you find this article informative and beneficial. See you in our next article!