Navigating the Windows 11 Setup Process: A Comprehensive Guide
Related Articles: Navigating the Windows 11 Setup Process: A Comprehensive Guide
Introduction
With great pleasure, we will explore the intriguing topic related to Navigating the Windows 11 Setup Process: A Comprehensive Guide. Let’s weave interesting information and offer fresh perspectives to the readers.
Table of Content
Navigating the Windows 11 Setup Process: A Comprehensive Guide

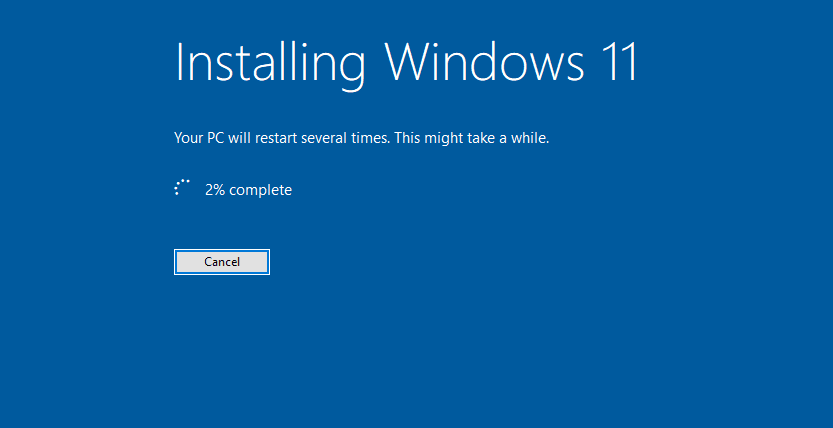
The initial setup of Windows 11 presents a crucial juncture in the user experience. It lays the foundation for a smooth, personalized, and efficient operating system environment. This comprehensive guide aims to provide a step-by-step walkthrough of the Windows 11 setup process, addressing potential challenges and highlighting key considerations.
Understanding the Setup Stages
The Windows 11 setup process can be broadly divided into the following stages:
-
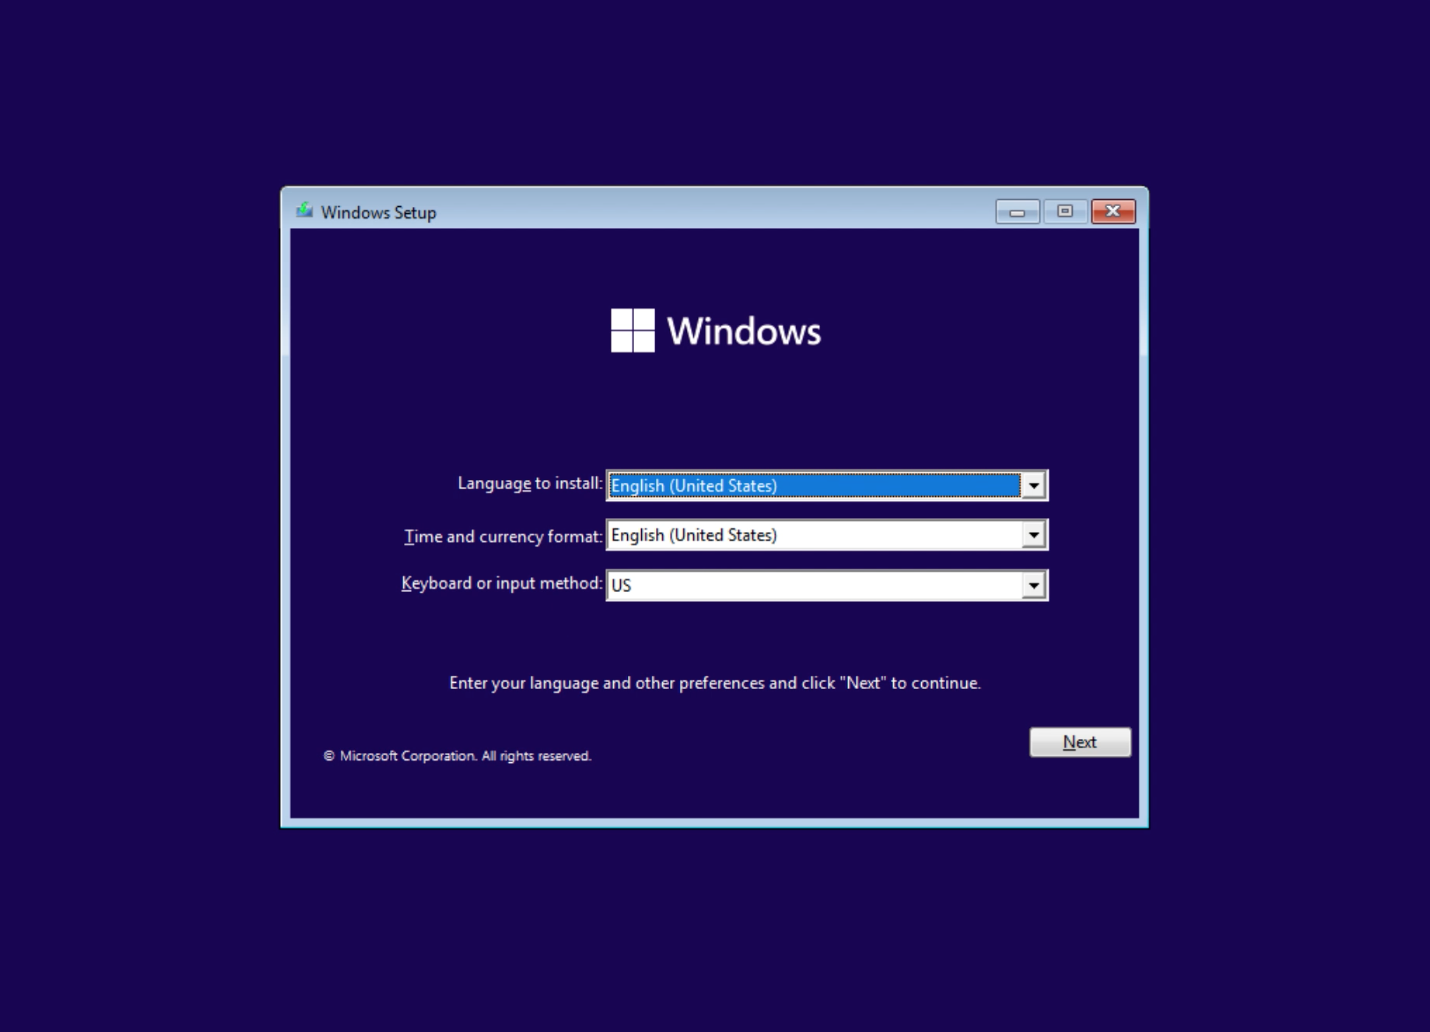
Initial Boot and Language Selection: Upon powering on the computer, the initial boot sequence begins. The user is presented with a screen prompting language selection, time and currency format, and keyboard layout. These choices are essential for ensuring proper system localization and user interaction.
-
Region and Keyboard Selection: This stage requires the user to specify their region and preferred keyboard layout. This information influences the display of dates, times, currencies, and the behavior of the keyboard.
-
Network Connectivity: Windows 11 encourages establishing a network connection during setup. This enables automatic driver updates, software installations, and access to online resources. Users can choose to connect to a Wi-Fi network or a wired connection.
-
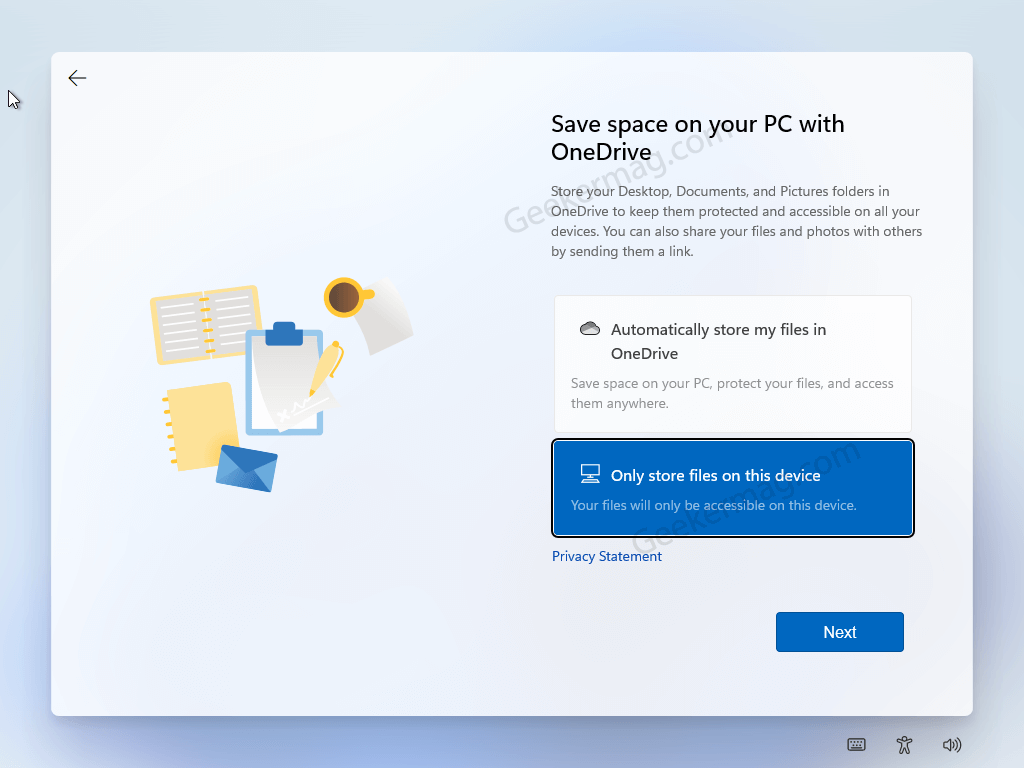
Account Creation and Privacy Options: A key step involves creating a Microsoft account or choosing to set up a local account. The former offers cloud storage, synchronization, and access to various Microsoft services. Privacy settings allow users to control data collection and sharing practices.
-
Personalization: The setup process culminates with a series of personalization options. Users can select a theme, background image, and other aesthetic elements to customize the Windows 11 experience.
Navigating the Setup Process: A Step-by-Step Guide
Stage 1: Initial Boot and Language Selection
- Power on the Computer: Initiate the boot process by pressing the power button.
- Language Selection: Choose the preferred language from the list provided. This determines the language used throughout the operating system.
- Time and Currency Format: Select the appropriate time and currency format based on the user’s location.
- Keyboard Layout: Select the keyboard layout that aligns with the user’s language and preferred typing method.
Stage 2: Region and Keyboard Selection
- Region Selection: Choose the user’s country or region from the provided list. This determines the display of dates, times, currencies, and other locale-specific settings.
- Keyboard Layout: Confirm or modify the keyboard layout selected in the previous stage.
Stage 3: Network Connectivity
- Wi-Fi Connection: If available, select the desired Wi-Fi network and enter the password if required.
- Wired Connection: If using a wired connection, ensure the Ethernet cable is securely connected. Windows 11 will automatically detect and configure the network.
Stage 4: Account Creation and Privacy Options
- Microsoft Account: Create a new Microsoft account or sign in with an existing account. This allows for cloud storage, synchronization, and access to Microsoft services.
- Local Account: Choose to create a local account if the user prefers to avoid a Microsoft account. This option restricts access to cloud services but provides greater privacy.
- Privacy Settings: Review and adjust privacy settings related to data collection, location services, and other aspects of user activity.
Stage 5: Personalization
- Theme Selection: Choose a preferred theme, such as light or dark mode.
- Background Image: Select a background image or set a custom image from the user’s computer.
- Other Personalization Options: Customize the start menu, taskbar, and other aspects of the user interface to suit individual preferences.
Addressing Potential Challenges
- Network Connection Issues: If encountering difficulty connecting to a network, ensure the network name and password are entered correctly. Consider restarting the router or modem.
- Account Creation Errors: If experiencing problems creating a Microsoft account, verify the entered information and ensure the email address is valid.
- Installation Errors: If encountering installation errors, consult the official Microsoft documentation or contact support for assistance.
Key Considerations
- System Requirements: Ensure the computer meets the minimum system requirements for Windows 11.
- Backup Data: Before starting the setup process, back up important data to prevent accidental loss.
- Software Compatibility: Verify that essential software programs are compatible with Windows 11.
- Driver Updates: Install the latest drivers for hardware components to ensure optimal performance.
FAQs about Finishing Windows 11 Setup
Q: Can I skip creating a Microsoft account?
A: Yes, users can choose to set up a local account instead of a Microsoft account. However, this will limit access to cloud storage, synchronization, and other Microsoft services.
Q: What if I forget my Microsoft account password?
A: If you forget your Microsoft account password, you can reset it through the Microsoft account recovery process.
Q: Can I change the language after setup is complete?
A: Yes, you can change the language settings after the initial setup. Access the language settings through the Windows settings menu.
Q: What are the benefits of using a Microsoft account?
A: A Microsoft account provides cloud storage, synchronization, access to Microsoft services, and other advantages.
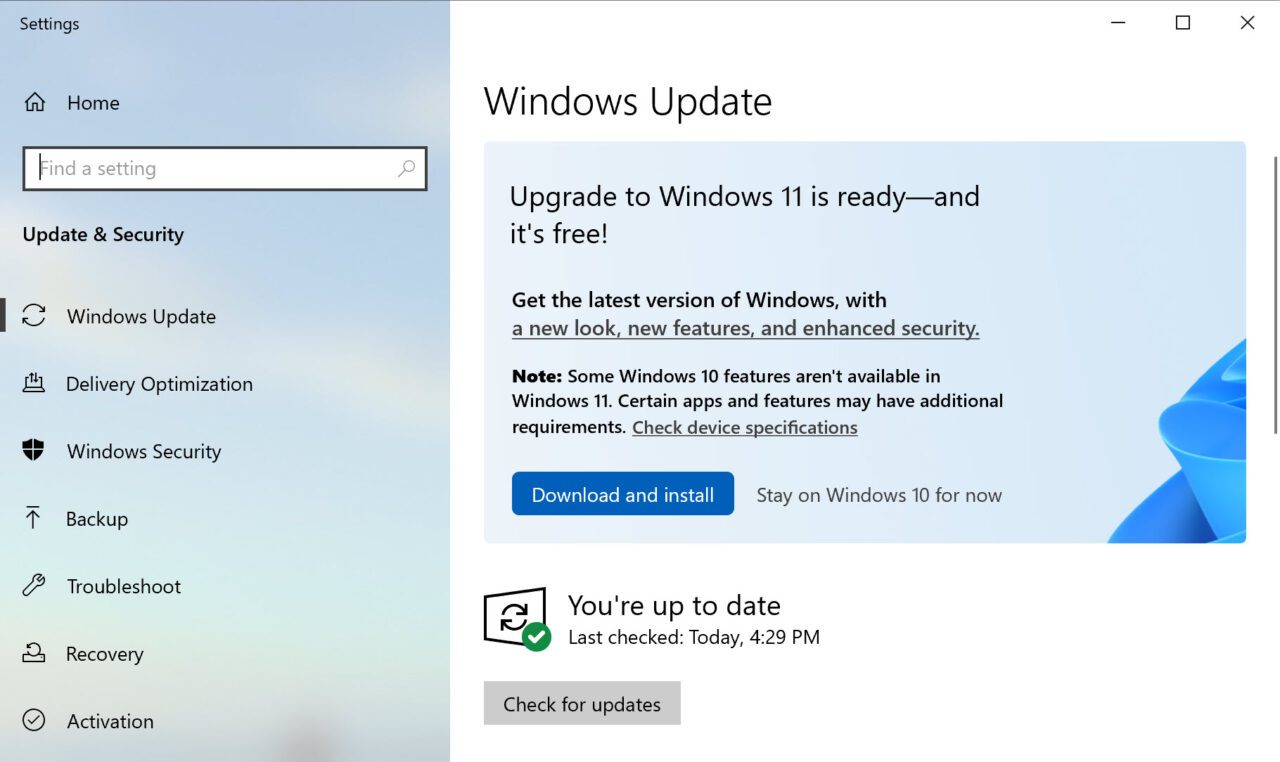
Q: How do I update Windows 11 after setup?
A: Windows 11 automatically checks for updates and installs them in the background. Users can also manually check for updates through the Windows settings menu.
Tips for Finishing Windows 11 Setup
- Read through the setup screens carefully: Pay attention to the prompts and options presented during the setup process.
- Take your time: Do not rush through the setup steps to avoid making mistakes.
- Customize to your preferences: Utilize the personalization options to create a user experience that suits your needs.
- Explore the settings menu: Familiarize yourself with the Windows settings menu to adjust various aspects of the operating system.
- Install essential software: After setup, install necessary software programs, such as antivirus software, web browsers, and productivity tools.
Conclusion
Completing the Windows 11 setup process successfully lays the groundwork for a seamless and personalized user experience. By carefully navigating the stages, addressing potential challenges, and making informed decisions, users can unlock the full potential of Windows 11. This comprehensive guide has provided a detailed walkthrough, addressing key considerations and offering valuable tips to ensure a smooth and successful setup process.


![How To Install Windows 11 ISO [Developer Preview]: 3 Working Methods!](https://i0.wp.com/en.mohamedovic.com/wp-content/uploads/2021/06/Install-Windows-11-Guide.jpg)
Closure
Thus, we hope this article has provided valuable insights into Navigating the Windows 11 Setup Process: A Comprehensive Guide. We hope you find this article informative and beneficial. See you in our next article!