Navigating the Screenshot Destination in Windows 11: A Comprehensive Guide
Related Articles: Navigating the Screenshot Destination in Windows 11: A Comprehensive Guide
Introduction
With enthusiasm, let’s navigate through the intriguing topic related to Navigating the Screenshot Destination in Windows 11: A Comprehensive Guide. Let’s weave interesting information and offer fresh perspectives to the readers.
Table of Content
Navigating the Screenshot Destination in Windows 11: A Comprehensive Guide

In the digital age, screenshots have become an indispensable tool for communication, documentation, and problem-solving. Windows 11, with its intuitive interface and advanced features, empowers users to capture and share these digital snapshots effortlessly. However, the default location for storing screenshots might not always align with user preferences or organizational needs. This article provides a comprehensive guide to navigating and modifying the screenshot destination in Windows 11, ensuring a seamless and personalized experience.
Understanding the Default Screenshot Location:
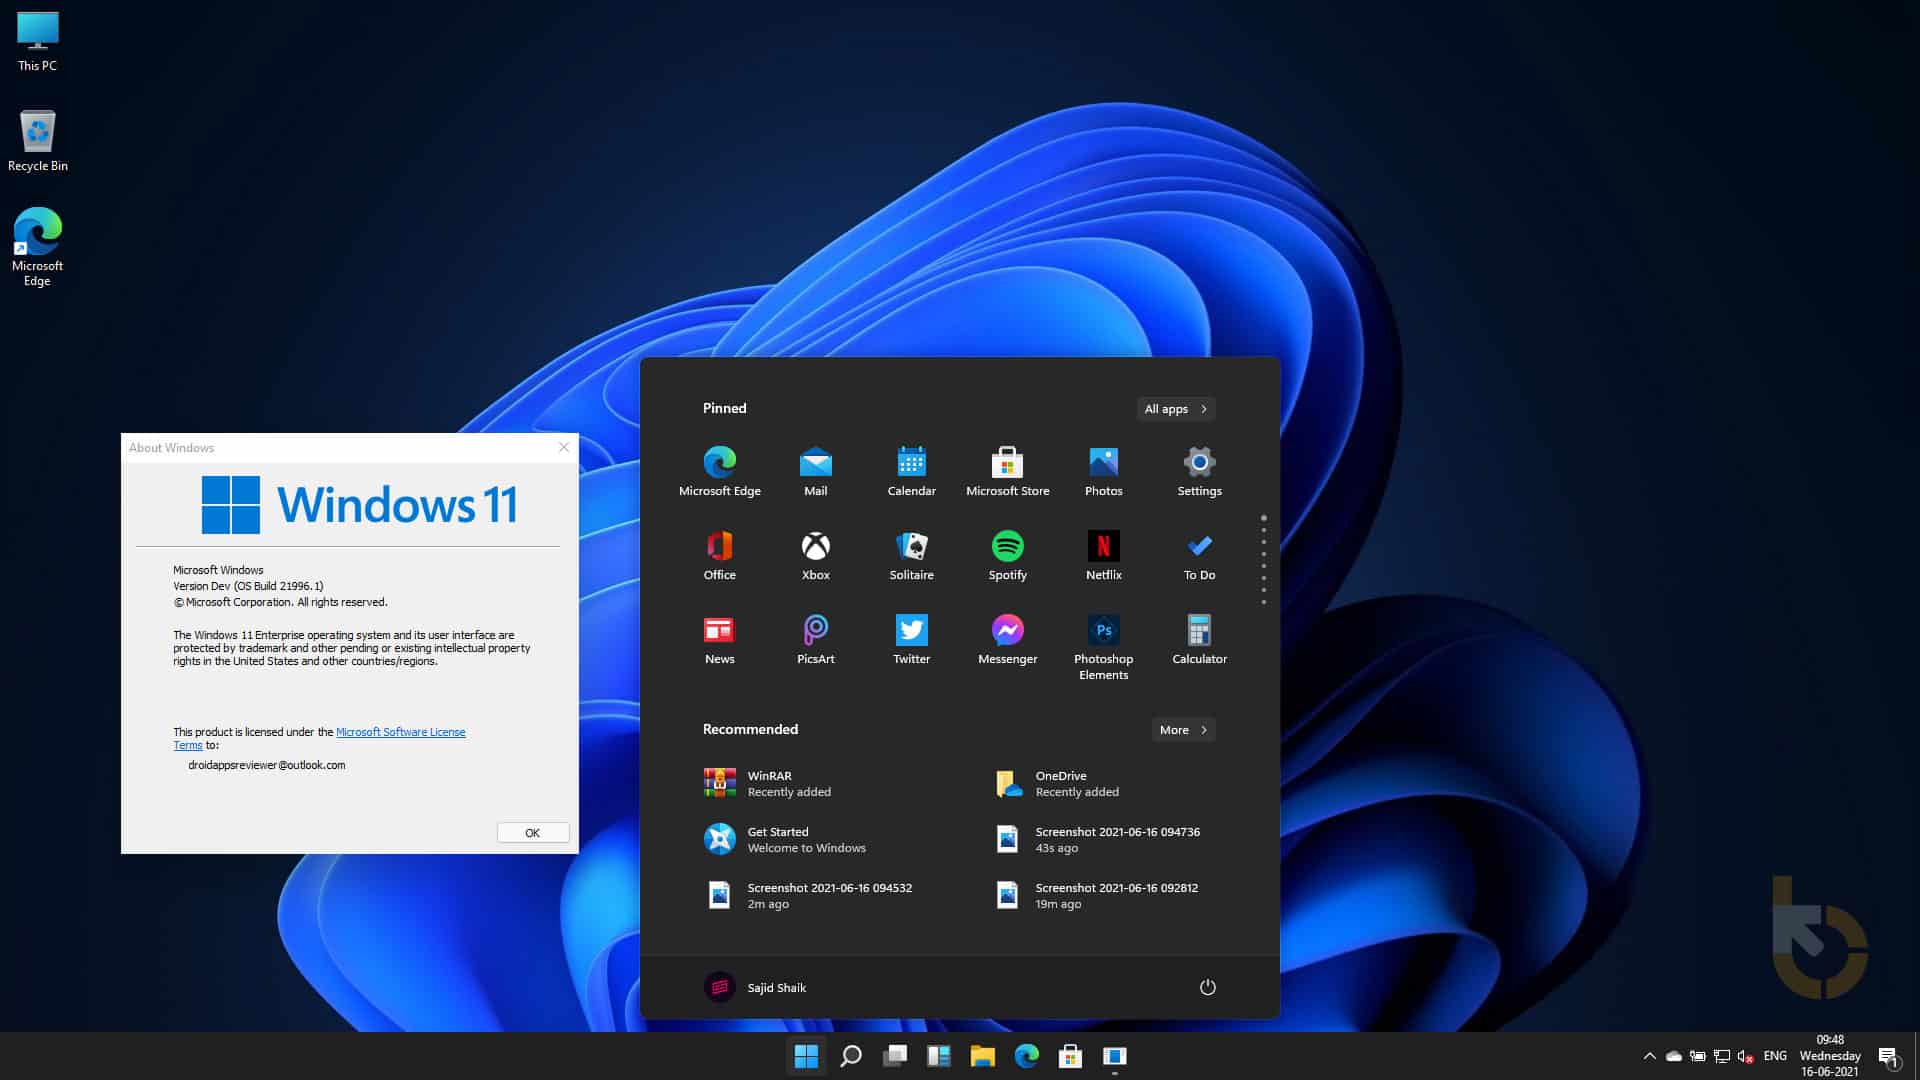
By default, Windows 11 saves screenshots in the "Pictures" folder, specifically within a subfolder named "Screenshots." This standardized approach simplifies screenshot management for most users. However, certain scenarios might necessitate a change in this default behavior.
Reasons for Modifying the Screenshot Destination:
- Centralized Storage: Users might prefer to store all screenshots in a designated folder within their Documents or a specific cloud storage service, facilitating easy access and organization.
- Project-Specific Organization: For professionals and students working on multiple projects, segregating screenshots by project can streamline workflow and prevent clutter.
- Enhanced Security: Users concerned about privacy or data security might choose to store screenshots in encrypted folders or external drives, limiting unauthorized access.
- Improved Efficiency: If frequently sharing screenshots with colleagues or collaborators, saving them to a readily accessible network location can expedite the process.
Methods to Change the Screenshot Destination:
Windows 11 offers multiple methods to modify the default screenshot location, catering to diverse user preferences and technical expertise.
Method 1: Using the "Print Screen" Key (Classic Method):
This traditional method involves pressing the "Print Screen" (PrtScn) key on the keyboard. This captures the entire screen and copies it to the clipboard. To save the screenshot, users need to open an image editor (like Paint) and paste the image (Ctrl + V). While this method provides flexibility in choosing the saving location, it requires an additional step of pasting and saving the image manually.
Method 2: Using the Windows Key + Shift + S (Snipping Tool):
This method utilizes the built-in Snipping Tool, accessible through the Windows key + Shift + S shortcut. The Snipping Tool allows users to select a specific area of the screen for capture, offering greater control over the screenshot. Upon capture, the Snipping Tool automatically opens a small window displaying the screenshot, providing options to save, copy, or share the image. The save location can be chosen from the provided options, including the "Pictures" folder or any other desired location.
Method 3: Using the "Windows Key + Print Screen" Shortcut (Modern Method):
This method, introduced in recent Windows versions, directly captures the entire screen and automatically saves the screenshot to the "Pictures" folder within the "Screenshots" subfolder. While convenient, this method lacks flexibility in choosing the save location.
Method 4: Utilizing Third-Party Screenshot Tools:
Numerous third-party screenshot tools are available, offering advanced features and customization options. These tools often allow users to choose the save location, capture specific regions, add annotations, and even schedule screenshots. Some popular examples include Snagit, Lightshot, and ShareX.
Method 5: Modifying the Default Save Location Through Registry Editor:
For experienced users seeking granular control, modifying the registry settings can permanently alter the screenshot save location. This method requires caution, as incorrect modifications can destabilize the operating system.
Steps to Modify the Default Save Location Through Registry Editor:
- Open the "Run" dialog box by pressing the Windows key + R.
- Type "regedit" and press Enter.
- Navigate to the following key:
HKEY_CURRENT_USERSoftwareMicrosoftWindowsCurrentVersionExplorerUser Shell Folders - Double-click on the "My Pictures" value and change the path to the desired location. For example, to save screenshots to the "Documents" folder, change the path to "%USERPROFILE%DocumentsScreenshots".
- Click "OK" to confirm the changes.
- Close the Registry Editor and restart your computer for the changes to take effect.
Important Considerations:
- Permissions: Ensure that the chosen save location has appropriate permissions for saving files.
- File Format: Screenshots are typically saved as PNG files, but some tools offer other formats like JPEG.
- Backup: Before modifying the registry, create a backup of the registry to prevent data loss.
FAQs:
Q: Can I change the default screenshot location for individual apps?
A: Unfortunately, there’s no built-in feature to change the screenshot location for specific apps. However, some third-party screenshot tools offer app-specific settings.
Q: Can I automatically rename screenshots based on date and time?
A: Some third-party screenshot tools allow automatic renaming based on date and time, ensuring better organization.
Q: How do I change the screenshot format (e.g., JPEG instead of PNG)?
A: While the default format is typically PNG, some third-party tools offer the flexibility to choose other formats.
Q: Can I capture a specific window instead of the entire screen?
A: The Snipping Tool allows capturing specific regions, including individual windows. Third-party tools often offer more advanced window capture features.
Tips:
- Explore Third-Party Tools: Consider using third-party screenshot tools for enhanced features and customization.
- Utilize Cloud Storage: Save screenshots to cloud storage services for easy access and sharing.
- Create Folders: Organize screenshots by project or category for better management.
- Regularly Clear Screenshots: Periodically delete unnecessary screenshots to maintain disk space.
Conclusion:
Modifying the default screenshot location in Windows 11 offers a personalized and efficient approach to managing digital snapshots. Whether prioritizing centralized storage, project-specific organization, or enhanced security, users can leverage the methods outlined in this article to tailor their screenshot experience. By understanding the various options and implementing the appropriate method, users can streamline their workflow, optimize storage, and enhance their overall productivity.


Closure
Thus, we hope this article has provided valuable insights into Navigating the Screenshot Destination in Windows 11: A Comprehensive Guide. We appreciate your attention to our article. See you in our next article!