Navigating the Realm of Home Automation: A Comprehensive Guide to Installing Home Assistant on Windows 10
Related Articles: Navigating the Realm of Home Automation: A Comprehensive Guide to Installing Home Assistant on Windows 10
Introduction
In this auspicious occasion, we are delighted to delve into the intriguing topic related to Navigating the Realm of Home Automation: A Comprehensive Guide to Installing Home Assistant on Windows 10. Let’s weave interesting information and offer fresh perspectives to the readers.
Table of Content
Navigating the Realm of Home Automation: A Comprehensive Guide to Installing Home Assistant on Windows 10

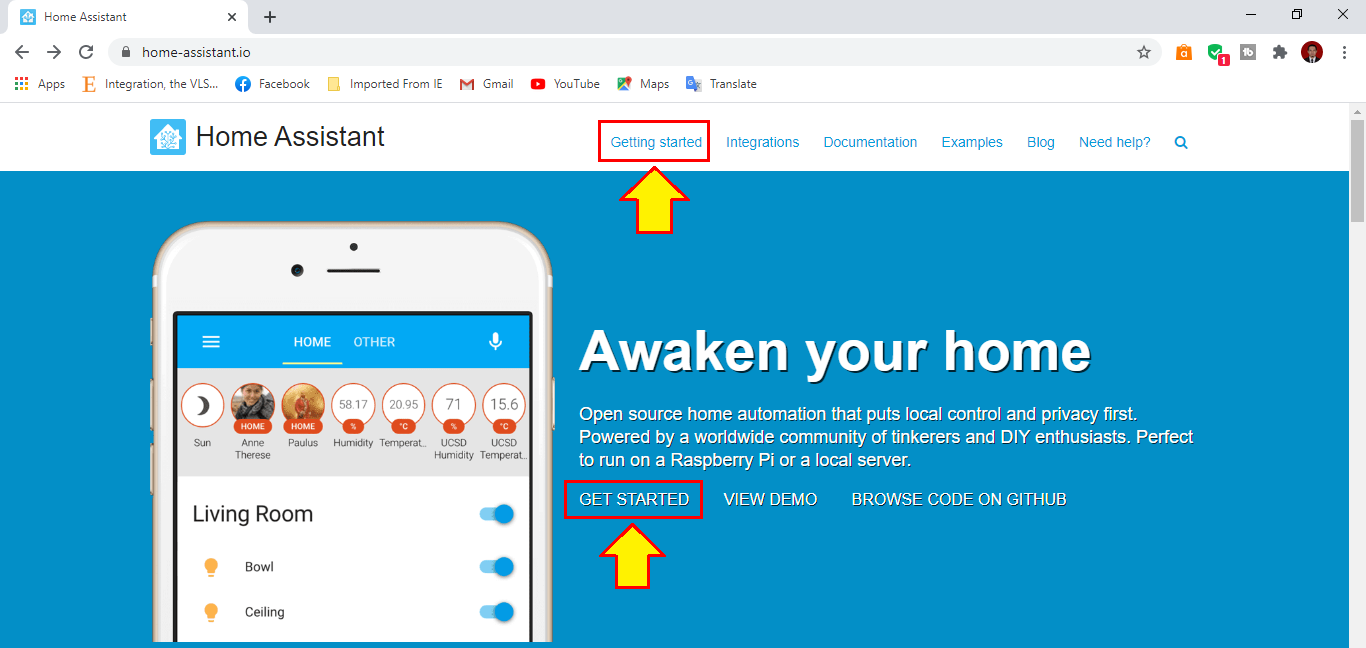
Home automation has evolved from a futuristic dream to a tangible reality, offering a plethora of benefits for homeowners seeking to enhance comfort, security, and energy efficiency. At the heart of this revolution lies Home Assistant, a powerful and versatile open-source home automation platform that empowers users to create a personalized smart home ecosystem. This comprehensive guide provides a step-by-step walkthrough of installing Home Assistant on Windows 10, demystifying the process and enabling users to unlock the full potential of this transformative technology.
Understanding Home Assistant’s Strengths
Home Assistant stands out as a compelling choice for home automation enthusiasts due to its multifaceted capabilities:
- Open-source Nature: This fundamental aspect allows for complete customization and control, enabling users to tailor their smart home experience to their specific needs and preferences.
- Extensive Device Compatibility: Home Assistant boasts an impressive library of integrations, supporting a wide range of smart home devices from various manufacturers. This ensures seamless communication and control across the entire ecosystem.
- Flexibility and Scalability: Whether managing a single room or an entire house, Home Assistant scales effortlessly, accommodating growing needs and expanding smart home ambitions.
- Automation Capabilities: Home Assistant empowers users to automate various tasks, from turning off lights at sunset to adjusting thermostats based on weather conditions, creating a truly intelligent and responsive environment.
- Security and Privacy: As an open-source platform, Home Assistant allows users to have full control over their data and security, promoting transparency and peace of mind.
Prerequisites for Installation
Before embarking on the installation journey, ensure the following prerequisites are met:
- Windows 10 Operating System: Home Assistant requires a Windows 10 environment for smooth operation.
-
Virtual Machine Software: Virtualization is key to running Home Assistant on Windows 10. Popular choices include:
- VirtualBox: A free and widely-used virtualization software.
- VMware Workstation: A powerful and feature-rich virtualization solution.
- Internet Connection: A stable internet connection is essential for downloading and installing Home Assistant components.
- Administrative Privileges: Ensure you have administrator rights on your Windows 10 system to perform necessary installations and configurations.
Installation Process: A Step-by-Step Guide
Step 1: Downloading Home Assistant Operating System (HA OS)
- Visit the official Home Assistant website: https://www.home-assistant.io/
- Navigate to the "Downloads" section and select the "Home Assistant Operating System" option.
- Choose the appropriate version for your virtual machine software (VirtualBox or VMware).
- Download the .ova file, which contains the pre-configured Home Assistant operating system.
Step 2: Creating a Virtual Machine
-
VirtualBox:
- Open VirtualBox and click "New" to create a new virtual machine.
- Choose a name for your virtual machine (e.g., "Home Assistant").
- Select the appropriate operating system (e.g., Linux) and version.
- Allocate sufficient memory (at least 2 GB) and hard disk space (at least 20 GB) for optimal performance.
-
VMware Workstation:
- Open VMware Workstation and click "Create a New Virtual Machine."
- Select "I will install the operating system later" and click "Next."
- Choose "Linux" as the operating system type and select the appropriate version.
- Allocate sufficient memory and hard disk space, similar to VirtualBox.
Step 3: Importing the Home Assistant .ova File
-
VirtualBox:
- In the VirtualBox manager, click "Settings" for the newly created virtual machine.
- Go to the "Storage" tab and click the "Empty" icon next to "Hard Disk."
- Select "Choose Existing Disk" and browse to the downloaded .ova file.
- Click "OK" to import the Home Assistant operating system.
-
VMware Workstation:
- In the VMware Workstation manager, click "File" and then "Import OVF Template."
- Browse to the downloaded .ova file and click "Next."
- Review the settings and click "Finish" to import the Home Assistant operating system.
Step 4: Starting the Virtual Machine
-
VirtualBox:
- Select the "Home Assistant" virtual machine in the VirtualBox manager.
- Click "Start" to power on the virtual machine.
-
VMware Workstation:
- Select the "Home Assistant" virtual machine in the VMware Workstation manager.
- Click "Power On This Virtual Machine" to start the virtual machine.
Step 5: Accessing Home Assistant
-
Web Interface:
- Once the virtual machine boots up, open a web browser and navigate to the IP address displayed on the virtual machine console.
- You will be prompted to enter the default username and password, which are typically "admin" and "password" respectively.
-
Mobile App:
- Download the official Home Assistant mobile app for Android or iOS.
- Log in using the IP address and credentials.
Step 6: Configuring Home Assistant
-
Integrations:
- Add your desired smart home devices by navigating to the "Integrations" section.
- Search for your device manufacturer and follow the instructions to set up the integration.
-
Automation:
- Create automation rules to trigger specific actions based on predefined conditions.
- For example, you can set up a rule to automatically turn off the lights when the front door is closed.
-
Dashboards:
- Customize your Home Assistant dashboard to display the information and controls you need most.
- Add widgets for devices, sensors, and automation triggers.
-
Security:
- Secure your Home Assistant instance by changing the default password and enabling two-factor authentication.
Troubleshooting Common Issues
- Network Connectivity: Ensure your virtual machine is properly connected to your network.
- Firewall Settings: Check your firewall settings to allow access to the Home Assistant web interface.
- Device Compatibility: Verify that your smart home devices are compatible with Home Assistant.
- Integration Issues: Refer to the documentation for specific device integrations for troubleshooting guidance.
FAQs: Addressing Common Queries
Q: Can I run Home Assistant directly on Windows 10 without using a virtual machine?
A: While it is possible to run Home Assistant directly on Windows 10, it is not recommended. Running within a virtual machine provides greater isolation, stability, and security for your system.
Q: What are the minimum hardware requirements for running Home Assistant?
A: Home Assistant is relatively lightweight, but it’s recommended to have a processor with at least 2 cores, 2 GB of RAM, and 20 GB of storage space for optimal performance.
Q: Is Home Assistant compatible with all smart home devices?
A: Home Assistant supports a wide range of smart home devices, but compatibility can vary depending on the manufacturer and device model. Check the Home Assistant documentation for a comprehensive list of supported devices.
Q: How can I secure my Home Assistant instance?
A: Change the default password, enable two-factor authentication, and consider using a VPN for added security.
Q: Can I access Home Assistant remotely?
A: Yes, you can access Home Assistant remotely using a VPN or a dynamic DNS service.
Tips for a Seamless Home Assistant Experience
- Start Small: Begin by integrating a few devices and creating basic automation rules to gain familiarity with the platform.
- Explore the Documentation: The Home Assistant documentation is a valuable resource for learning about advanced features and troubleshooting issues.
- Join the Community: Engage with the vibrant Home Assistant community for support, inspiration, and collaboration.
- Experiment and Customize: Don’t be afraid to experiment with different configurations and automation rules to personalize your smart home experience.
Conclusion: Embracing the Power of Home Automation
Installing Home Assistant on Windows 10 opens the door to a world of possibilities, enabling users to take control of their home environment and create a truly personalized smart home experience. This comprehensive guide has provided a step-by-step walkthrough, addressing common concerns and offering valuable tips for maximizing the potential of this powerful platform. By harnessing the flexibility, scalability, and open-source nature of Home Assistant, users can transform their homes into intelligent, efficient, and comfortable spaces, seamlessly integrating technology into their daily lives.


Closure
Thus, we hope this article has provided valuable insights into Navigating the Realm of Home Automation: A Comprehensive Guide to Installing Home Assistant on Windows 10. We appreciate your attention to our article. See you in our next article!