Navigating the Past: Understanding System Restore Points in Windows 11
Related Articles: Navigating the Past: Understanding System Restore Points in Windows 11
Introduction
In this auspicious occasion, we are delighted to delve into the intriguing topic related to Navigating the Past: Understanding System Restore Points in Windows 11. Let’s weave interesting information and offer fresh perspectives to the readers.
Table of Content
Navigating the Past: Understanding System Restore Points in Windows 11
System restore points, often referred to as "snapshots," are invaluable tools in the realm of Windows 11. They capture a specific configuration of your operating system and its settings, allowing you to revert to a previous state if problems arise. This mechanism provides a safety net against unforeseen software conflicts, driver issues, or accidental changes that might destabilize your system.
The Mechanics of System Restore Points
System restore points are automatically generated by Windows 11 at regular intervals, particularly before significant system changes. These changes can include:
- Software Installation or Updates: Windows 11 creates restore points before installing or updating software, ensuring you can roll back if the new software causes conflicts or instability.
- Driver Updates: Similar to software installations, driver updates can introduce issues. System restore points act as a safeguard against such scenarios.
- Windows Updates: Major Windows updates, while generally beneficial, can sometimes lead to unexpected behavior. System restore points enable a safe return to the previous version if needed.
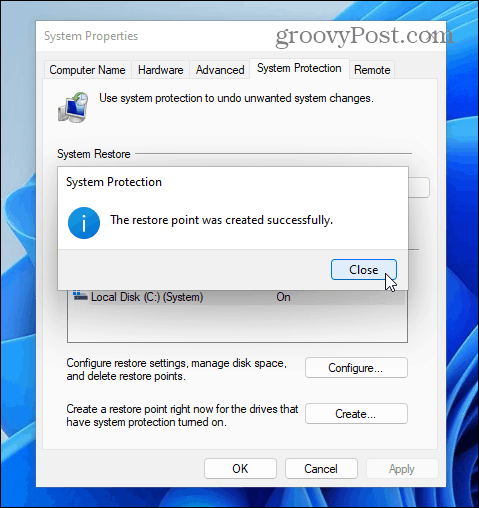
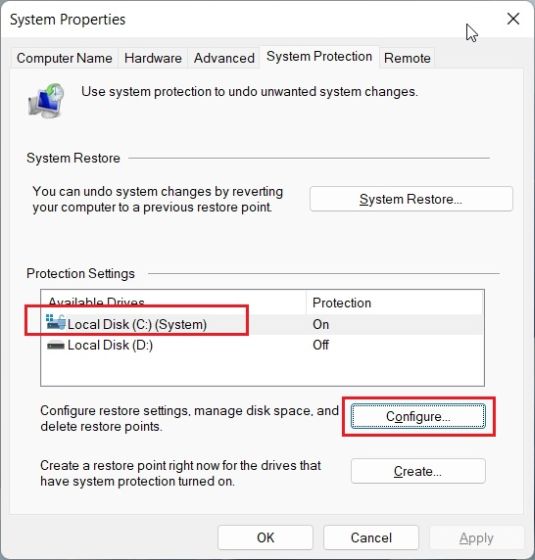
- Manual Creation: Users have the option to create system restore points manually, offering a greater degree of control over the snapshots.
Finding System Restore Points in Windows 11
Locating system restore points is a straightforward process:
- Open the Control Panel: Navigate to the Control Panel by searching for it in the Windows 11 search bar.
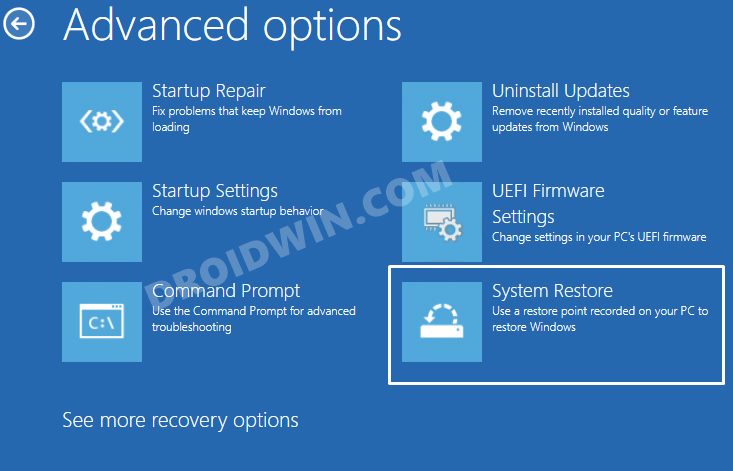
- Access Recovery Options: Within the Control Panel, select "Recovery."
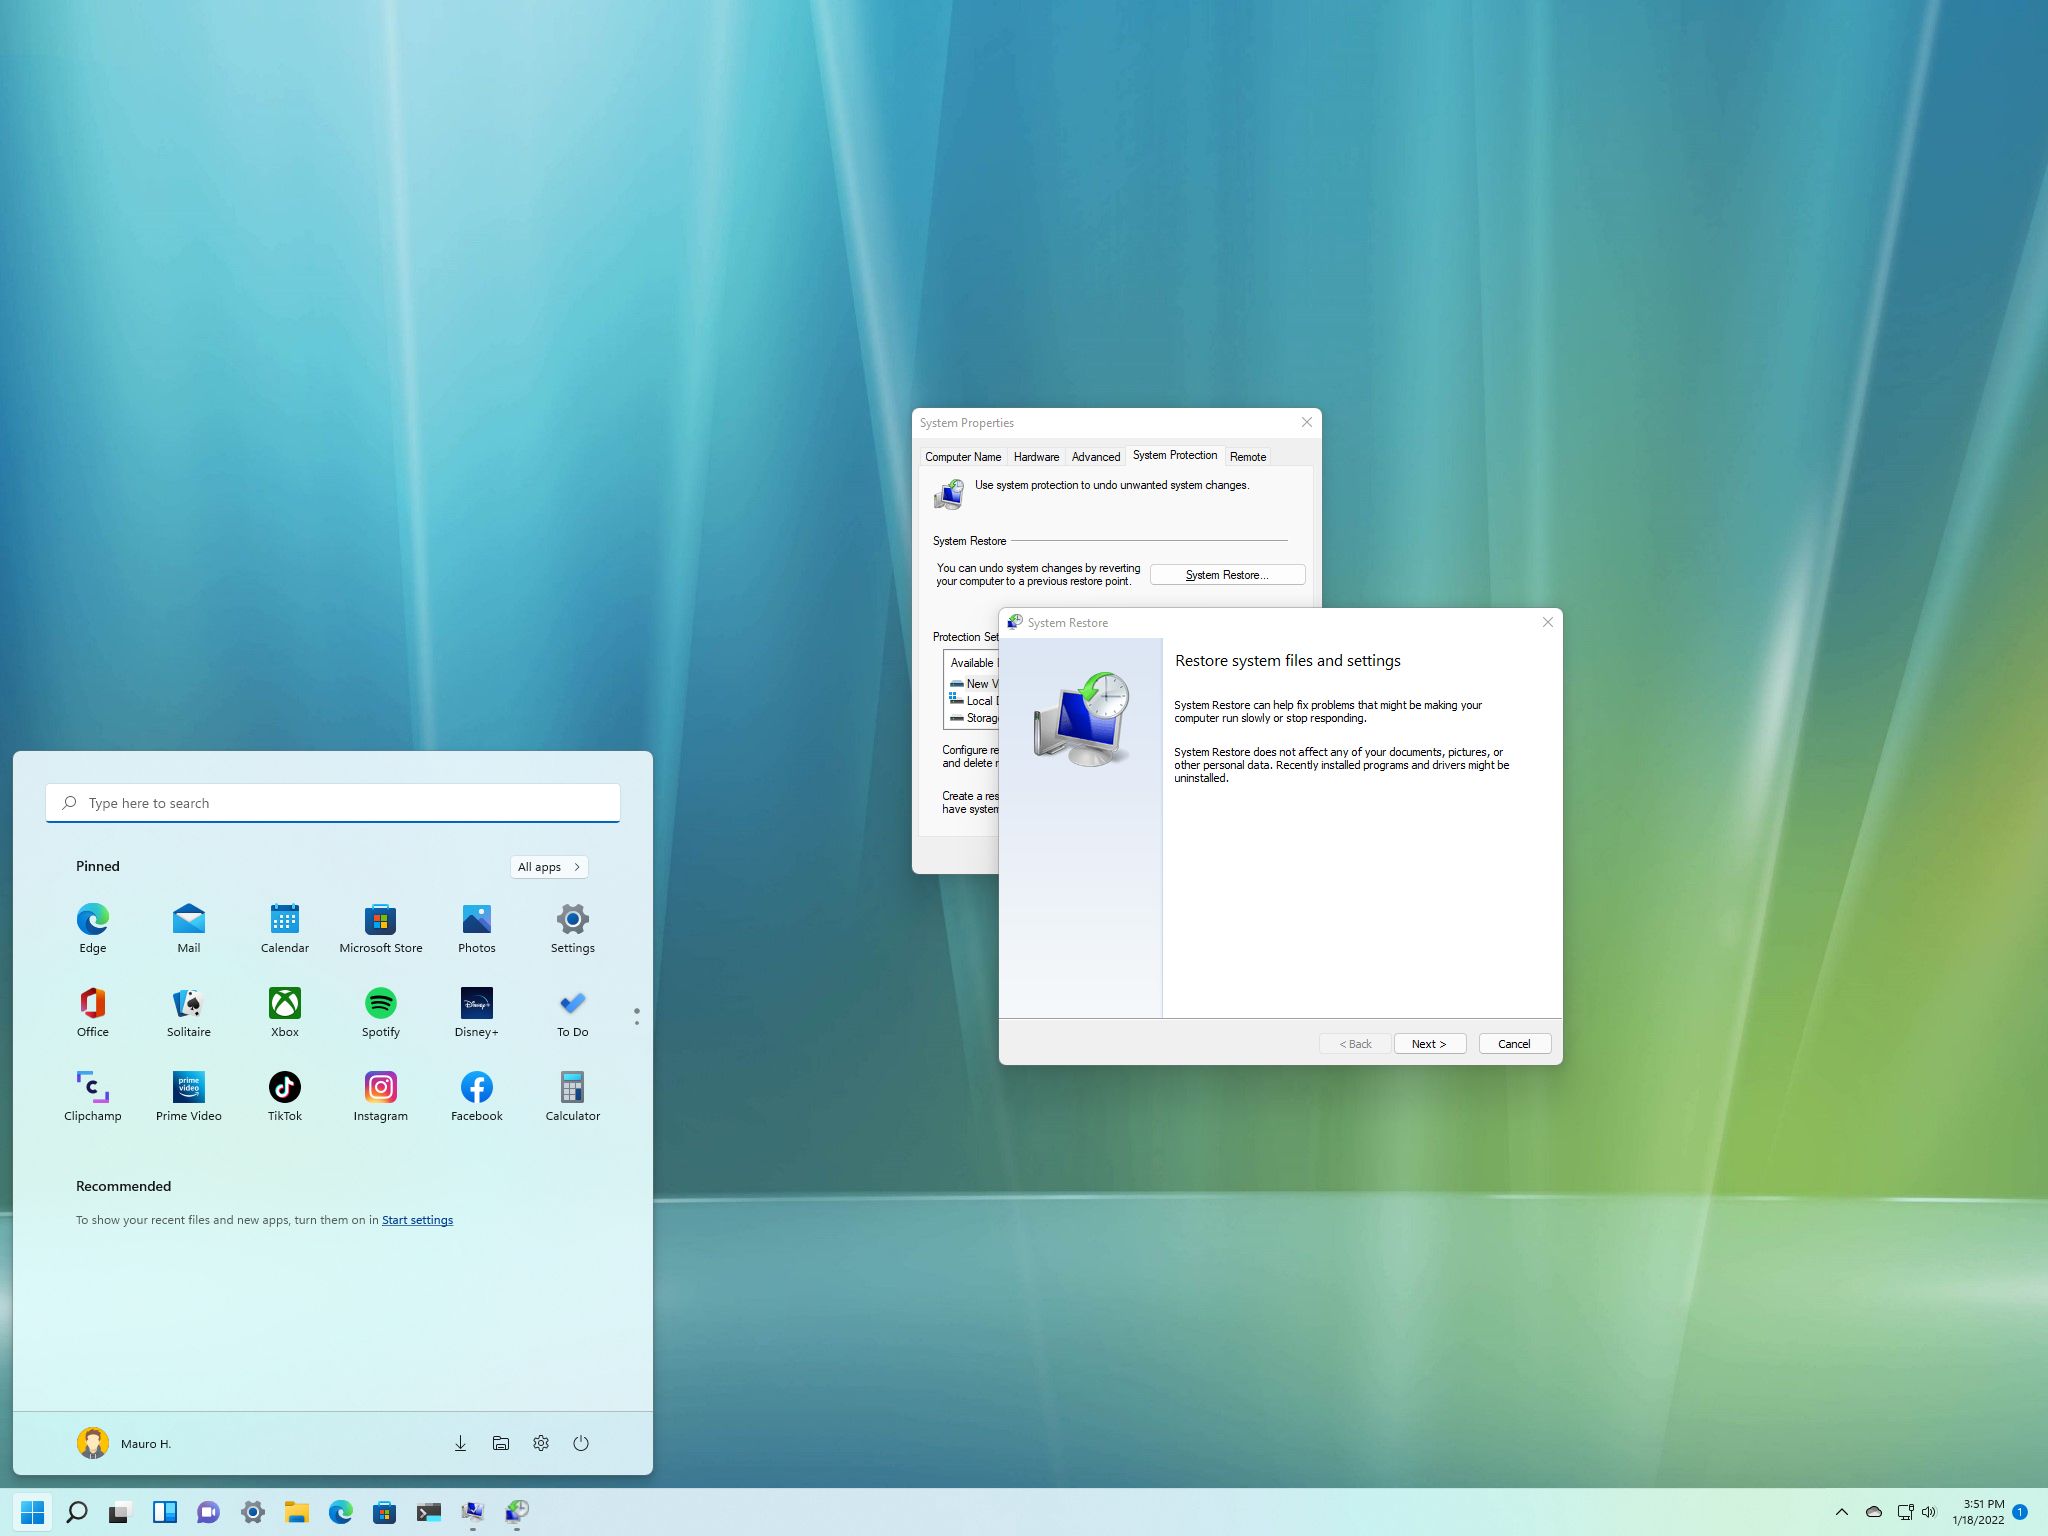
- Locate System Restore: Under the "Recovery" options, click "Open System Restore."
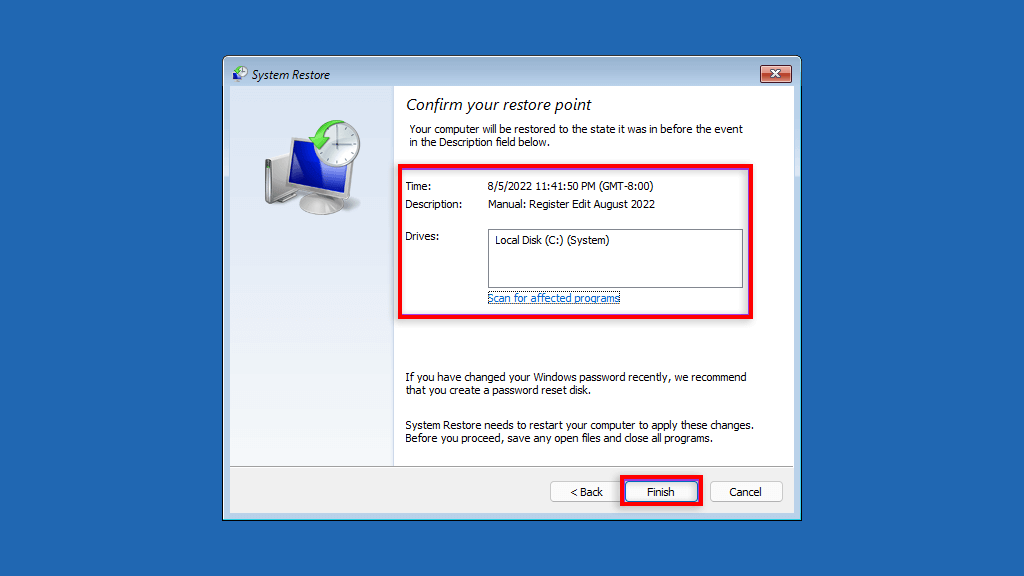
This action will launch the System Restore window, where you can view available restore points. Each restore point is labeled with the date and time of its creation, providing context for its relevance.
The Importance of System Restore Points
System restore points are essential for several reasons:
- Reversing System Changes: They provide a safe and efficient method to undo system-altering events, such as software installations or driver updates that might lead to instability or malfunctions.
- Recovering from Malicious Software: In cases of malware infection, system restore points can be used to revert the system to a clean state before the infection took hold.
- Troubleshooting and Experimentation: System restore points enable safe experimentation with new software or settings, knowing that you can revert to a previous state if problems arise.
- Maintaining System Stability: Regular creation of restore points ensures a reliable recovery option, minimizing the risk of data loss or system downtime due to unforeseen issues.
FAQs about System Restore Points in Windows 11
Q: What happens when I use a system restore point?
A: Using a restore point reverts your system to the state it was in at the time the point was created. This means that any changes made after the restore point’s creation will be undone, including software installations, driver updates, and changes to system settings.
Q: Will using a restore point erase my data?
A: System restore points do not affect your personal files, such as documents, photos, or videos. However, any changes made to these files after the restore point was created will be lost.
Q: How often should I create system restore points manually?
A: While Windows 11 automatically creates restore points, manually creating them before significant changes, such as installing new software or making major system configuration changes, is highly recommended.
Q: Can I delete system restore points?
A: Yes, you can delete system restore points to free up disk space. However, it is advisable to keep at least one recent restore point for safety purposes.
Tips for Effective System Restore Point Management
- Regularly Check Disk Space: System restore points require disk space. Monitor your hard drive space to ensure sufficient room for restore points.
- Create Restore Points Before Major Changes: Before installing new software, updating drivers, or making significant system configuration changes, create a system restore point as a precaution.
- Keep Recent Restore Points: Retain at least one recent restore point for quick recovery in case of unexpected issues.
- Understand the Limitations: While system restore points are powerful, they cannot recover from hardware failures or data loss due to physical damage.
Conclusion: Safeguarding Your Windows 11 Experience
System restore points in Windows 11 are a valuable tool for maintaining system stability and mitigating the risks associated with software updates, driver changes, and accidental configuration modifications. By understanding their functionality and utilizing them effectively, users can significantly enhance the reliability and resilience of their Windows 11 experience, ensuring a smooth and dependable computing environment.


Closure
Thus, we hope this article has provided valuable insights into Navigating the Past: Understanding System Restore Points in Windows 11. We hope you find this article informative and beneficial. See you in our next article!