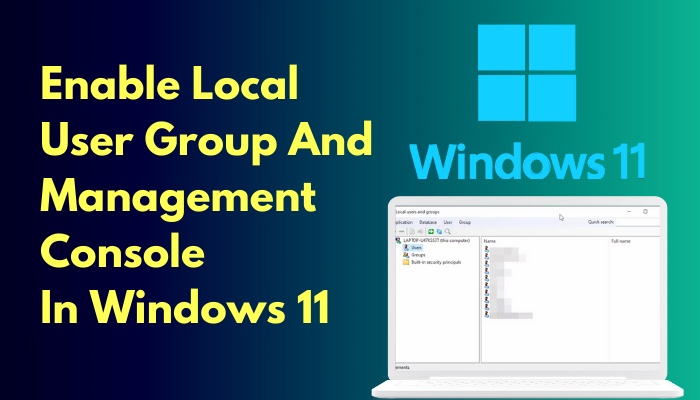
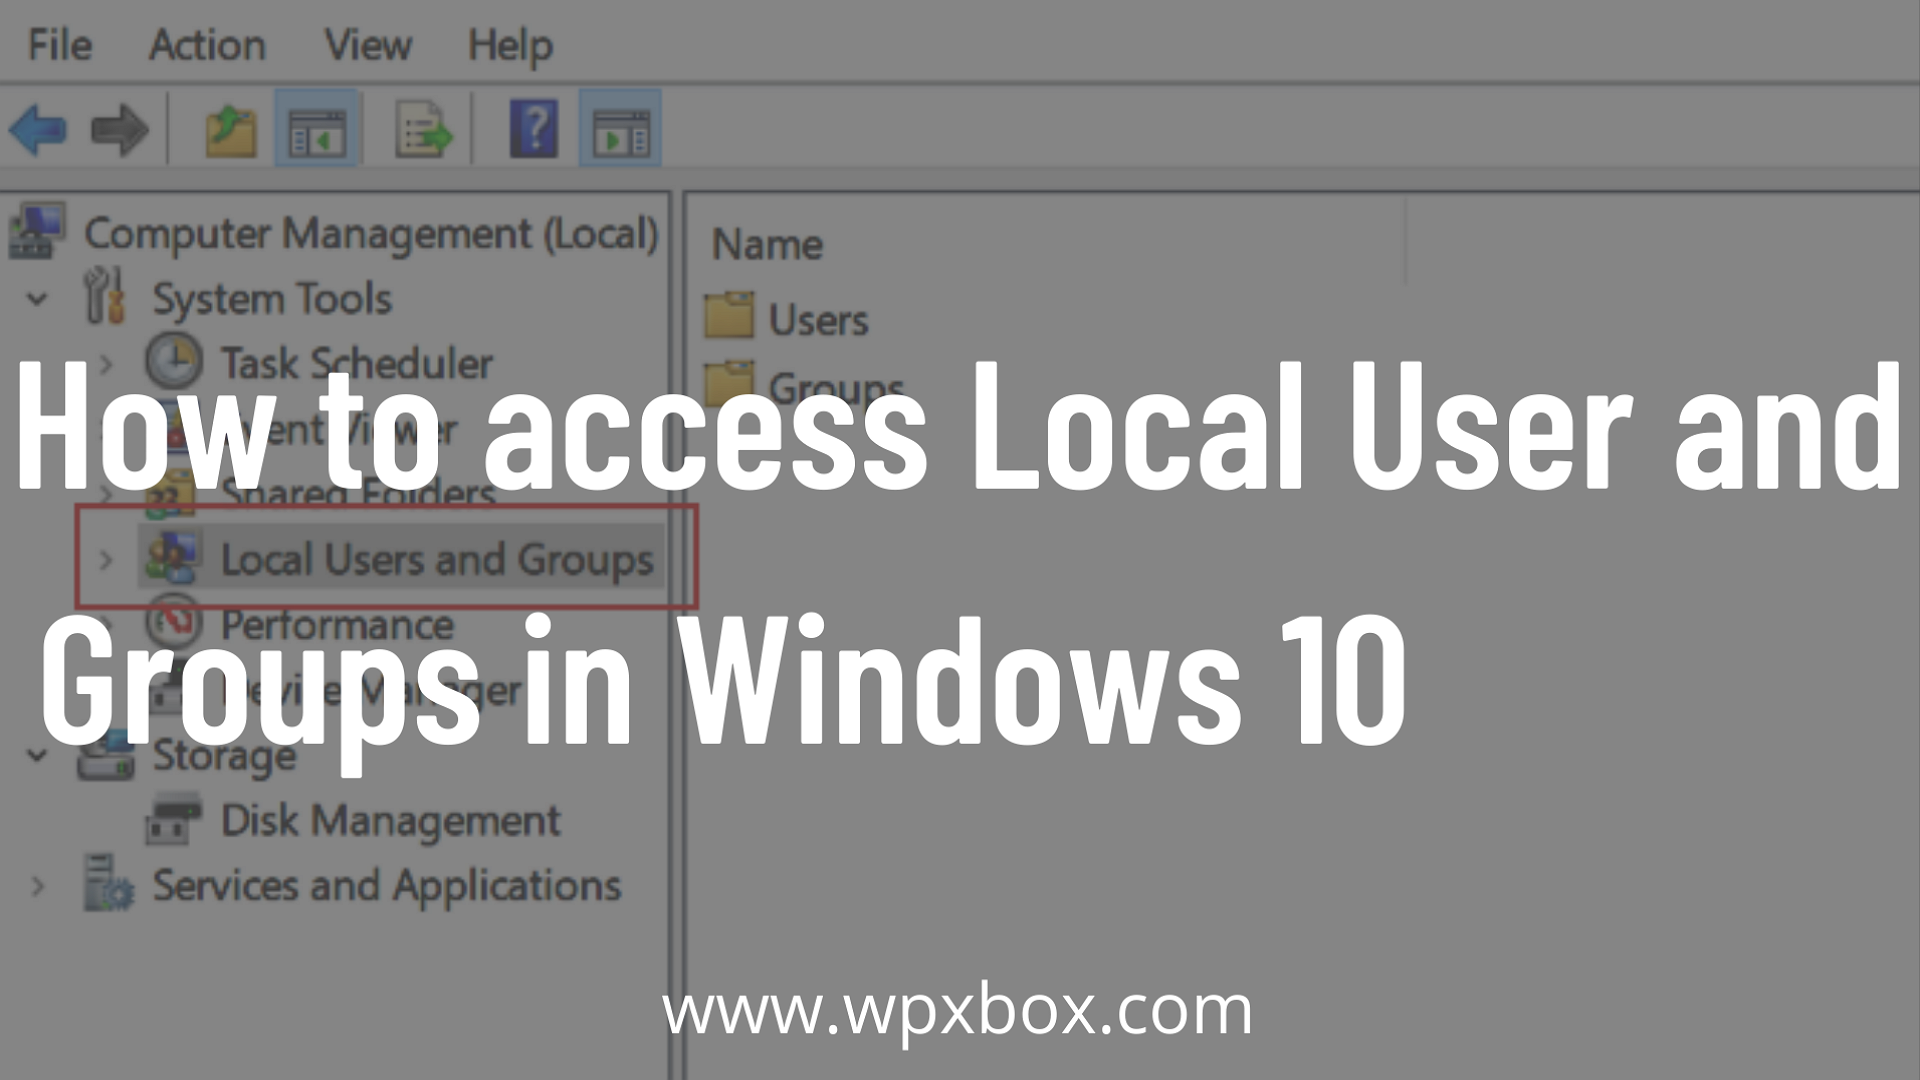
Navigating the Local User and Group Landscape in Windows 11: A Comprehensive Guide
Related Articles: Navigating the Local User and Group Landscape in Windows 11: A Comprehensive Guide
Introduction
With enthusiasm, let’s navigate through the intriguing topic related to Navigating the Local User and Group Landscape in Windows 11: A Comprehensive Guide. Let’s weave interesting information and offer fresh perspectives to the readers.
Table of Content
Navigating the Local User and Group Landscape in Windows 11: A Comprehensive Guide
Windows 11, like its predecessors, relies on a robust system of local users and groups to manage access and permissions across the operating system. Understanding these entities is crucial for ensuring system security, streamlining administrative tasks, and optimizing user experience. This comprehensive guide explores the various methods for locating and managing local users and groups within Windows 11.
Understanding the Significance of Local Users and Groups
Local users and groups form the foundation of Windows 11’s access control mechanism. They determine which individuals or applications have the authority to perform specific actions on the system. This intricate system allows administrators to:
- Enforce security policies: By assigning users to specific groups with predefined permissions, administrators can effectively restrict access to sensitive data and resources, bolstering overall system security.
- Simplify user management: Instead of granting individual permissions to each user, administrators can assign users to groups, streamlining the process of managing access rights across the system.
- Optimize resource allocation: Grouping users with similar needs allows for the efficient allocation of resources, ensuring that users have access to the applications and tools necessary for their roles.
- Enhance collaboration: Groups facilitate collaboration by allowing multiple users to share access to specific resources, promoting teamwork and productivity.
Methods for Locating Local Users and Groups
Several methods are available for locating and managing local users and groups in Windows 11. These methods cater to different user needs and skill levels, offering flexibility and ease of access.
1. Using the Control Panel
The Control Panel provides a user-friendly interface for managing local users and groups. To access it:
- Click the Start menu and search for "Control Panel".
- Select "Control Panel" from the search results.
- Navigate to "User Accounts" and select "User Accounts".
Within the User Accounts window, you can:
- Create new users: Add new local users to the system, setting their passwords and permissions.
- Manage existing users: Modify user accounts, change passwords, adjust permissions, and delete accounts.
- Manage family settings: Configure parental controls and restrict access to specific content and applications for child accounts.
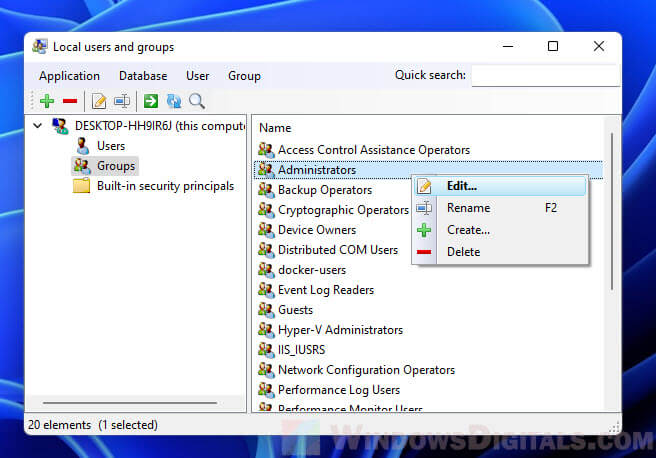
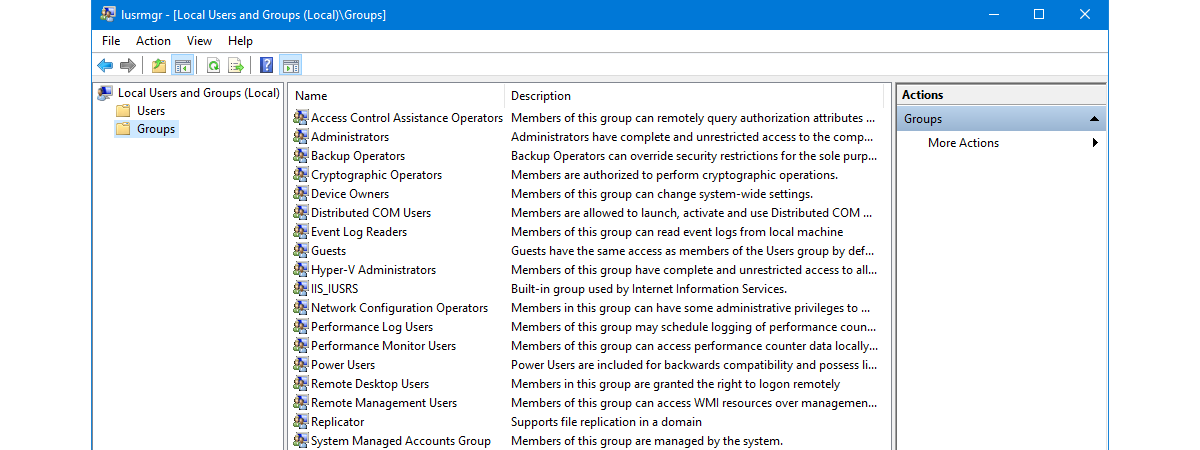
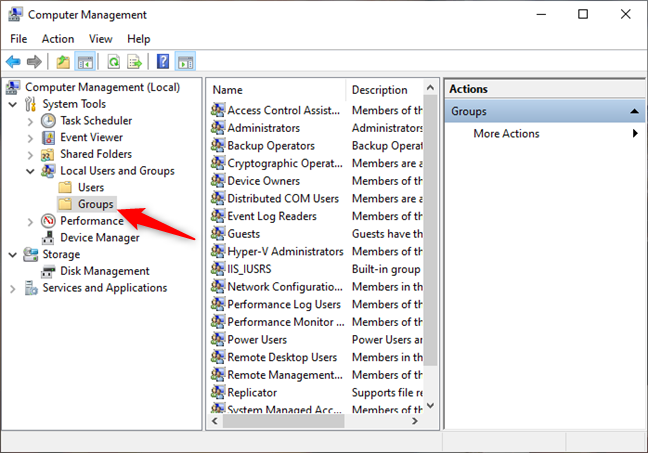
2. Utilizing the Computer Management Console
The Computer Management Console offers a more comprehensive and advanced approach to managing local users and groups. To access it:
- Press the Windows key + R to open the Run dialog box.
- Type "compmgmt.msc" and press Enter.
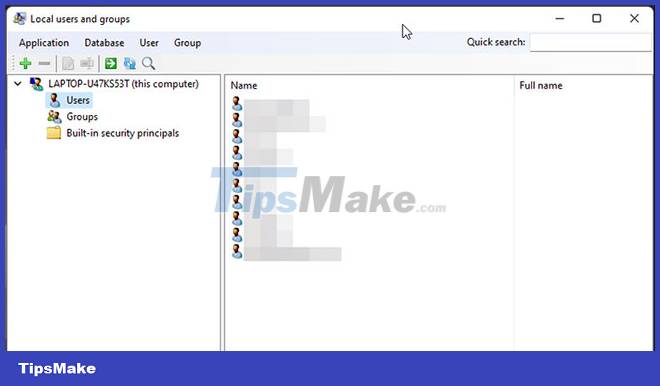
The Computer Management Console provides a hierarchical view of system components, including local users and groups. Within the "Local Users and Groups" section, you can:
- View users and groups: Browse the list of existing users and groups, examining their properties and permissions.
- Create new users and groups: Add new users and groups, defining their access rights and security settings.
- Modify user and group properties: Change passwords, adjust permissions, and modify group memberships.
- Delete users and groups: Remove unwanted users and groups from the system.
3. Employing the Command Prompt
For experienced users, the Command Prompt offers a powerful and flexible method for managing local users and groups. To access it:
- Press the Windows key + R to open the Run dialog box.
- Type "cmd" and press Enter.
The Command Prompt allows you to execute various commands for managing local users and groups, including:
- net user: Create, modify, and delete user accounts.
- net localgroup: Manage group membership and permissions.
- lusrmgr.msc: Access the Local Users and Groups Manager for advanced management tasks.
4. Leveraging PowerShell
PowerShell provides a scripting-based approach to managing local users and groups, offering automation capabilities and advanced functionality. To access it:
- Press the Windows key + R to open the Run dialog box.
- Type "powershell" and press Enter.
Within PowerShell, you can execute various cmdlets for managing local users and groups, including:
- New-LocalUser: Create new local users.
- Get-LocalUser: Retrieve information about existing users.
- Set-LocalUser: Modify user properties.
- Remove-LocalUser: Delete user accounts.
- New-LocalGroup: Create new local groups.
- Get-LocalGroup: Retrieve information about existing groups.
- Set-LocalGroup: Modify group properties.
- Remove-LocalGroup: Delete local groups.
5. Utilizing Active Directory (Domain Environment)
In a domain environment, users and groups are managed centrally through Active Directory. While not directly related to local users and groups, understanding Active Directory is crucial for managing user accounts in a network setting. Active Directory offers:
- Centralized user management: Create, modify, and delete user accounts from a single location.
- Group policy management: Define and apply security policies across the network.
- Password management: Enforce password complexity and expiration policies.
- User authentication: Verify user identities and grant access to network resources.
FAQs on Finding and Managing Local Users and Groups
Q1: How can I create a new local user in Windows 11?
A: You can create a new local user using the Control Panel, Computer Management Console, Command Prompt, or PowerShell. Each method offers different levels of functionality and user experience.
Q2: How do I assign a user to a specific group?
A: To assign a user to a specific group, you can use the Computer Management Console or PowerShell. The Computer Management Console provides a user-friendly interface for managing group memberships, while PowerShell offers scripting capabilities for automating the process.
Q3: How can I change a user’s password?
A: You can change a user’s password using the Control Panel, Computer Management Console, Command Prompt, or PowerShell. Each method provides different options for password management, including setting password complexity requirements and expiration policies.
Q4: What is the difference between a local user and a domain user?
A: A local user is an account that is specific to a single computer and cannot access resources on other computers on the network. A domain user is an account managed by Active Directory and can access resources on multiple computers within the domain.
Q5: How do I manage user permissions for specific files and folders?
A: You can manage user permissions for specific files and folders using the File Explorer’s "Properties" dialog box. Within the "Security" tab, you can define which users or groups have access to the file or folder and what level of access they have (read, write, modify, etc.).
Tips for Managing Local Users and Groups
- Document user accounts and permissions: Maintain a record of user accounts, their assigned groups, and the permissions granted to each user. This documentation facilitates troubleshooting and ensures consistency in user access management.
- Use strong passwords: Encourage users to create strong passwords that are difficult to guess and include a mix of uppercase and lowercase letters, numbers, and symbols.
- Regularly review user accounts and permissions: Periodically audit user accounts and permissions to ensure that they remain relevant and secure. Remove inactive accounts and adjust permissions as needed.
- Implement multi-factor authentication: Enable multi-factor authentication for sensitive accounts, requiring users to provide additional verification steps beyond their passwords.
- Use group policies: Leverage group policies to enforce security settings and user configurations across the network.
Conclusion
Managing local users and groups is a critical aspect of ensuring system security and optimizing user experience in Windows 11. By understanding the different methods for locating and managing these entities, administrators can effectively control access to system resources, enforce security policies, and streamline administrative tasks. Whether utilizing the Control Panel, Computer Management Console, Command Prompt, PowerShell, or Active Directory, administrators have a range of tools at their disposal to manage the intricate world of local users and groups in Windows 11.


Closure
Thus, we hope this article has provided valuable insights into Navigating the Local User and Group Landscape in Windows 11: A Comprehensive Guide. We thank you for taking the time to read this article. See you in our next article!