Navigating the BIOS: A Comprehensive Guide to Accessing the Core of Your Windows 11 System
Related Articles: Navigating the BIOS: A Comprehensive Guide to Accessing the Core of Your Windows 11 System
Introduction
With enthusiasm, let’s navigate through the intriguing topic related to Navigating the BIOS: A Comprehensive Guide to Accessing the Core of Your Windows 11 System. Let’s weave interesting information and offer fresh perspectives to the readers.
Table of Content
Navigating the BIOS: A Comprehensive Guide to Accessing the Core of Your Windows 11 System
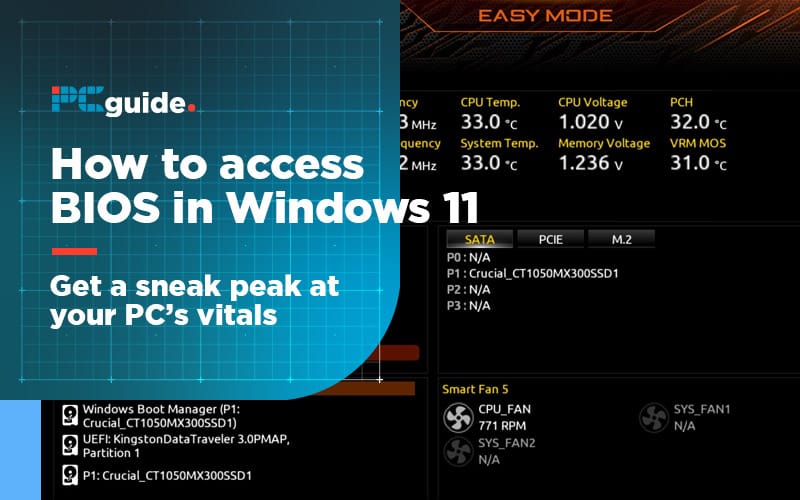
The BIOS, or Basic Input/Output System, serves as the foundational software layer that bridges the gap between your computer’s hardware and operating system. It’s the first program that runs when you power on your computer, performing essential tasks like initializing hardware components and loading the operating system. While most users interact with Windows 11 directly, accessing the BIOS offers a critical opportunity to delve deeper into the system’s configuration, enabling customization and troubleshooting.
The Significance of Accessing the BIOS
Accessing the BIOS allows users to modify various settings that impact the computer’s performance and behavior. These settings encompass a wide range of aspects, including:
- Boot Order: The BIOS determines the sequence in which devices are checked for the operating system, allowing users to prioritize boot from a specific drive, such as a hard drive, USB drive, or network location. This is crucial for installing new operating systems or recovering data from corrupted drives.
- Hardware Configuration: The BIOS enables the user to configure and manage various hardware components, including the system’s clock speed, memory settings, and the utilization of specific peripherals.
- Security Settings: The BIOS provides security features like password protection, Secure Boot, and Trusted Platform Module (TPM) configuration, enhancing the system’s overall security and protecting against unauthorized access.
- Advanced Settings: The BIOS offers advanced settings for managing power consumption, enabling specific hardware features, and configuring network settings.
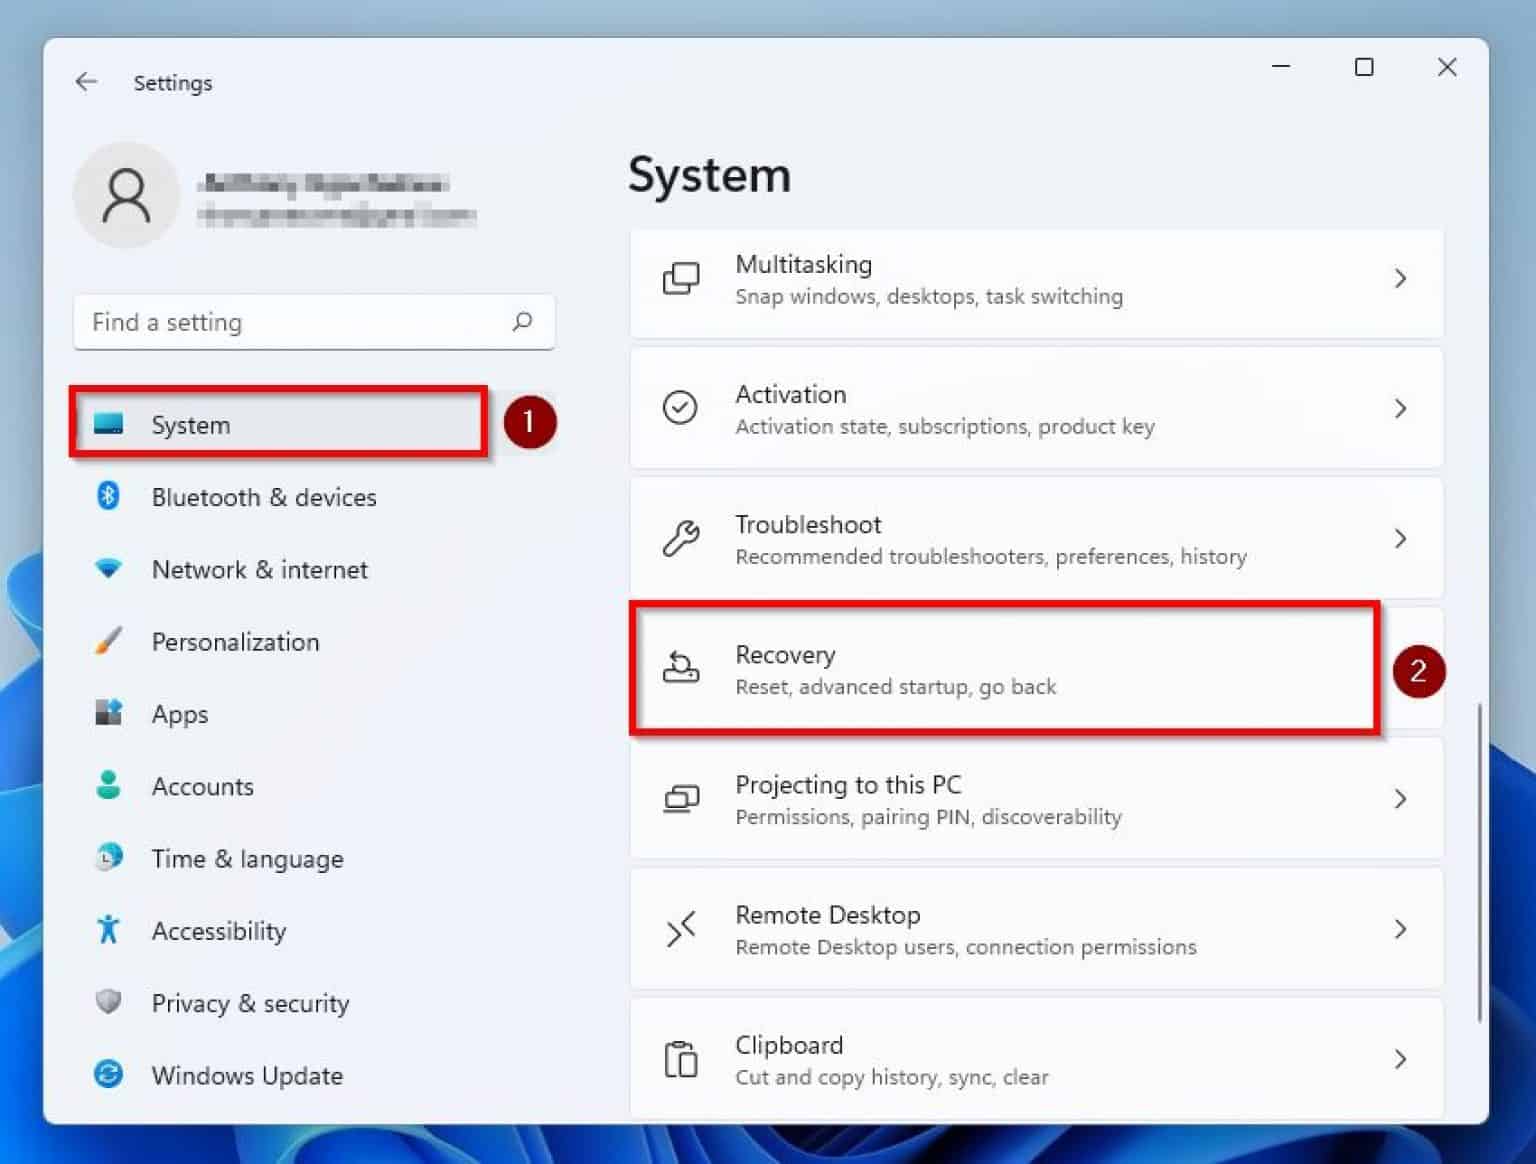
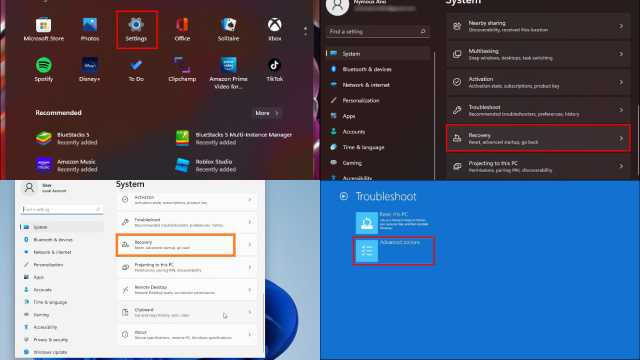
Accessing the BIOS: A Step-by-Step Guide
The process of accessing the BIOS varies slightly depending on the computer manufacturer and model. However, the general steps remain consistent.
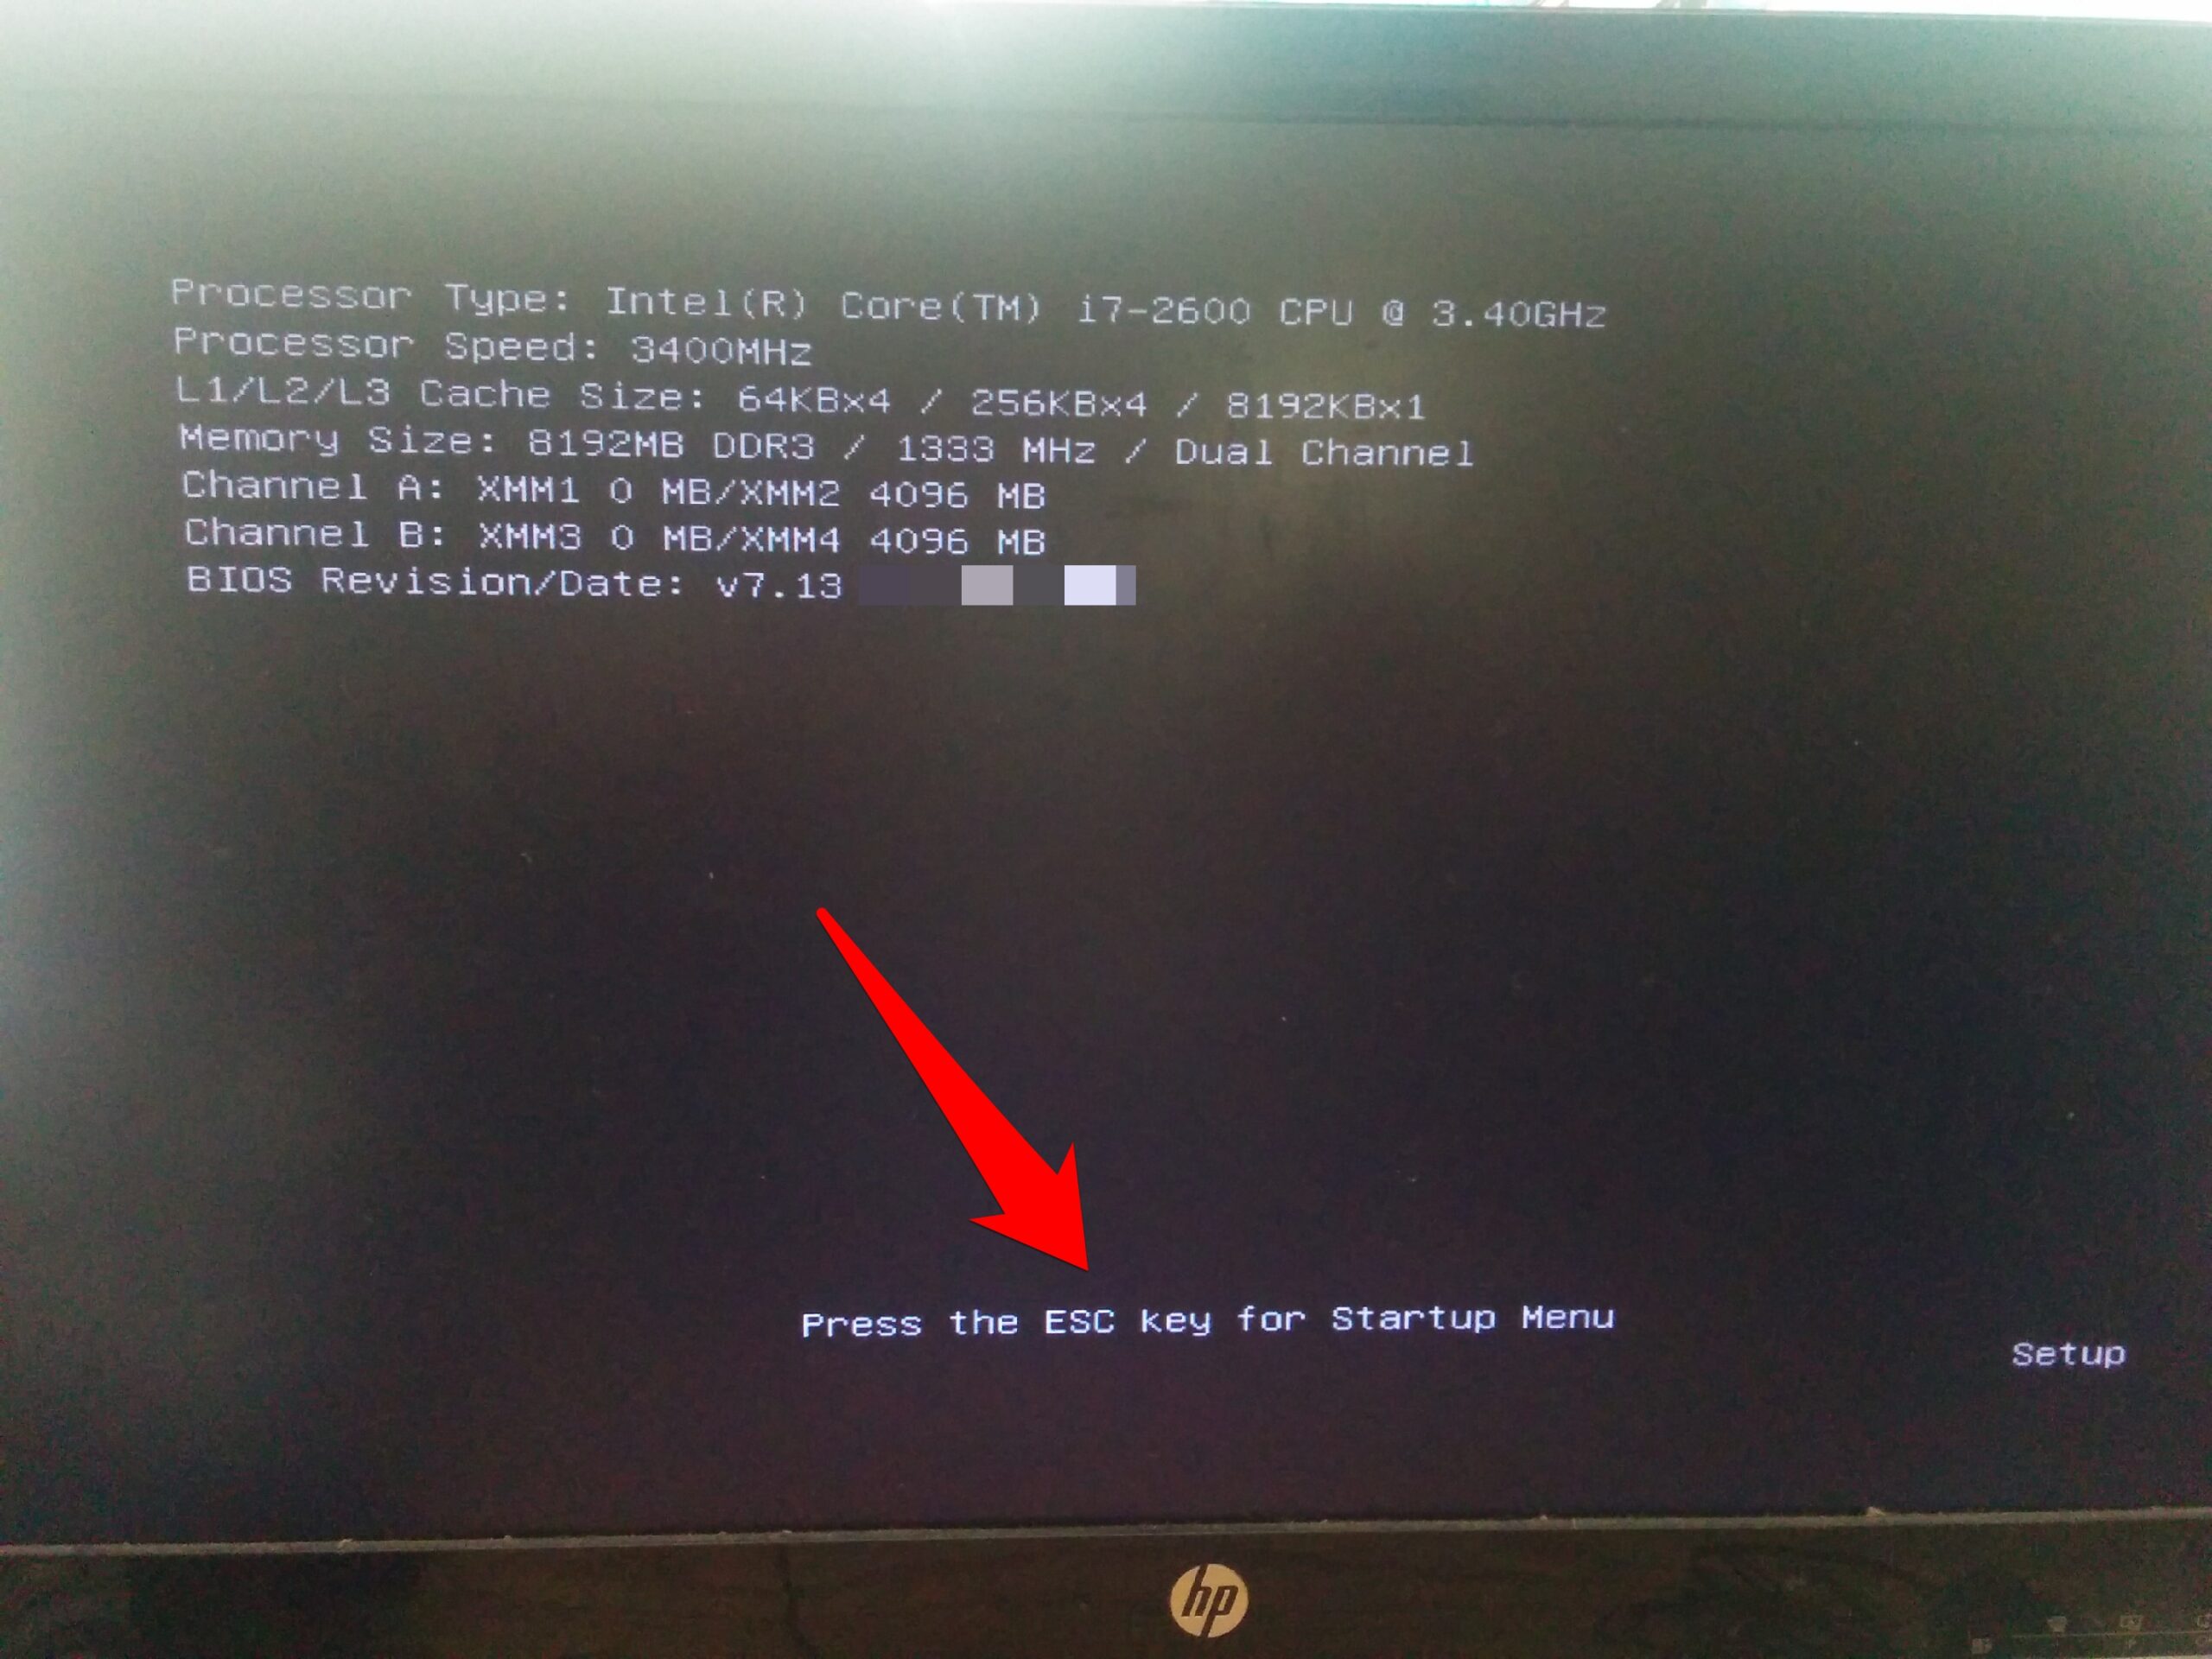
- Powering On the Computer: Start by powering on your computer.
- Pressing the BIOS Key: Immediately after the computer begins booting, look for a prompt on the screen indicating the key to press to enter the BIOS setup. This key is often F2, F10, Del, or Esc. The specific key will be displayed on the screen during the boot process.
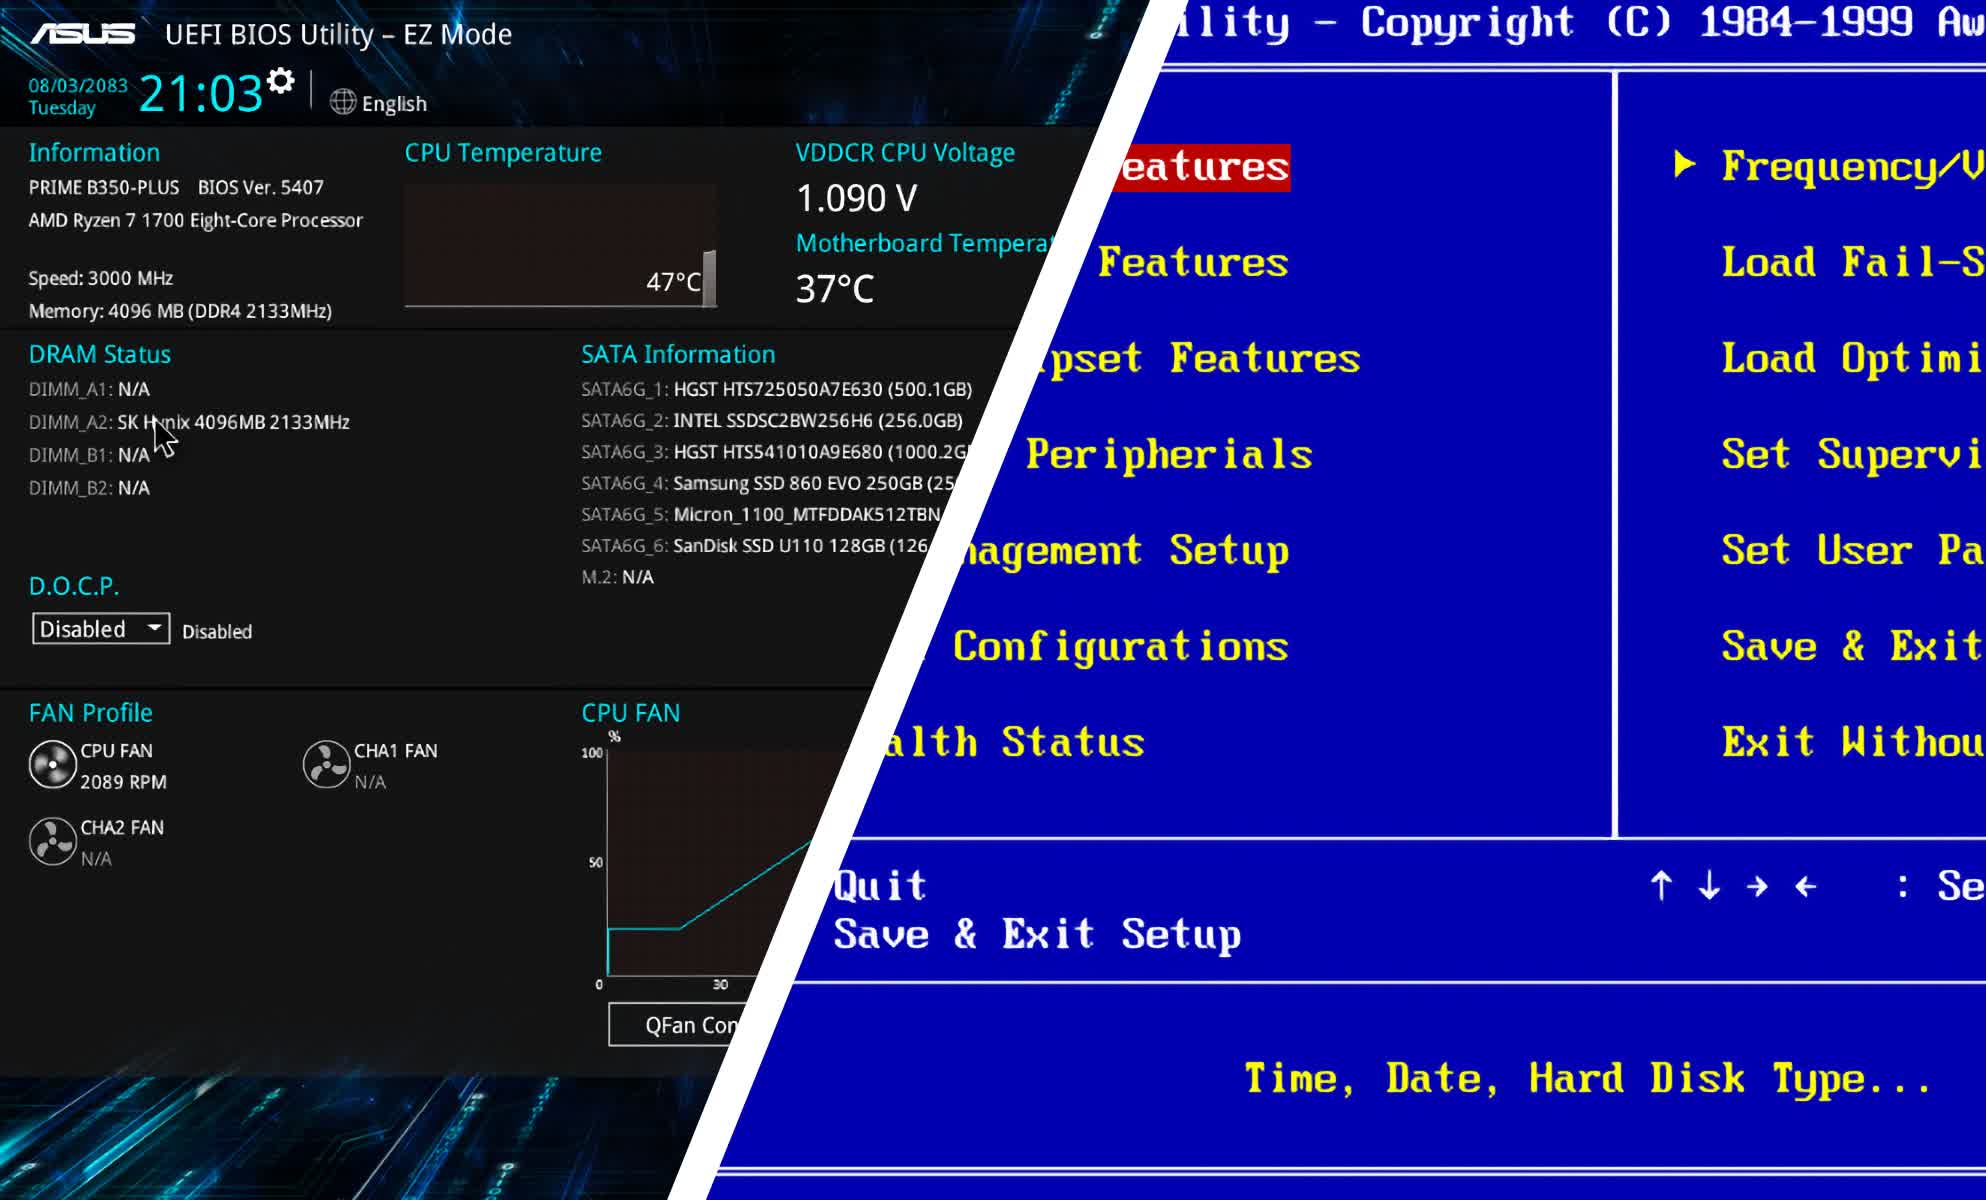
- Navigating the BIOS Menu: Once you enter the BIOS, you’ll be presented with a menu-driven interface. Use the arrow keys to navigate between the various options and the Enter key to select them.
- Making Changes: The specific options available within the BIOS will depend on your computer’s hardware and the BIOS version. Carefully review the options and make any desired changes.
- Saving and Exiting: Once you have finished making changes, find the "Save and Exit" or "Exit" option in the BIOS menu. Select this option to save the changes and exit the BIOS. Your computer will then reboot, applying the new settings.
Common BIOS Settings Explained:
- Boot Order: This setting determines the sequence in which the computer checks for an operating system. By default, the hard drive is usually the first boot device. However, you can change the order to boot from a USB drive, CD/DVD drive, or network location. This is essential for installing new operating systems or troubleshooting boot issues.
- Secure Boot: Secure Boot is a security feature that helps prevent unauthorized software from loading during startup. It verifies the authenticity of the operating system and other boot components.
- UEFI Boot Mode: Unified Extensible Firmware Interface (UEFI) is a modern BIOS standard that offers improved boot performance and security features. You can enable UEFI Boot Mode in the BIOS to utilize these advantages.
- TPM (Trusted Platform Module): The TPM is a security chip that helps protect your computer against unauthorized access and data breaches. You can enable and configure the TPM settings within the BIOS.
- XMP Profile: XMP (Extreme Memory Profile) allows you to automatically configure your RAM to run at higher speeds, enhancing performance. You can select an XMP profile within the BIOS to optimize your system’s memory settings.
- SATA Mode: The BIOS allows you to configure the SATA mode for your hard drives. This setting determines the data transfer protocol used by the hard drive.
- Virtualization Technology: This setting enables virtualization software, such as VMware or VirtualBox, to run virtual machines on your computer.
FAQs Regarding BIOS Access
Q: What happens if I make a mistake in the BIOS settings?
A: Incorrect BIOS settings can lead to various issues, including system instability, boot failures, and hardware malfunctions. If you are unsure about a specific setting, it is best to leave it at its default value. You can always revert to the default settings by selecting the "Load Default Settings" or "Load Optimized Defaults" option in the BIOS.
Q: Can I access the BIOS if my computer is not booting?
A: Accessing the BIOS is generally not possible if your computer is not booting. In such cases, you may need to use a bootable USB drive or CD/DVD to access the BIOS or troubleshoot the boot issue.
Q: What are some potential benefits of accessing the BIOS?
A: Accessing the BIOS offers various benefits, including:
- Troubleshooting boot issues: The BIOS allows you to change the boot order, diagnose boot problems, and potentially resolve them.
- Optimizing performance: By adjusting settings like XMP profiles and SATA modes, you can improve the performance of your computer.
- Enhancing security: The BIOS provides security features like Secure Boot and TPM configuration, which can help protect your system from malicious attacks.
- Enabling advanced features: The BIOS allows you to enable or disable specific hardware features, such as virtualization technology or specific peripherals.
Tips for Navigating the BIOS
- Consult Your Computer’s Manual: Refer to your computer’s manual or manufacturer’s website for detailed information on the specific BIOS settings and their functions.
- Understand the Settings: Before making any changes, carefully read the descriptions of each setting and ensure you understand its purpose.
- Avoid Unnecessary Changes: Only modify settings if you are confident about their impact on your system.
- Save and Exit: After making changes, always save your settings and exit the BIOS. This ensures that your changes are applied.
Conclusion
Accessing the BIOS offers a gateway to the core of your Windows 11 system, enabling you to customize settings, troubleshoot issues, and enhance performance and security. While navigating the BIOS requires careful attention to detail, understanding its functions and utilizing the available tools can empower users to optimize their computer experience. By following the steps outlined in this guide and consulting relevant resources, you can confidently navigate the BIOS and unlock the full potential of your Windows 11 system.


Closure
Thus, we hope this article has provided valuable insights into Navigating the BIOS: A Comprehensive Guide to Accessing the Core of Your Windows 11 System. We thank you for taking the time to read this article. See you in our next article!