Navigating the BIOS: A Comprehensive Guide for Windows 11 MSI Users
Related Articles: Navigating the BIOS: A Comprehensive Guide for Windows 11 MSI Users
Introduction
With great pleasure, we will explore the intriguing topic related to Navigating the BIOS: A Comprehensive Guide for Windows 11 MSI Users. Let’s weave interesting information and offer fresh perspectives to the readers.
Table of Content
Navigating the BIOS: A Comprehensive Guide for Windows 11 MSI Users
The BIOS (Basic Input/Output System) is a fundamental component of every computer, acting as the initial software that boots up your system. It controls essential hardware functions and allows you to configure various settings. Understanding how to access and navigate the BIOS is crucial for Windows 11 MSI users, as it enables them to perform tasks such as:
- Modifying Boot Order: Prioritize boot devices, enabling you to install operating systems, troubleshoot boot issues, or use external drives.
- Setting System Time and Date: Ensure accurate system timekeeping.
- Adjusting Hardware Settings: Configure CPU settings, memory allocation, and other hardware parameters to optimize performance.
- Enabling/Disabling Devices: Control the functionality of integrated components like the network card, Bluetooth, or internal speakers.
- Securing the System: Configure passwords, enable security features like Secure Boot, and manage user access.
Accessing the BIOS: A Step-by-Step Guide
The process of accessing the BIOS differs slightly depending on the specific MSI motherboard model. However, the general steps are consistent:
- Restart your computer: Ensure all applications are closed and save any unsaved work.
- Press the designated BIOS key: As your computer restarts, pay close attention to the boot screen. It typically displays a message indicating the key to press to enter the BIOS setup. This key is often "Delete," "F2," "F10," "F12," or "Esc." Consult your MSI motherboard manual or website for specific instructions.
- Enter the BIOS menu: Once you press the correct key, the system will enter the BIOS setup utility.
- Navigate the menus: Use the arrow keys to move between menus and options. The specific layout and options may vary depending on your motherboard model.
Navigating the BIOS Interface: Key Features and Settings
The BIOS interface is generally organized into various sections, each focusing on a specific aspect of system configuration. Common sections include:
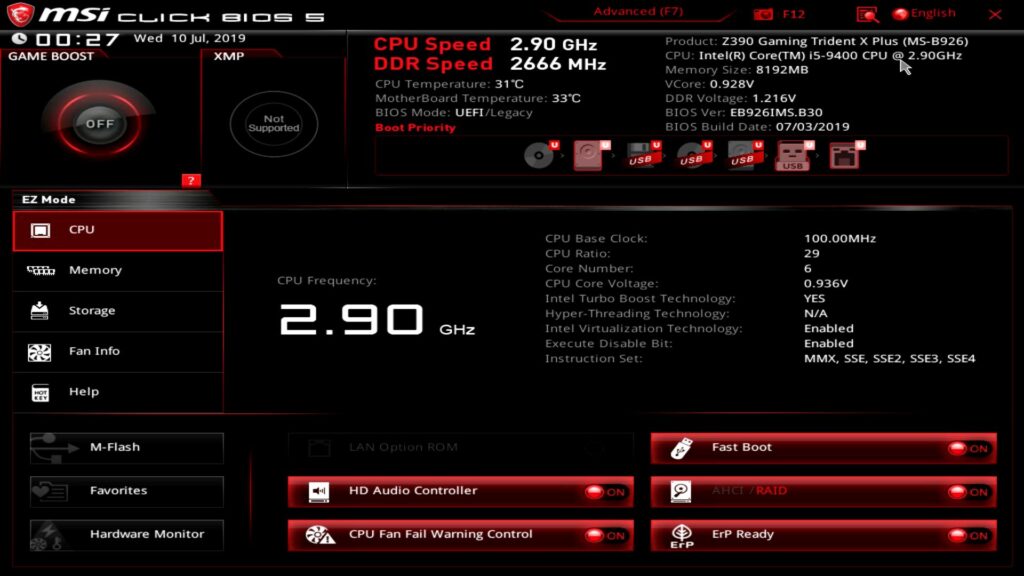
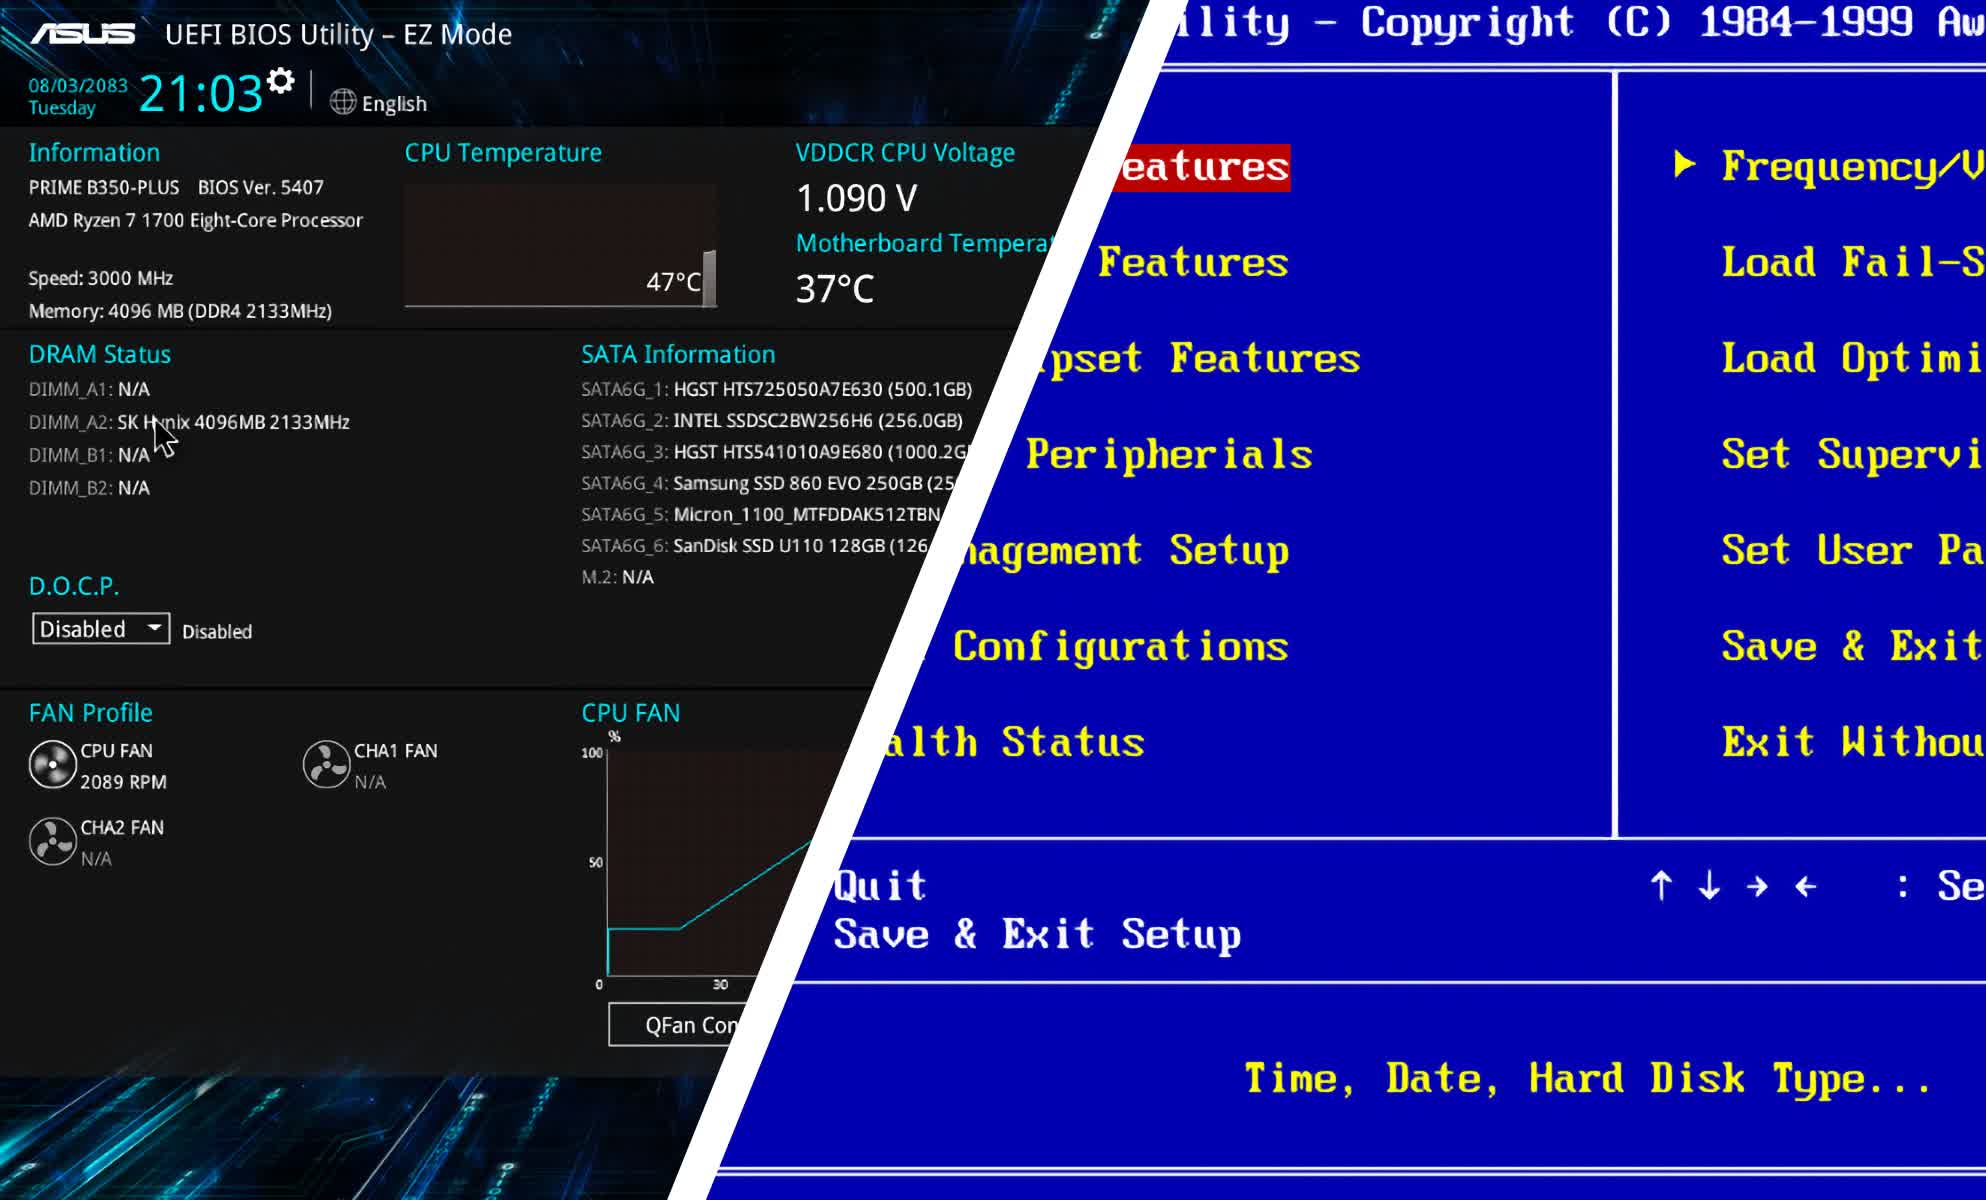
- Main: Displays basic system information like the BIOS version, CPU model, and memory configuration.
- Boot: Manages the boot order of devices, allowing you to prioritize the boot sequence for hard drives, optical drives, USB drives, or network connections.
- Advanced: Offers advanced settings for various components, including CPU settings, memory configuration, and power management options.
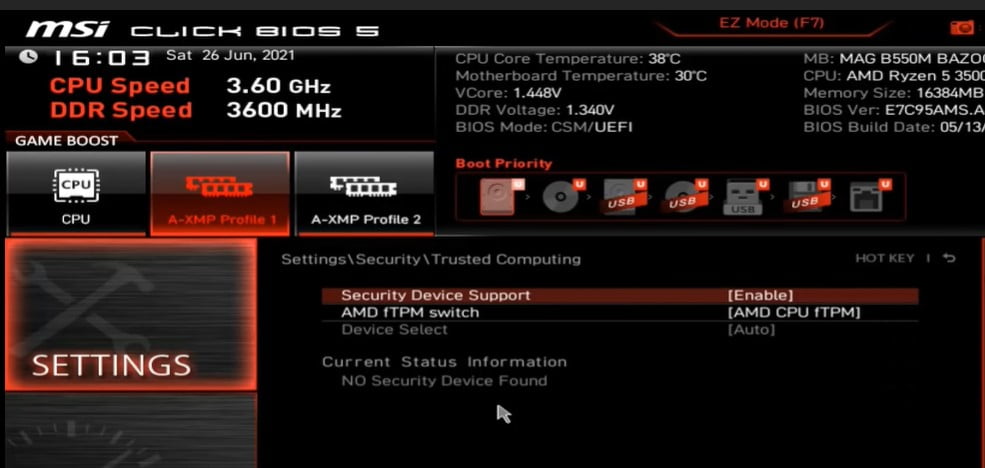
- Security: Enables security features like passwords, Secure Boot, and Trusted Platform Module (TPM).
- Exit: Allows you to save changes and exit the BIOS setup utility.
Modifying Boot Order: A Practical Example
One of the most common tasks within the BIOS is modifying the boot order. This is particularly useful when installing a new operating system or troubleshooting boot issues. Here’s a step-by-step example:
- Access the BIOS: Follow the steps outlined above to enter the BIOS setup utility.
- Navigate to the Boot menu: Use the arrow keys to locate the "Boot" or "Boot Order" section.
- Identify boot devices: The menu will list the available boot devices, such as hard drives, optical drives, and USB drives.
- Change the boot order: Use the arrow keys to highlight the desired boot device and press the designated key to move it to the top of the list. This will ensure that the system boots from this device first.
- Save changes and exit: Select "Save & Exit" or a similar option to save the changes and exit the BIOS. The computer will restart with the new boot order in effect.
Importance and Benefits of Accessing the BIOS
Understanding how to access and navigate the BIOS is crucial for Windows 11 MSI users for several reasons:
- Troubleshooting Boot Issues: The BIOS allows you to prioritize boot devices, troubleshoot boot errors, and ensure the system boots from the correct drive.
- Optimizing System Performance: BIOS settings can be adjusted to optimize hardware performance, manage power consumption, and fine-tune various system parameters.
- Enabling Security Features: The BIOS provides options to enable security measures like passwords, Secure Boot, and TPM, enhancing system security and protecting data.
- Installing New Operating Systems: Modifying the boot order within the BIOS allows you to prioritize the boot drive for a new operating system installation.
- Customizing Hardware Configuration: The BIOS offers settings to configure CPU settings, memory allocation, and other hardware parameters, providing greater control over system configuration.
FAQs: Addressing Common Questions
Q: What happens if I make incorrect changes in the BIOS?
A: Incorrect BIOS settings can lead to system instability, boot errors, or even hardware malfunctions. It is essential to be cautious while navigating the BIOS and only modify settings you understand. If you are unsure about a particular setting, consult the MSI motherboard manual or seek assistance from a qualified technician.
Q: How do I reset the BIOS to its default settings?
A: Most BIOS interfaces have a "Load Defaults" or "Reset to Defaults" option. This option will revert all settings to their factory defaults, potentially resolving any issues caused by incorrect configurations.
Q: Can I update the BIOS?
A: Yes, updating the BIOS can improve system stability, enhance compatibility, and add new features. However, BIOS updates should be performed cautiously, as incorrect updates can lead to system malfunctions. Always download the latest BIOS version from the MSI website and follow the manufacturer’s instructions carefully.
Tips for Effective BIOS Navigation
- Consult the MSI Motherboard Manual: The manual provides detailed instructions on accessing the BIOS, navigating its menus, and understanding the various settings.
- Take Screenshots: If you need to make significant changes, take screenshots of the BIOS settings before making any modifications. This will help you revert to the previous configuration if necessary.
- Seek Professional Help: If you are unsure about a particular setting or experiencing problems with the BIOS, consult a qualified technician for assistance.
Conclusion
The BIOS is an essential component of every computer, providing access to critical system settings. For Windows 11 MSI users, understanding how to navigate the BIOS is crucial for troubleshooting boot issues, optimizing system performance, enabling security features, and customizing hardware configurations. By following the steps outlined in this guide and consulting the MSI motherboard manual, you can effectively access and manage the BIOS, ensuring a smooth and secure computing experience.


Closure
Thus, we hope this article has provided valuable insights into Navigating the BIOS: A Comprehensive Guide for Windows 11 MSI Users. We hope you find this article informative and beneficial. See you in our next article!