Navigating Networked Storage: Understanding and Accessing Shared Drives
Related Articles: Navigating Networked Storage: Understanding and Accessing Shared Drives
Introduction
With enthusiasm, let’s navigate through the intriguing topic related to Navigating Networked Storage: Understanding and Accessing Shared Drives. Let’s weave interesting information and offer fresh perspectives to the readers.
Table of Content
Navigating Networked Storage: Understanding and Accessing Shared Drives

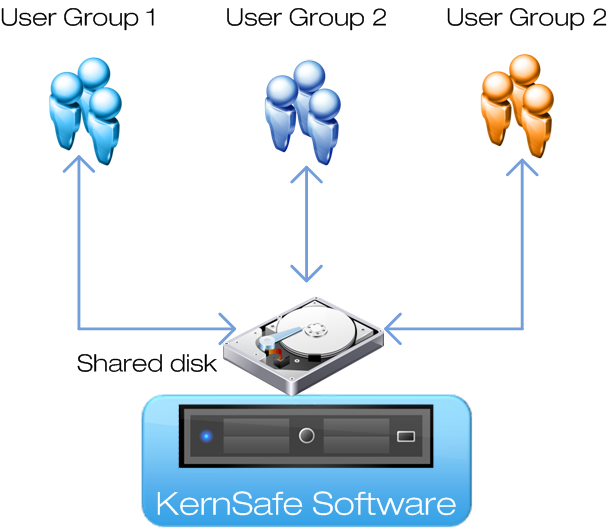
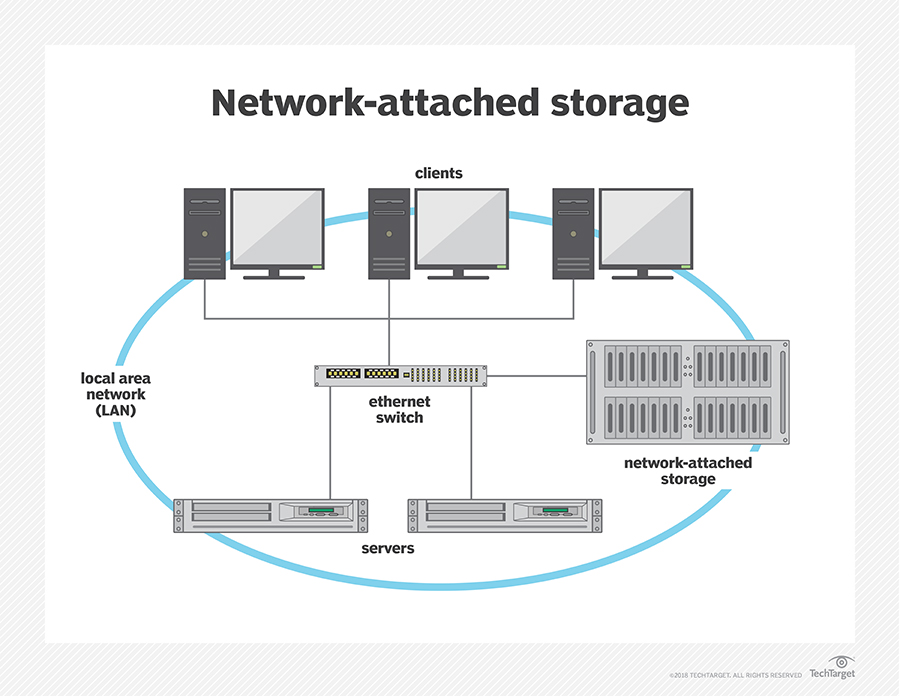
In the realm of computer networks, shared drives play a crucial role in facilitating collaboration, data storage, and efficient resource management. These drives, often designated with letters like "H" or "Z," represent a centralized location where users can access and share files across a network. Understanding how to access these drives is essential for seamless operation within a networked environment.
The Importance of Networked Storage
Networked storage offers numerous advantages:
- Centralized Data Storage: Instead of individual users maintaining separate files on their local machines, shared drives create a single, easily accessible repository for all data. This simplifies file management and reduces the risk of data loss due to individual device failures.
- Enhanced Collaboration: By providing a common platform for file sharing, networked drives enable teams to work together seamlessly on projects. Multiple users can access, edit, and contribute to files concurrently, fostering a collaborative work environment.
- Increased Efficiency: Shared drives streamline data access and distribution. Users can quickly locate and retrieve information without the need for time-consuming file transfers or email attachments.
- Improved Security: Networked storage often incorporates security measures like access control lists and encryption, enhancing data protection and preventing unauthorized access.
- Scalability: Shared drives can be easily scaled to accommodate growing data storage needs, ensuring that the network infrastructure can support future demands.
Understanding the Anatomy of Shared Drive Access
Accessing a shared drive typically involves the following steps:
- Network Connection: The first step is to establish a connection to the network where the shared drive resides. This is usually achieved through a wired or wireless network connection.
- Authentication: Once connected, the user must authenticate their identity. This often involves entering a username and password, allowing the network to verify access privileges.
- Drive Mapping: After successful authentication, the shared drive is "mapped" to a drive letter on the user’s computer. This assigns a local drive letter (like "H") to the remote shared drive, making it appear as a local storage device.
Methods of Accessing Shared Drives
The specific steps for accessing a shared drive vary depending on the operating system and network configuration. Here are some common methods:
1. Windows Explorer (Windows Operating System)
-
Using the "Network" Folder:
- Open Windows Explorer and navigate to the "Network" folder.
- Locate the shared drive (often named after the server or workgroup) and double-click to explore its contents.
-
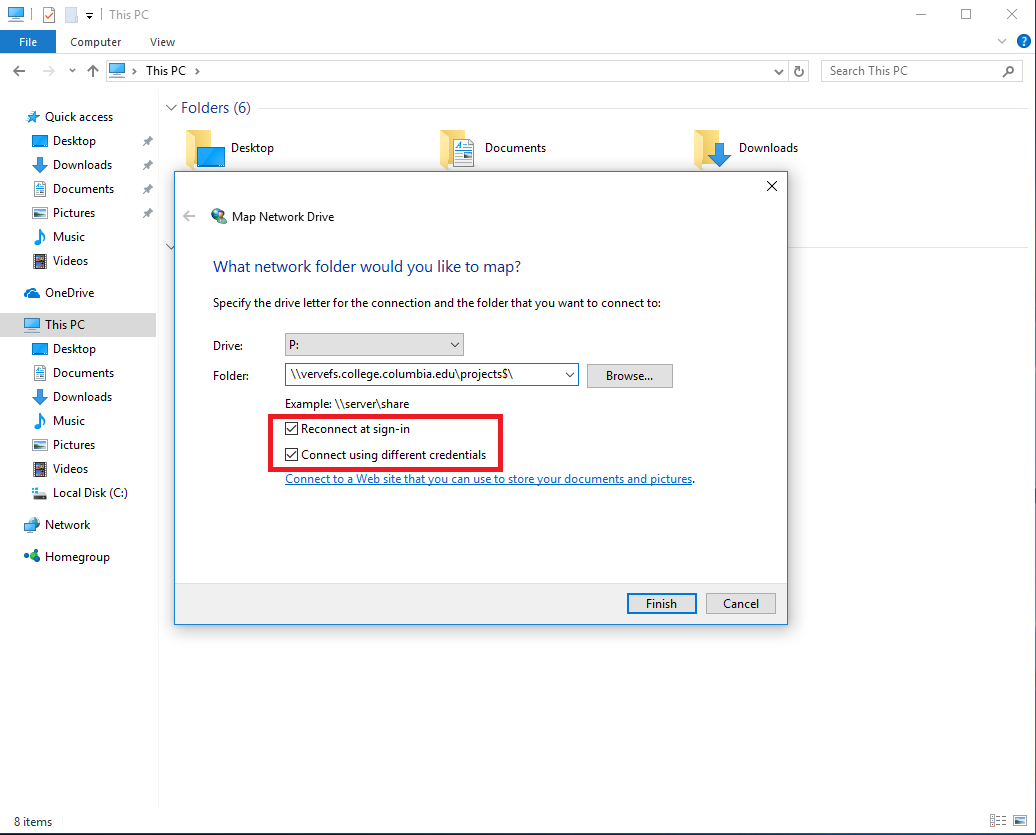
Mapping a Drive Letter:
- Open "This PC" or "My Computer."
- Right-click on an empty area and select "Map Network Drive."
- In the dialog box, enter the shared drive path (e.g., serversharedfolder) and choose a drive letter.
- Click "Finish" to complete the mapping.
2. File Manager (Mac Operating System)
-
Connecting to a Server:
- Open Finder and click "Go" in the menu bar.
- Select "Connect to Server…"
- Enter the server address (e.g., smb://server) and click "Connect."
- Provide your username and password if prompted.
-
Mounting a Shared Drive:
- In Finder, click "Go" in the menu bar and select "Connect to Server…"
- Enter the server address (e.g., smb://server/sharedfolder) and click "Connect."
- Provide your username and password if prompted.
- The shared drive will appear in the Finder sidebar.
3. Linux/Unix Systems
-
Using the "mount" Command:
- Open a terminal window.
- Use the command
mount -t cifs //server/sharedfolder /mnt/sharedto mount the shared drive to the specified directory. - Replace
//server/sharedfolderwith the actual path to the shared drive and/mnt/sharedwith the desired mount point. - Ensure the user has appropriate permissions to access the shared drive.
Troubleshooting Access Issues
If you encounter difficulties accessing a shared drive, consider the following:
- Network Connection: Verify that you are connected to the network and that your connection is stable.
- Authentication: Ensure that you are entering the correct username and password.
- Permissions: Check if you have the necessary permissions to access the shared drive. Contact your network administrator if you suspect permission issues.
- Server Availability: Confirm that the server hosting the shared drive is online and operational.
- Drive Path: Double-check that the shared drive path is entered correctly.
- Firewall Settings: Ensure that your firewall is not blocking access to the shared drive.
FAQs: Accessing Shared Drives
Q: What if I forget my username or password?
A: Contact your network administrator or IT support for assistance with password recovery.
Q: Why can’t I access certain files on the shared drive?
A: You may not have the necessary permissions to access those files. Contact your network administrator to request access.
Q: How do I unmap a shared drive?
A: In Windows, right-click the mapped drive letter in "This PC" or "My Computer" and select "Disconnect." In macOS, simply drag the shared drive from the Finder sidebar to the trash.
Q: What happens if the server hosting the shared drive goes offline?
A: You will be unable to access the shared drive until the server is back online.
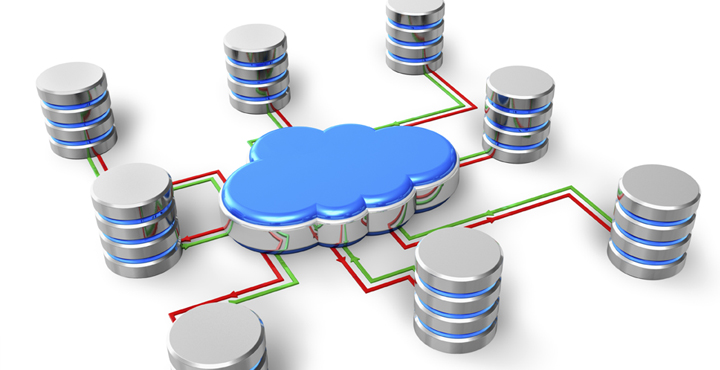
Q: What is the difference between a shared drive and a cloud storage service?
A: Shared drives are typically hosted within a local network, while cloud storage services are hosted on remote servers accessible over the internet. Cloud storage offers greater accessibility and data redundancy but may have security and privacy concerns.
Tips for Accessing Shared Drives
- Use strong passwords: Choose secure passwords for your network accounts to protect your data.
- Enable two-factor authentication: Add an extra layer of security by requiring a second authentication factor, like a code sent to your phone.
- Regularly backup important files: Store backups of critical files on a separate device or cloud storage service for disaster recovery.
- Keep your operating system and network software up to date: Regular updates patch security vulnerabilities and improve system performance.
- Be aware of potential security risks: Exercise caution when opening files from shared drives, especially those from unknown sources.
- Contact your network administrator for assistance: If you encounter any difficulties or have questions, reach out to your network administrator for support.
Conclusion
Accessing shared drives is a fundamental skill for anyone working in a networked environment. By understanding the principles of network connectivity, authentication, and drive mapping, users can seamlessly access and share files, fostering collaboration and improving efficiency. Remember to prioritize security and follow best practices to ensure the integrity and protection of your data.


Closure
Thus, we hope this article has provided valuable insights into Navigating Networked Storage: Understanding and Accessing Shared Drives. We appreciate your attention to our article. See you in our next article!