Mastering the Art of CD Burning in Windows 10 Home: A Comprehensive Guide
Related Articles: Mastering the Art of CD Burning in Windows 10 Home: A Comprehensive Guide
Introduction
With great pleasure, we will explore the intriguing topic related to Mastering the Art of CD Burning in Windows 10 Home: A Comprehensive Guide. Let’s weave interesting information and offer fresh perspectives to the readers.
Table of Content
Mastering the Art of CD Burning in Windows 10 Home: A Comprehensive Guide
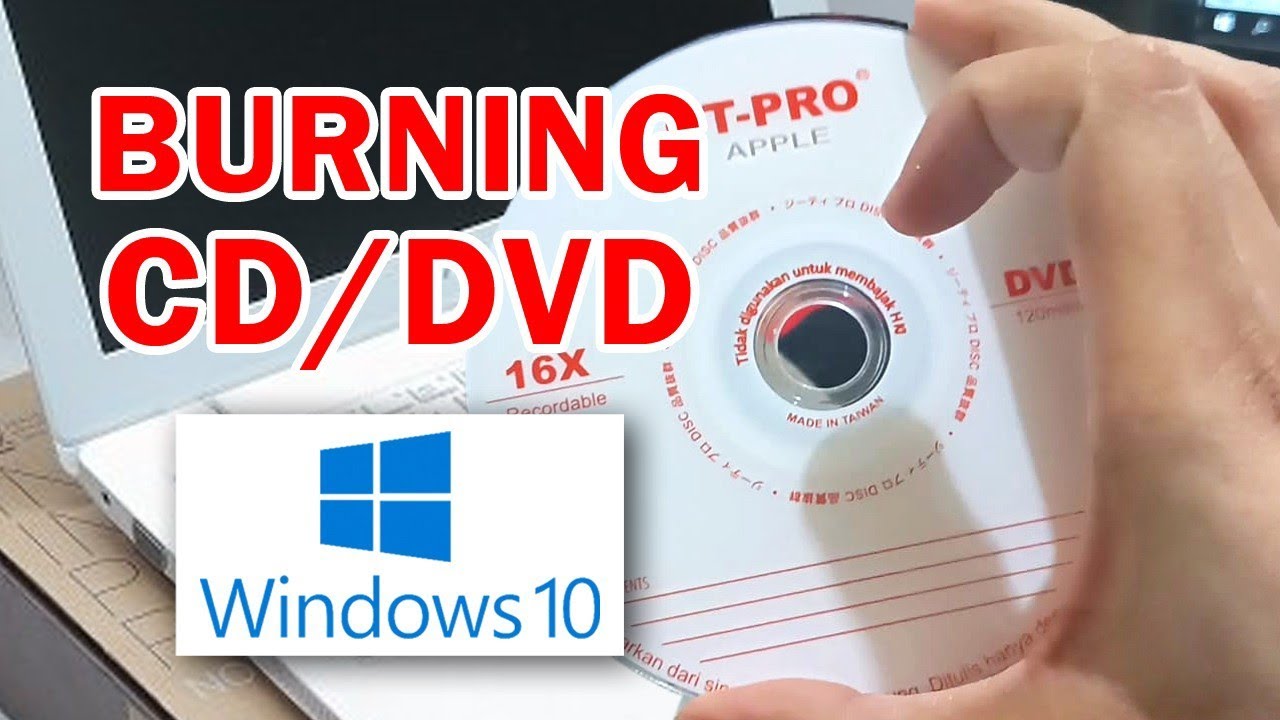
In the digital age, the act of burning a CD might seem antiquated, a relic of a bygone era. Yet, the ability to transfer data to physical media remains relevant and valuable in specific scenarios. Whether it’s creating a music compilation for a car ride, backing up critical files, or sharing large files without relying on the internet, CD burning continues to offer a practical solution. This comprehensive guide will equip you with the knowledge and skills to burn CDs effectively using Windows 10 Home.
Understanding the Process: A Simplified Overview
Burning a CD involves transferring digital data from your computer’s hard drive onto a blank, writable CD. This process requires a CD burner, a physical drive connected to your computer, and a blank CD-R or CD-RW disc. The CD burner reads the data from your computer and then uses a laser to etch the information onto the CD, effectively creating a permanent copy.
The Essential Tools: CD Burner and Blank CDs
-
CD Burner: The heart of the operation lies in the CD burner, a drive that reads and writes data onto CDs. Most modern computers come equipped with an integrated CD burner, typically found in the form of a slot-loading or tray-loading drive. If your computer lacks this feature, external CD burners are readily available for purchase.
-
Blank CDs: You will need blank, writable CDs known as CD-R (Compact Disc Recordable) or CD-RW (Compact Disc Rewritable) discs. CD-R discs are single-use, allowing you to write data onto them only once. CD-RW discs, on the other hand, offer the flexibility of multiple writes, enabling you to erase and rewrite data as needed.
Methods for Burning CDs in Windows 10 Home
Windows 10 Home offers two primary methods for burning CDs:
-
Using Windows File Explorer: This method provides a straightforward and intuitive approach to burning CDs, ideal for simple tasks such as creating music compilations or backing up files.
-
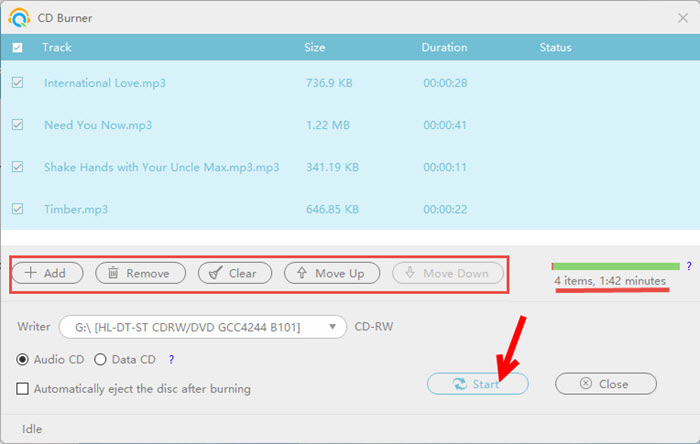
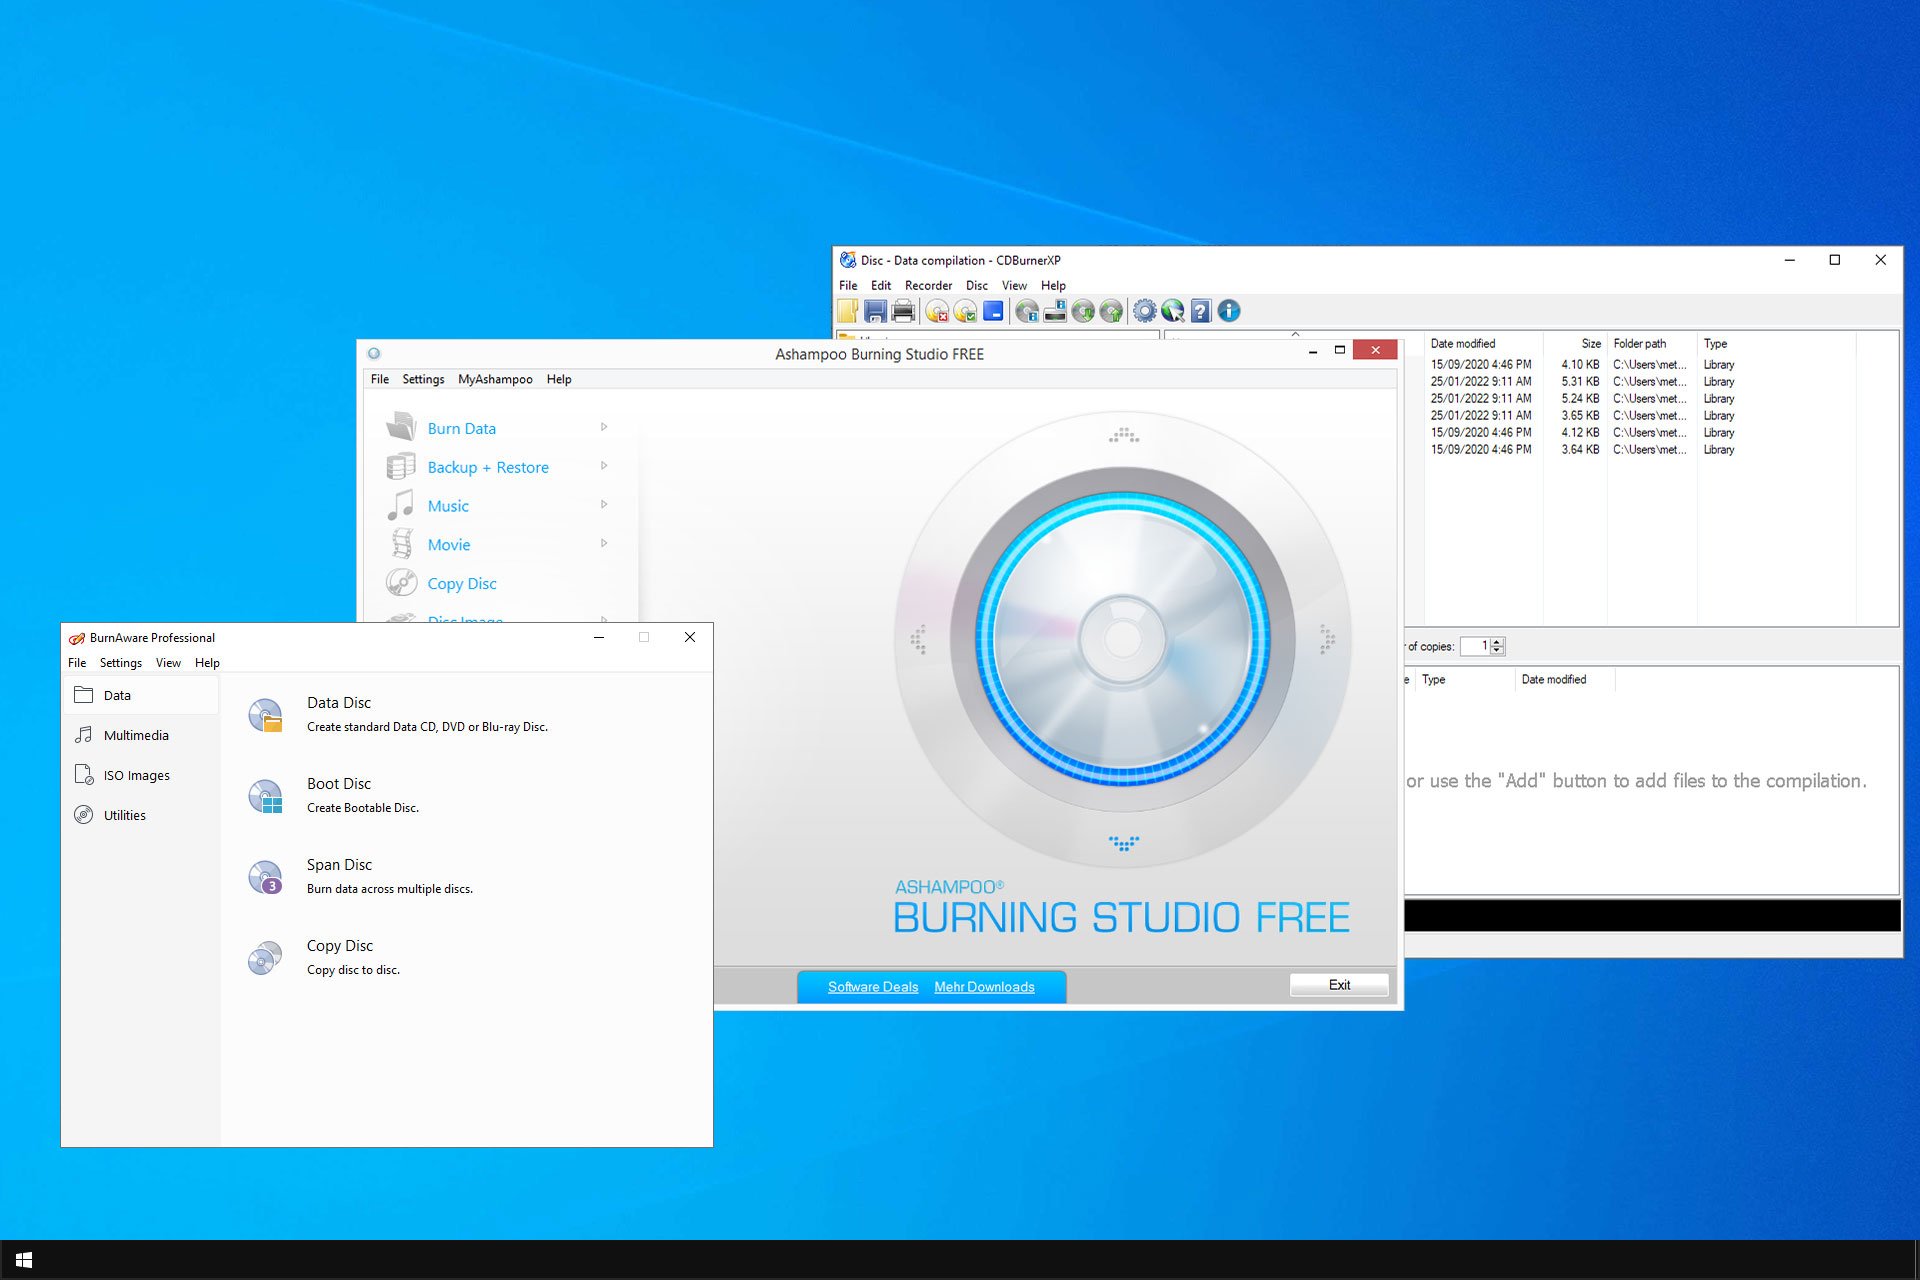
Utilizing Third-Party Burning Software: For more advanced features and customization options, third-party burning software offers a wider range of possibilities. These programs often provide features like data compression, disc spanning (splitting large files across multiple discs), and advanced disc labeling options.
Method 1: Burning CDs with Windows File Explorer
-
Insert the Blank CD: Insert a blank CD-R or CD-RW disc into your CD burner. Windows will automatically detect the disc and prompt you to choose an action.
-
Select "Burn Files to Disc": From the pop-up window, choose "Burn files to disc."
-
Choose a Disc Type: Select the type of disc you are using (CD-R or CD-RW) and choose a name for your CD.
-
Add Files and Folders: Click the "Add" button and browse your computer to locate the files and folders you wish to burn onto the CD. You can select multiple files and folders simultaneously.
-
Start the Burning Process: Once you have added all the desired files, click the "Burn" button to begin the burning process.
-
Eject the CD: Once the burning process is complete, you will receive a notification. You can then safely eject the CD from the drive.
Method 2: Burning CDs with Third-Party Burning Software
-
Install Burning Software: Download and install a reputable third-party burning software program. Popular options include Nero Burning ROM, Ashampoo Burning Studio, and ImgBurn.
-
Launch the Software: Open the installed burning software.
-
Create a New Project: Select the "New Project" or "Create Disc" option to initiate a new burning project.
-
Select Disc Type and Options: Choose the disc type (CD-R or CD-RW) and select the desired burning options, such as data compression or disc spanning.
-
Add Files and Folders: Add the files and folders you wish to burn onto the CD.
-
Start the Burning Process: Once you have added all the desired files, click the "Burn" or "Write" button to begin the burning process.
-
Eject the CD: After the burning process is complete, you can safely eject the CD from the drive.
Important Considerations: Ensuring a Successful Burn
-
Disc Quality: Use high-quality blank CDs from reputable brands to ensure reliable data storage.
-
Data Size: Ensure that the total size of the files you are burning does not exceed the capacity of the CD. A standard CD-R can hold up to 700 MB of data.
-
Burning Speed: Adjust the burning speed to a suitable level. Slower speeds generally result in more reliable burns, while faster speeds may increase the risk of errors.
-
Cleanliness: Keep your CD burner and the blank CDs clean to prevent dust or debris from interfering with the burning process.
Troubleshooting Common CD Burning Issues
-
Disc Errors: If you encounter disc errors during the burning process, try using a different blank CD or adjusting the burning speed.
-
Burn Errors: If you encounter burn errors, try cleaning the CD burner lens or verifying the integrity of the files you are burning.
-
CD Drive Issues: If your CD drive is malfunctioning, try cleaning the drive or reinstalling the driver.
FAQs: Addressing Common Queries
-
Can I burn data onto a CD-RW disc multiple times? Yes, CD-RW discs allow you to erase and rewrite data multiple times.
-
What is the difference between a CD-R and a CD-RW disc? CD-R discs are single-use, while CD-RW discs can be rewritten multiple times.
-
Can I burn music files onto a CD? Yes, you can burn music files onto a CD, creating an audio CD that can be played in a CD player.
-
Can I burn videos onto a CD? Yes, you can burn video files onto a CD, creating a video CD that can be played on a compatible DVD player.
-
How do I know if my computer has a CD burner? Check your computer’s specifications or look for a CD drive slot or tray.
Tips for a Seamless Burning Experience
-
Use High-Quality CDs: Invest in high-quality blank CDs to ensure reliable data storage.
-
Optimize File Size: Compress large files before burning them onto the CD to maximize storage space.
-
Check for Errors: Verify the integrity of the files you are burning to prevent data corruption.
-
Clean Your Drive: Regularly clean your CD burner to ensure optimal performance.
-
Back Up Your Data: Always create backups of your important files before burning them onto a CD.
Conclusion: Mastering the Art of CD Burning
Burning CDs remains a valuable skill, offering a reliable and convenient way to transfer data, create backups, and share files. By understanding the process, utilizing the appropriate tools, and following the tips outlined in this guide, you can confidently burn CDs in Windows 10 Home, preserving your digital memories and ensuring the longevity of your data.


Closure
Thus, we hope this article has provided valuable insights into Mastering the Art of CD Burning in Windows 10 Home: A Comprehensive Guide. We appreciate your attention to our article. See you in our next article!