Managing the Snipping Tool in Windows 11: A Comprehensive Guide
Related Articles: Managing the Snipping Tool in Windows 11: A Comprehensive Guide
Introduction
In this auspicious occasion, we are delighted to delve into the intriguing topic related to Managing the Snipping Tool in Windows 11: A Comprehensive Guide. Let’s weave interesting information and offer fresh perspectives to the readers.
Table of Content
Managing the Snipping Tool in Windows 11: A Comprehensive Guide
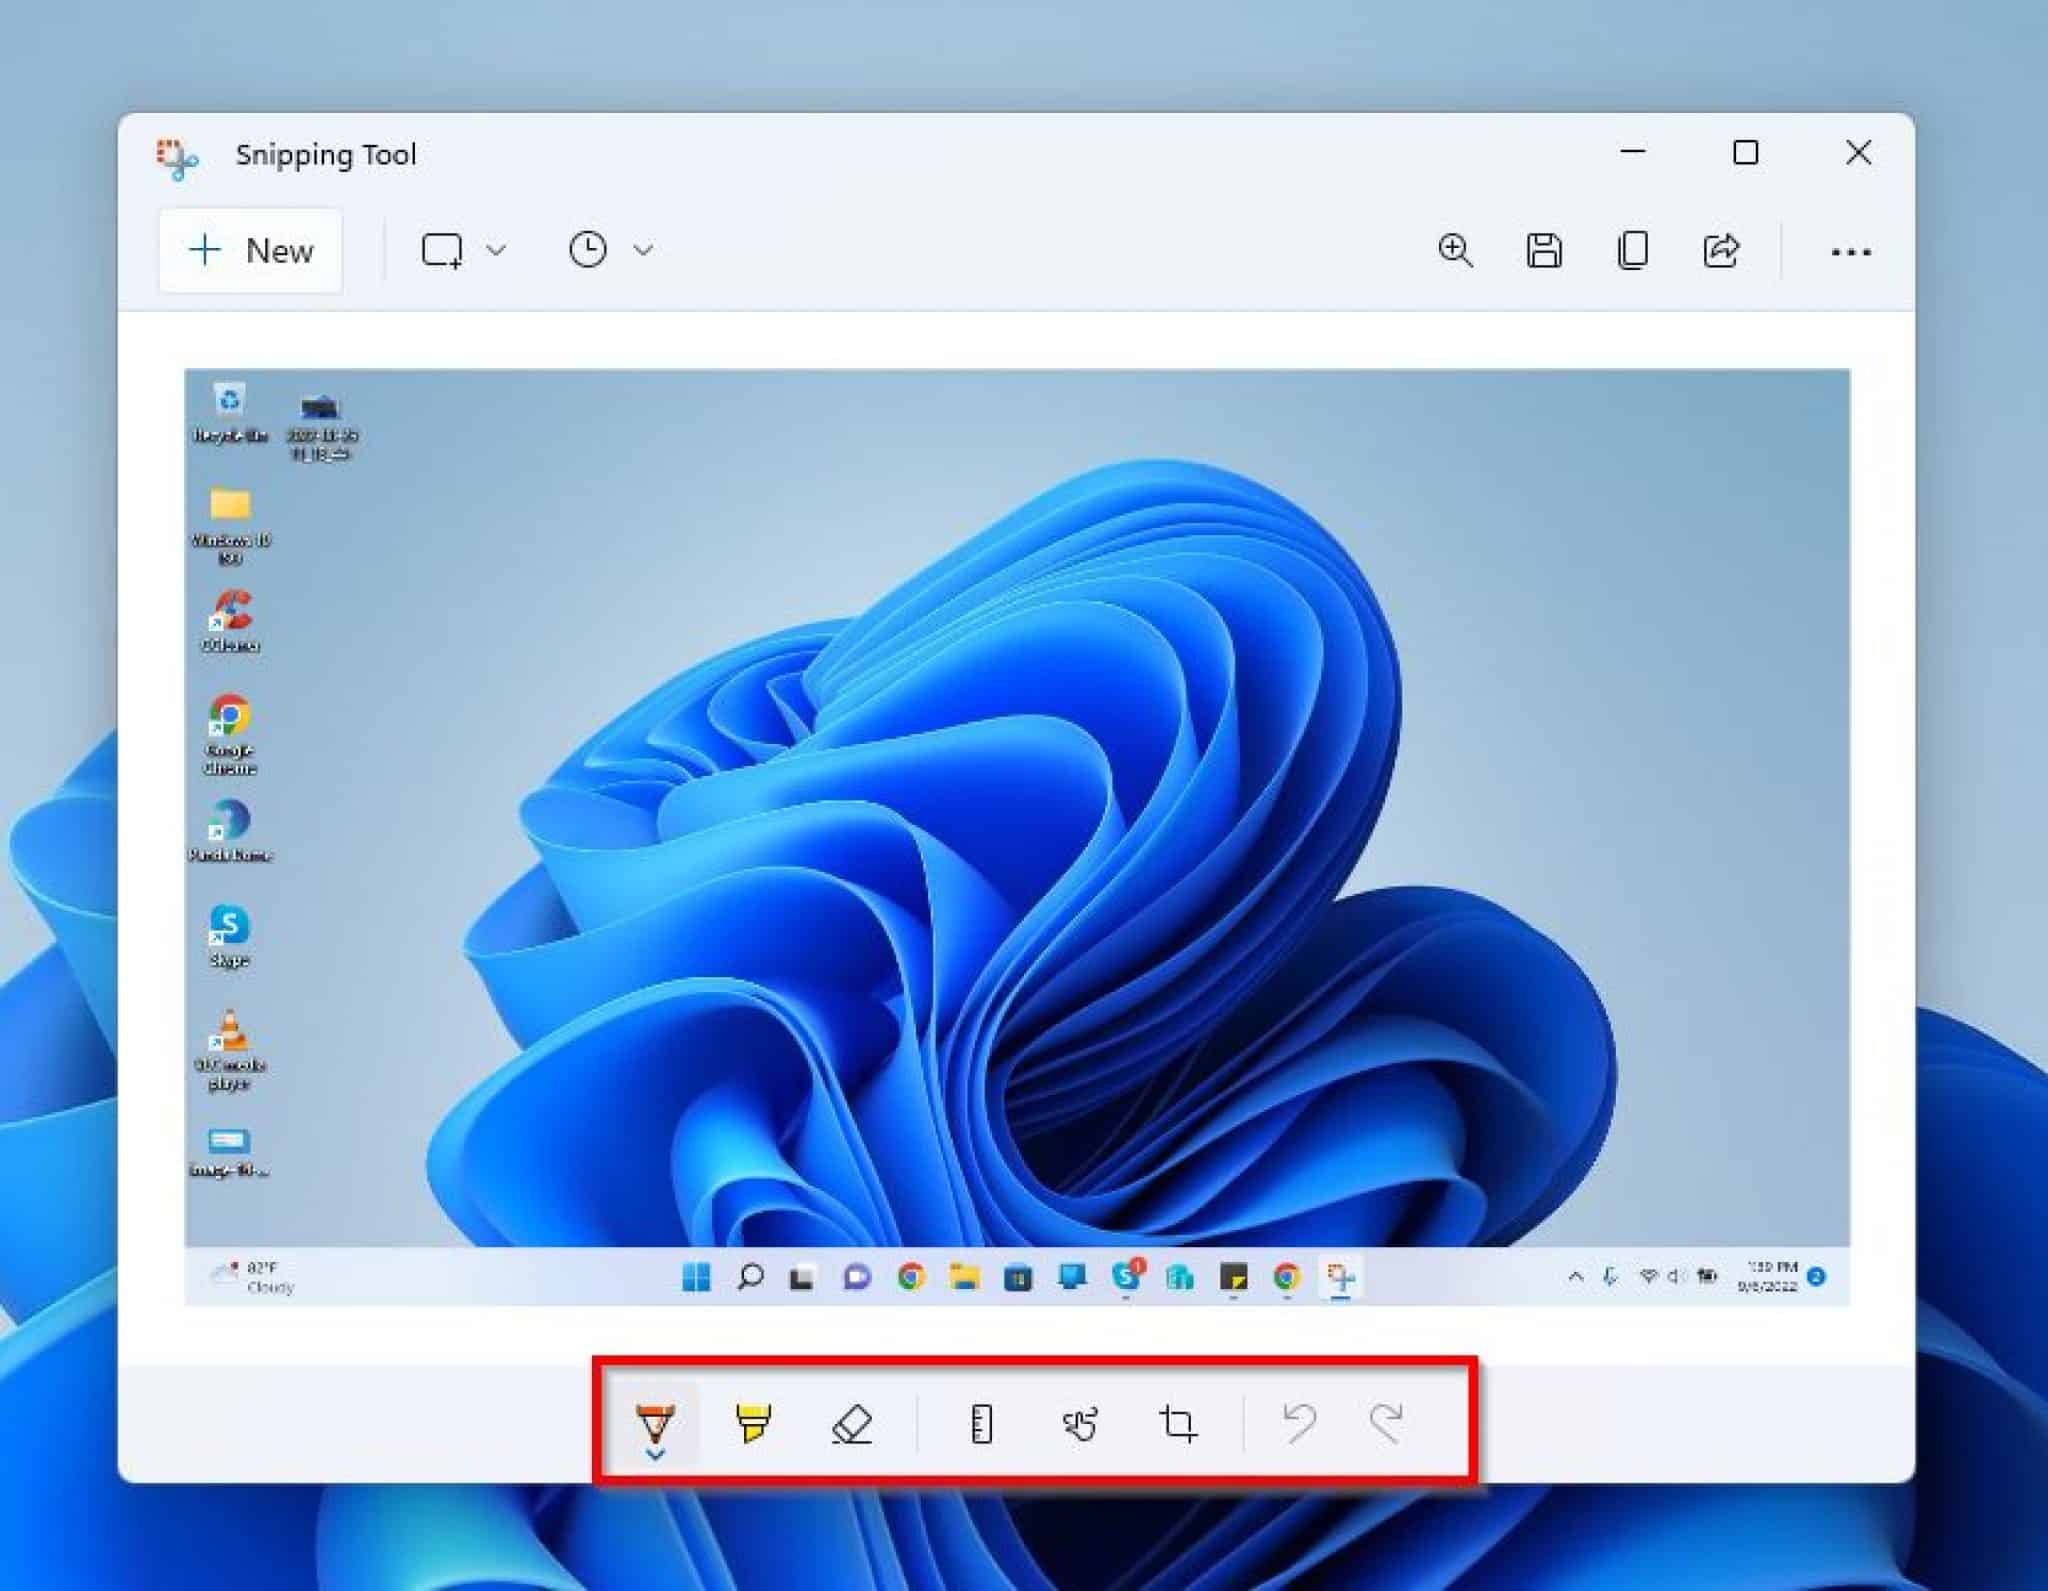
The Snipping Tool, a staple in Windows operating systems, provides users with the ability to capture screenshots of their screen. While it offers a convenient way to document information, there are instances where its presence might be undesirable. This guide provides a detailed explanation of methods to manage the Snipping Tool’s functionality in Windows 11, addressing potential scenarios where its deactivation might be beneficial.
Understanding the Need to Manage the Snipping Tool
The Snipping Tool can be a valuable tool for various tasks, including:
- Documenting troubleshooting steps: Capturing screenshots of error messages or system settings can aid in resolving technical issues.
- Sharing visual information: Screenshots facilitate the sharing of specific sections of a webpage, document, or application with others.
- Creating visual aids for presentations: Snipping Tool can be used to capture relevant images and integrate them into presentations.
However, there are situations where the Snipping Tool’s presence might be inconvenient or even detrimental:
- Security concerns: In environments where sensitive information is displayed on screen, capturing screenshots might pose a security risk.
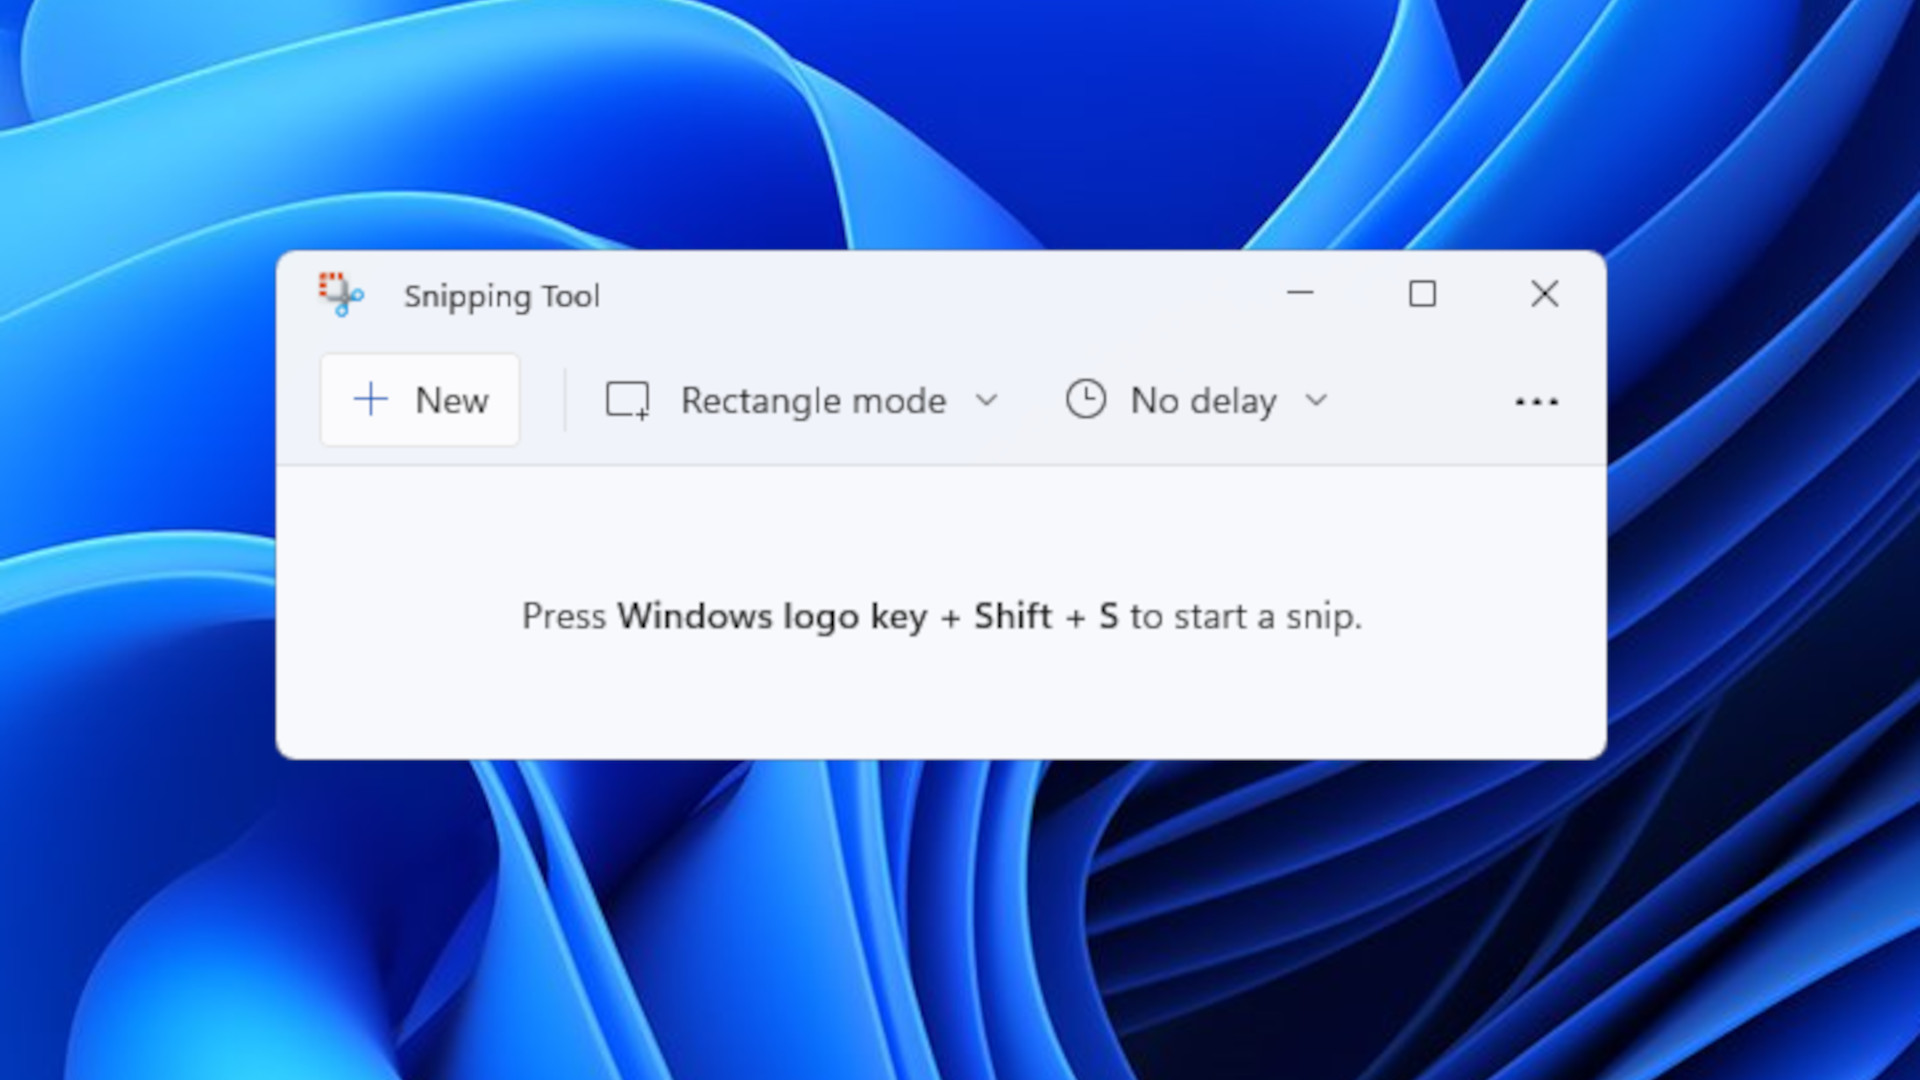
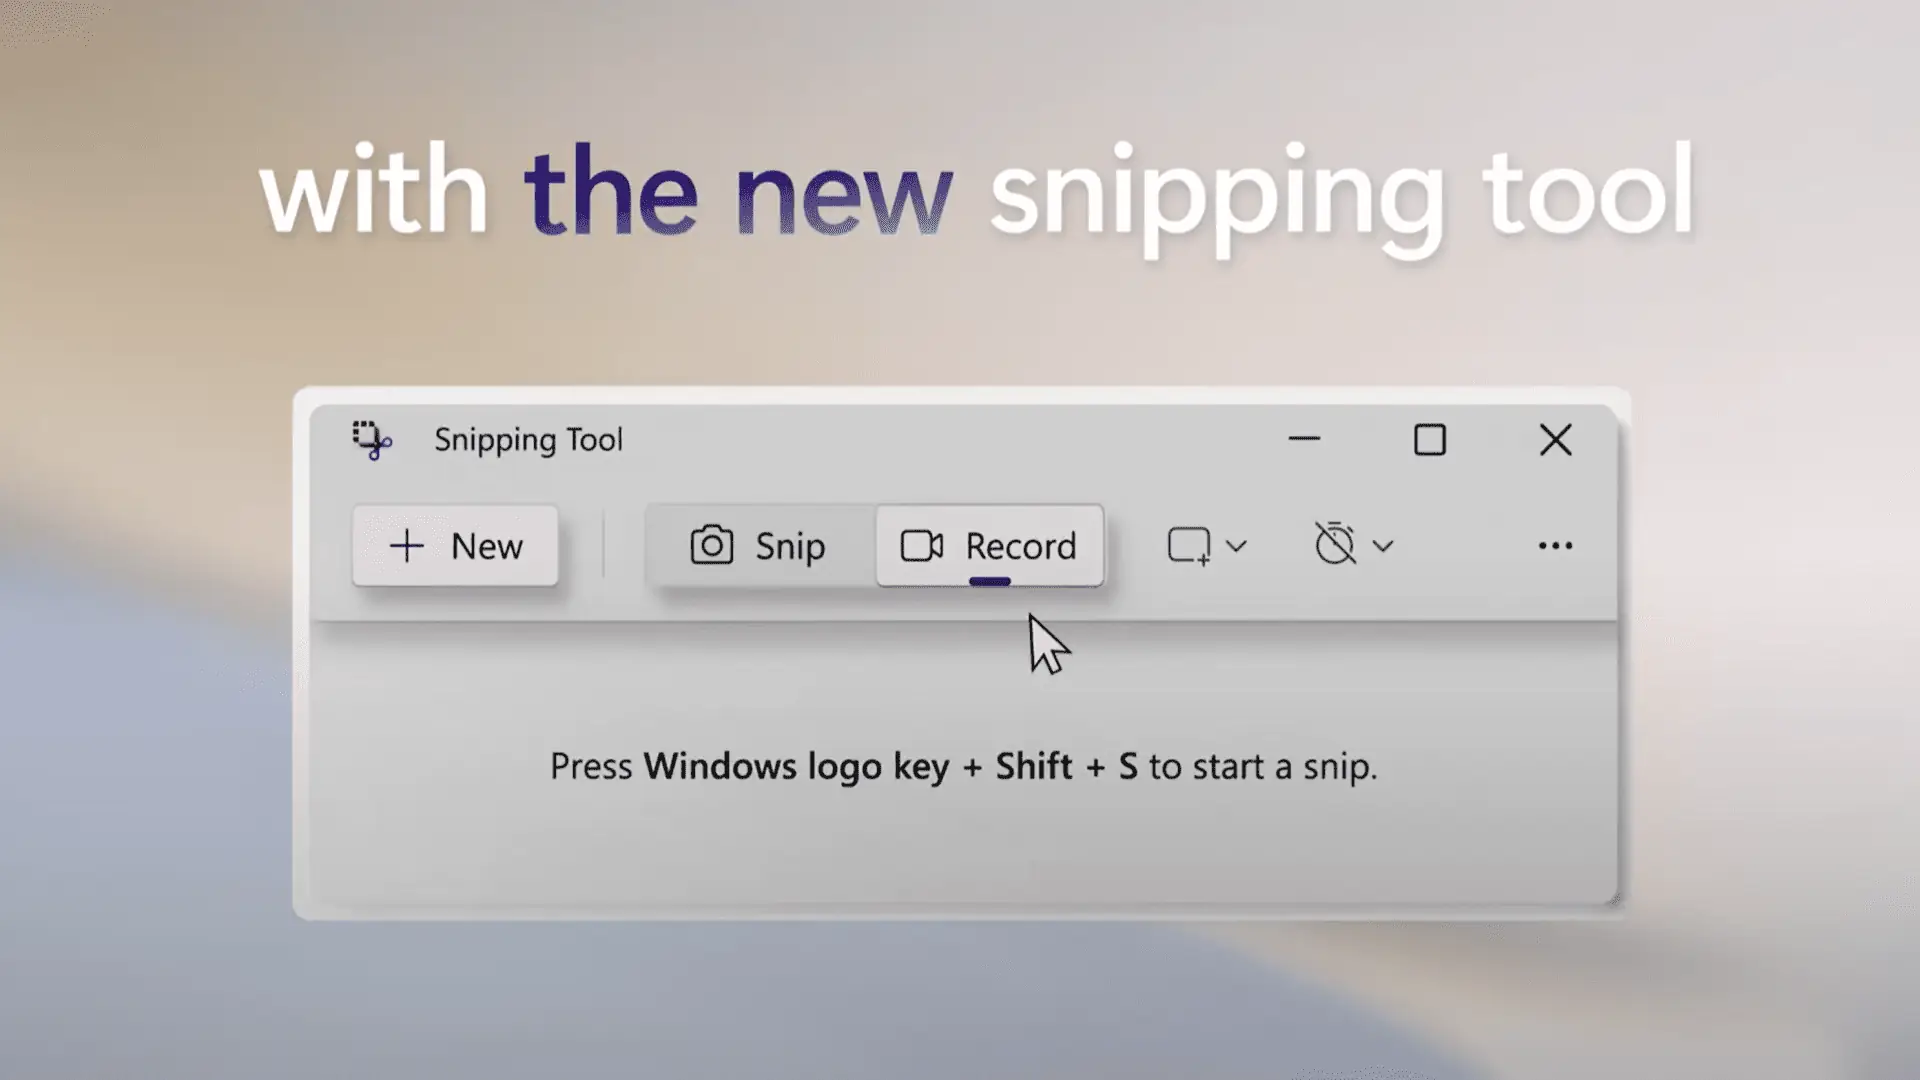
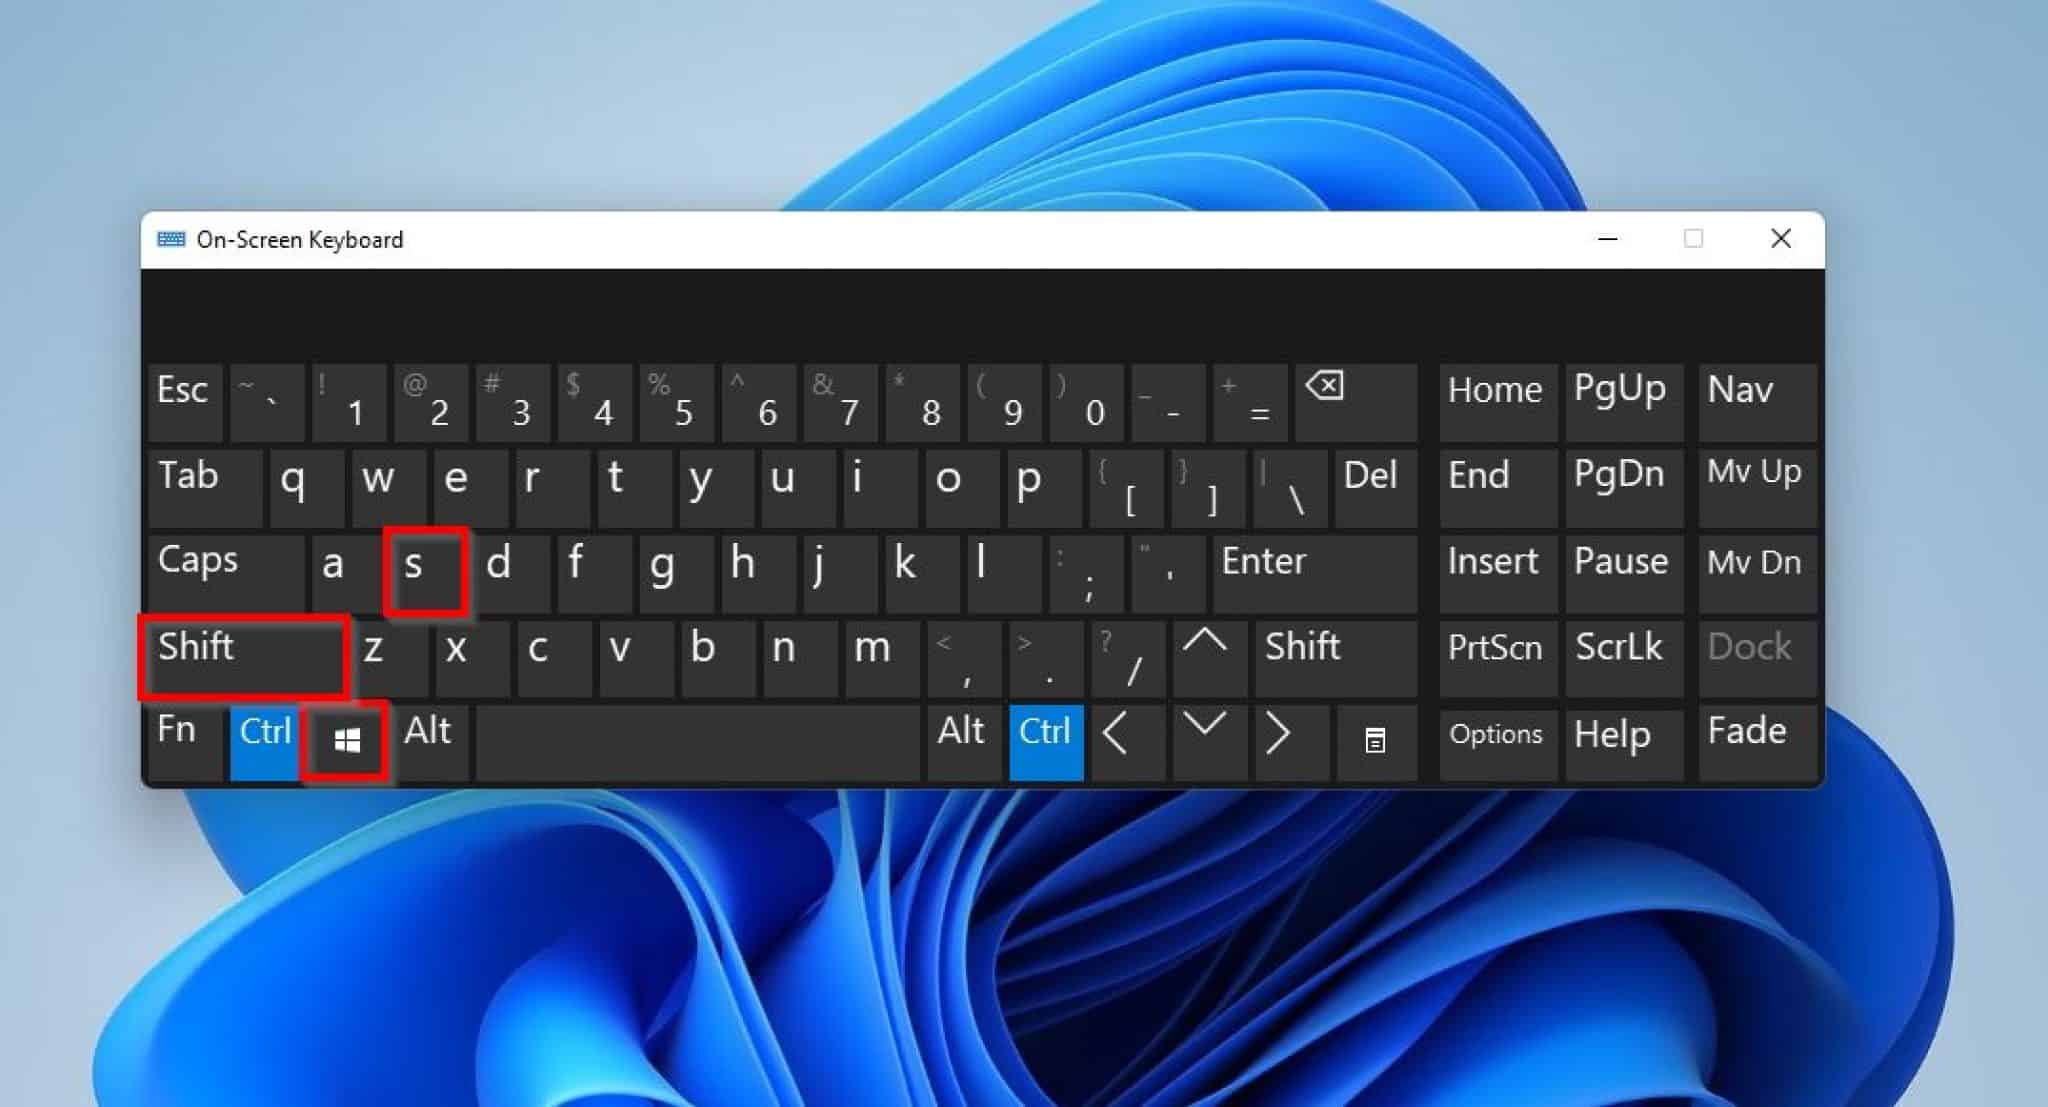
- Productivity disruption: The Snipping Tool’s hotkey combination (Windows key + Shift + S) can inadvertently trigger during tasks requiring precise keyboard usage.
- Accessibility limitations: Users with specific accessibility needs might find the Snipping Tool’s interface or functionality challenging to navigate.
Methods to Manage the Snipping Tool’s Functionality
Windows 11 offers multiple options to manage the Snipping Tool’s functionality, ranging from temporary deactivation to complete removal.
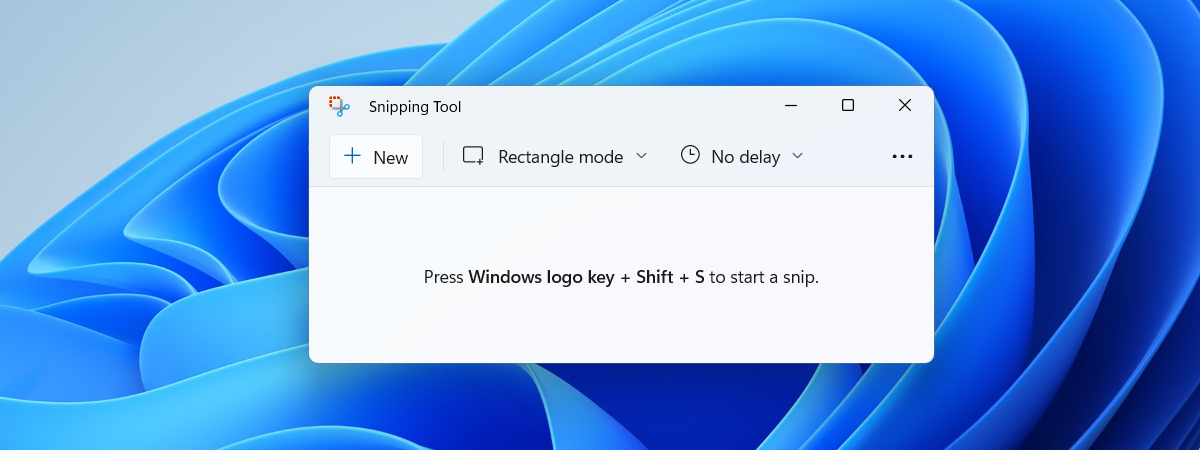
1. Temporary Deactivation Using Hotkeys:
The Snipping Tool can be temporarily disabled by disabling its associated hotkey combination. This method allows users to maintain access to the Snipping Tool while preventing accidental triggering during other tasks.
-
Steps:
- Navigate to Settings > Accessibility > Keyboard.
- Locate the option Use the Windows key to open Start menu.
- Disable this option.
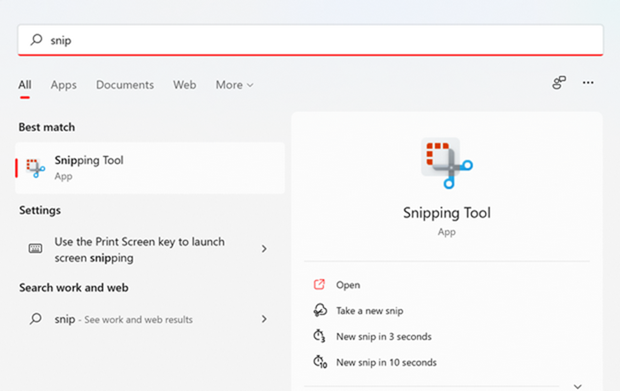
2. Disabling the Snipping Tool Through the Start Menu:
This method provides a quick and straightforward way to disable the Snipping Tool’s functionality without delving into system settings.
-
Steps:
- Click on the Start menu.
- Search for "Snipping Tool".
- Right-click on the Snipping Tool icon and select "Disable".
3. Removing the Snipping Tool Using the Command Prompt:
This method permanently removes the Snipping Tool from the system. It is recommended to use this method only if the Snipping Tool is no longer required and its functionality is not desired.
-
Steps:
- Open Command Prompt as administrator.
- Execute the following command:
powershell -Command "Get-AppxPackage Microsoft.Windows.ScreenSketch | Remove-AppxPackage"
4. Using Third-Party Software:
Various third-party applications offer advanced features and customization options for capturing screenshots. These tools can provide alternatives to the Snipping Tool, enabling users to tailor their screenshot-taking experience to specific needs.
Important Considerations When Disabling the Snipping Tool:
- Alternative Methods: Consider exploring alternative methods for capturing screenshots, such as the Print Screen key or dedicated screenshot tools.
- System Updates: Windows updates might reinstate the Snipping Tool, requiring re-disabling after the update.
- Re-Enabling the Snipping Tool: If the Snipping Tool needs to be re-enabled, it can be downloaded from the Microsoft Store or re-installed using the Command Prompt.
FAQs: Addressing Common Queries Regarding the Snipping Tool
Q: Is it possible to disable the Snipping Tool without removing it completely?
A: Yes, the Snipping Tool can be temporarily deactivated using the hotkey method or by disabling it through the Start menu.
Q: Can I disable the Snipping Tool’s hotkey combination without affecting other keyboard shortcuts?
A: Disabling the Snipping Tool’s hotkey combination does not affect other keyboard shortcuts.
Q: What are the implications of removing the Snipping Tool using the Command Prompt?
A: Removing the Snipping Tool using the Command Prompt permanently removes it from the system. It will need to be re-installed if the functionality is required.
Q: Is there a way to prevent the Snipping Tool from capturing specific windows or applications?
A: While the Snipping Tool does not offer specific window or application blocking features, third-party screenshot tools often provide such functionality.
Q: What are the benefits of using third-party screenshot tools?
A: Third-party screenshot tools often offer advanced features like region selection, scrolling capture, annotations, and image editing capabilities.
Tips for Managing the Snipping Tool Effectively
- Utilize Third-Party Tools: Explore third-party screenshot tools to enhance functionality and customize the screenshot-taking experience.
- Explore Alternative Methods: Familiarize yourself with alternative methods for capturing screenshots, such as the Print Screen key or dedicated screenshot tools.
- Regularly Review and Update: Periodically review the Snipping Tool’s functionality and consider updating it to benefit from new features.
- Prioritize Security: In environments with sensitive information, consider alternative methods for capturing screenshots or implement security measures to protect sensitive data.
Conclusion
Managing the Snipping Tool’s functionality in Windows 11 empowers users to tailor their operating system to specific needs and preferences. By understanding the various methods for deactivating or removing the Snipping Tool, users can optimize their experience, enhance productivity, and address potential security concerns. Whether it’s temporarily disabling the Snipping Tool to prevent accidental triggering or permanently removing it to eliminate its presence, users can confidently manage this feature to suit their individual requirements.

Closure
Thus, we hope this article has provided valuable insights into Managing the Snipping Tool in Windows 11: A Comprehensive Guide. We appreciate your attention to our article. See you in our next article!