HDMI Output in Windows 10: Connecting Your PC to the Big Screen
Related Articles: HDMI Output in Windows 10: Connecting Your PC to the Big Screen
Introduction
With great pleasure, we will explore the intriguing topic related to HDMI Output in Windows 10: Connecting Your PC to the Big Screen. Let’s weave interesting information and offer fresh perspectives to the readers.
Table of Content
HDMI Output in Windows 10: Connecting Your PC to the Big Screen
In the modern digital landscape, the ability to seamlessly connect a personal computer to a larger display has become indispensable. Windows 10, with its robust connectivity features, facilitates this process through the widespread adoption of High-Definition Multimedia Interface (HDMI) technology. HDMI output in Windows 10 offers a versatile and reliable method for transferring both audio and video signals, making it the preferred choice for connecting PCs to televisions, monitors, projectors, and other compatible devices.
Understanding HDMI and its Significance
HDMI, introduced in 2002, revolutionized the way we connect electronic devices. This digital interface transmits both audio and video signals over a single cable, eliminating the need for separate connections. This streamlined approach offers numerous advantages:
- Superior Picture Quality: HDMI supports high resolutions, including 4K and 8K, ensuring a crisp and detailed visual experience. It also supports various color spaces, delivering vibrant and accurate colors.
- Immersive Audio: HDMI can transmit multi-channel audio, enabling surround sound setups for a truly immersive entertainment experience.
- Simplified Connections: The single-cable solution reduces clutter and simplifies the connection process, making it user-friendly for both novice and experienced users.
- Versatility: HDMI is a widely adopted standard, ensuring compatibility with a vast range of devices, including TVs, monitors, projectors, gaming consoles, and even sound systems.
HDMI Output in Windows 10: A Detailed Exploration
Windows 10 provides a user-friendly interface for managing HDMI output, allowing users to effortlessly connect their PCs to external displays. Here’s a comprehensive breakdown of the process:
-
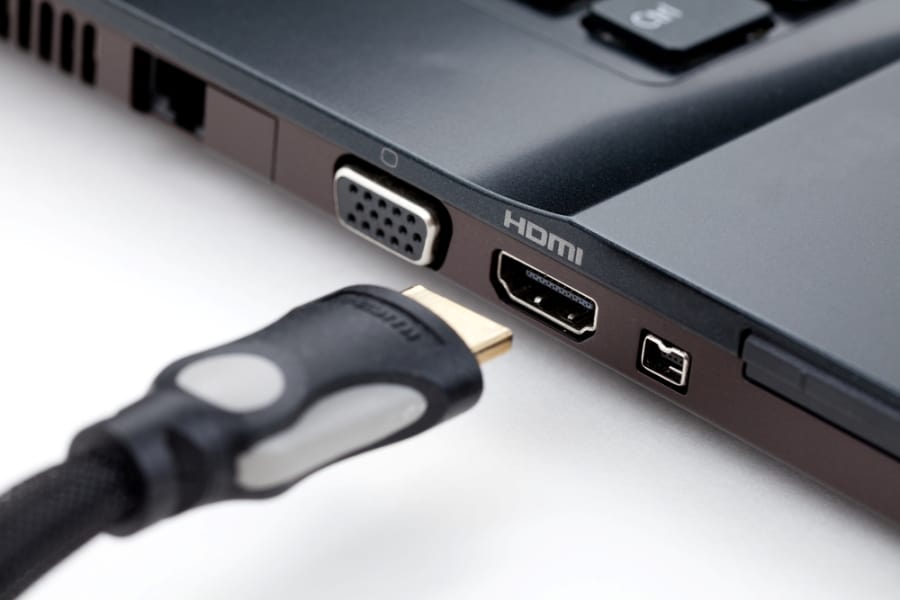
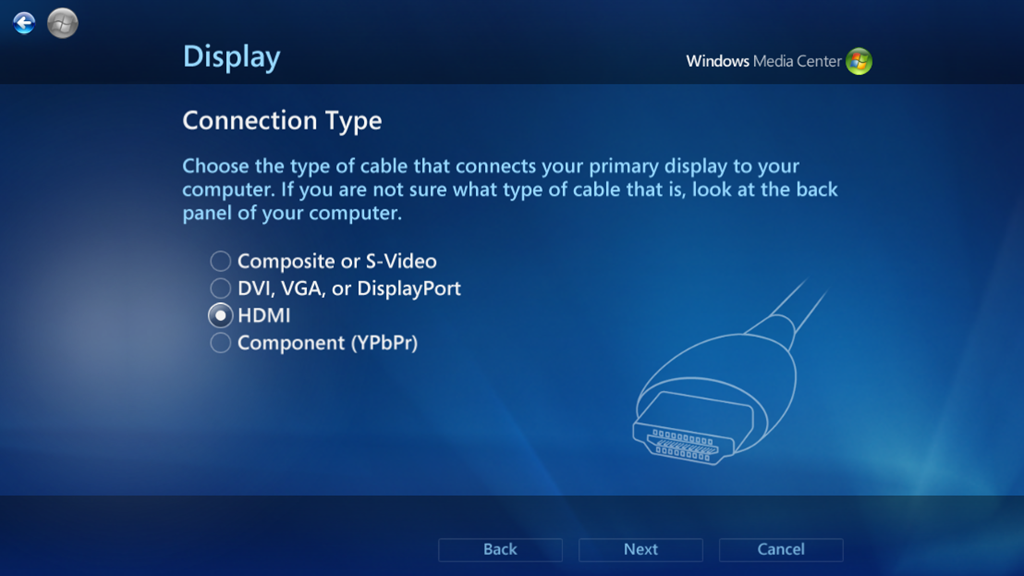
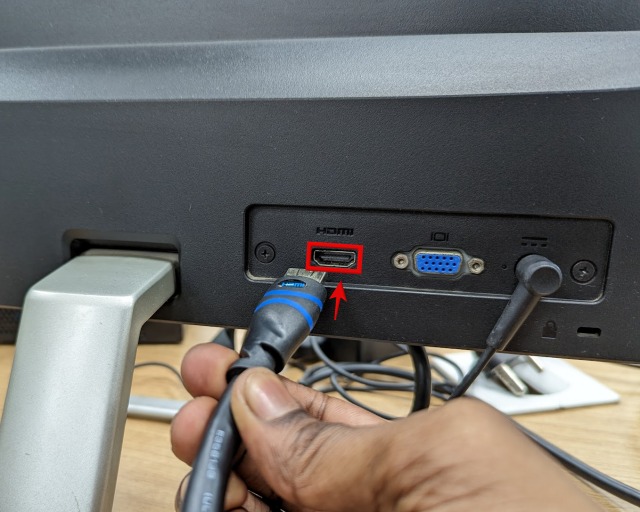
Identifying the HDMI Port: Locate the HDMI port on your PC. It is typically found on the back or side of the device, often marked with an HDMI logo.
-
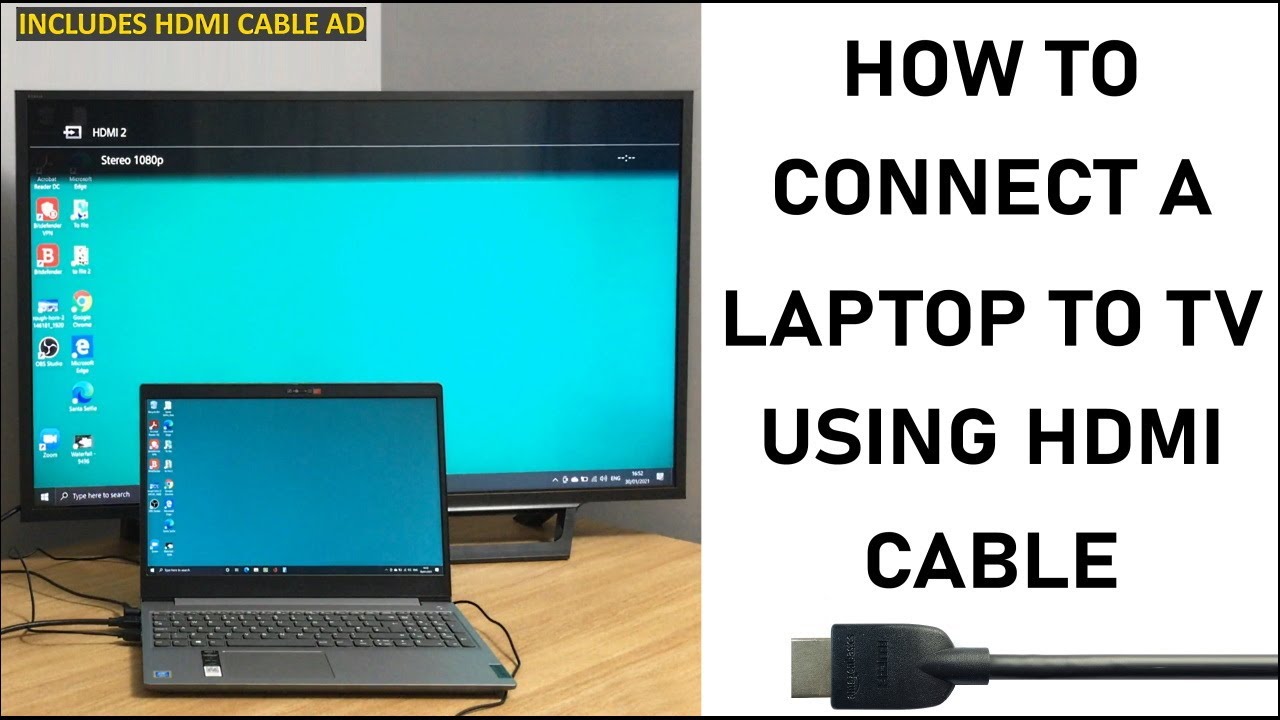
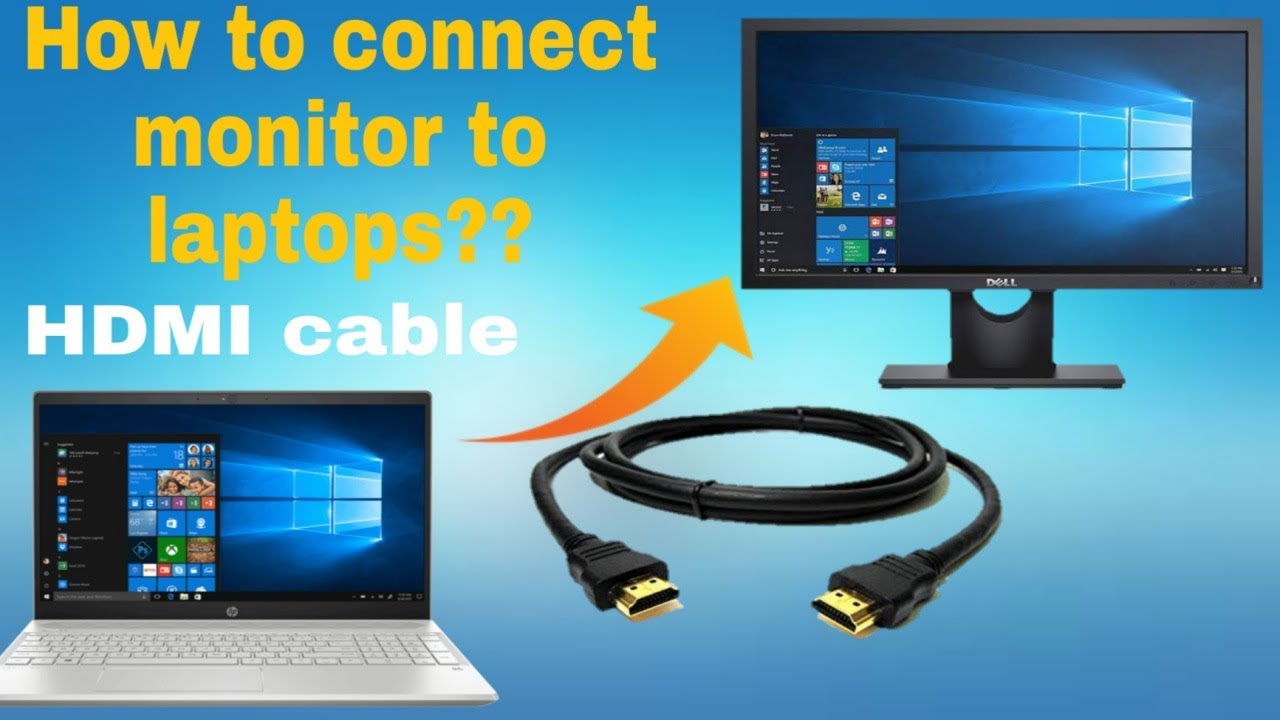
Connecting the HDMI Cable: Securely connect one end of an HDMI cable to the HDMI port on your PC and the other end to the HDMI port on the external display.
-
Detecting the External Display: Windows 10 automatically detects the connected display and attempts to configure it. You may see a pop-up notification indicating the successful connection.
-
Adjusting Display Settings: Once connected, access the display settings by right-clicking on the desktop and selecting "Display settings." This window allows you to configure various settings:
- Display Resolution: Choose the optimal resolution for your external display. Higher resolutions offer sharper images but require more processing power.
- Display Orientation: Select the desired orientation (landscape or portrait) for the external display.
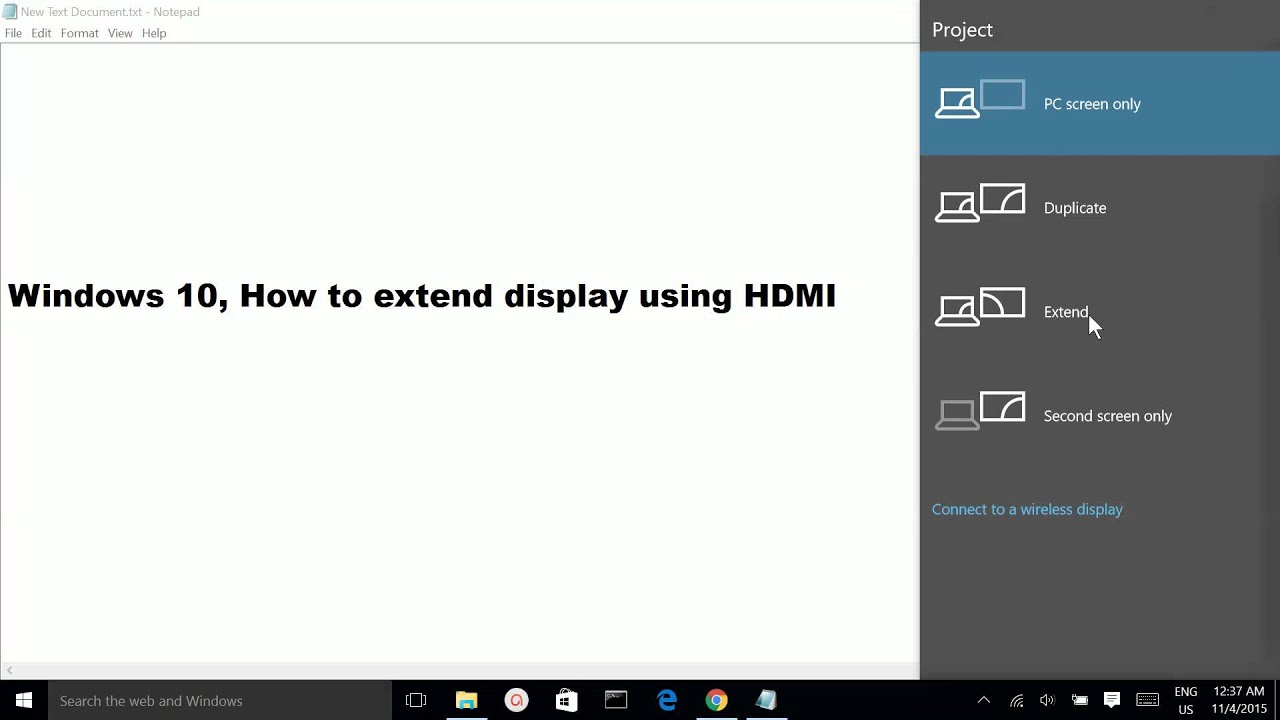
- Multiple Display Options: Configure how multiple displays work together, including mirroring, extending the desktop, or using the external display as a second monitor.
- Advanced Display Settings: Access more advanced settings, such as color depth, refresh rate, and audio output options.
-
Audio Output: Depending on your setup, you may need to configure the audio output to the external display. Access the sound settings in the control panel or system tray to choose the desired audio device.
Troubleshooting Common Issues
While HDMI output in Windows 10 is generally straightforward, occasional issues might arise. Here are some common problems and solutions:
- No Display: Ensure the HDMI cable is securely connected to both devices. Check if the external display is turned on and receiving power. Try restarting both the PC and the external display.
- Incorrect Resolution: If the display appears blurry or distorted, adjust the resolution in the display settings.
- No Audio Output: Verify that the audio output is set to the correct device in the sound settings. Check if the external display has its own speakers or requires external audio input.
- Driver Issues: Outdated or corrupted display drivers can cause problems. Update the drivers through the device manager or download the latest drivers from the manufacturer’s website.
- Compatibility Issues: Some older devices might not support specific HDMI standards or resolutions. Check the specifications of both the PC and the external display for compatibility.
FAQs on HDMI Output in Windows 10
Q: Can I use a USB-C to HDMI adapter for output?
A: Yes, many modern PCs feature USB-C ports that support video output through adapters. Ensure the adapter is compatible with HDMI and supports the desired resolution and audio output.
Q: Can I connect multiple HDMI displays to my PC?
A: Yes, Windows 10 supports multiple displays connected via HDMI. The number of displays you can connect depends on your PC’s capabilities.
Q: What is the difference between HDMI 1.4 and HDMI 2.0?
A: HDMI 2.0 offers higher bandwidth, supporting 4K resolution at 60Hz and higher refresh rates. It also supports HDR (High Dynamic Range) for a more realistic viewing experience.
Q: Can I use HDMI for gaming?
A: Yes, HDMI is a popular choice for connecting gaming PCs to televisions or monitors. It provides low latency and supports high refresh rates for smooth gameplay.
Tips for Optimal HDMI Output
- Use a High-Quality HDMI Cable: A good quality cable ensures a stable and reliable connection, minimizing signal loss and ensuring optimal picture and audio quality.
- Update Display Drivers: Regularly update your display drivers to ensure compatibility and address potential issues.
- Configure Display Settings: Adjust the display settings to match the capabilities of your external display for the best possible viewing experience.
- Check for Compatibility: Ensure the external display is compatible with your PC’s HDMI capabilities, including resolution and refresh rate.
- Clean the HDMI Ports: Dust and debris can interfere with the connection. Clean the HDMI ports on both devices using a soft cloth or compressed air.
Conclusion
HDMI output in Windows 10 provides a simple and effective method for connecting your PC to a wide range of external displays. This versatile technology delivers superior picture quality, immersive audio, and simplified connections, making it the go-to choice for enjoying movies, gaming, presentations, and more on a larger screen. By understanding the basics of HDMI output and following the provided tips, you can ensure a seamless and enjoyable experience, expanding the capabilities of your Windows 10 PC beyond the confines of a single monitor.


Closure
Thus, we hope this article has provided valuable insights into HDMI Output in Windows 10: Connecting Your PC to the Big Screen. We hope you find this article informative and beneficial. See you in our next article!