Enhancing Productivity and Accessibility: Pinning Applications in Windows 11
Related Articles: Enhancing Productivity and Accessibility: Pinning Applications in Windows 11
Introduction
With great pleasure, we will explore the intriguing topic related to Enhancing Productivity and Accessibility: Pinning Applications in Windows 11. Let’s weave interesting information and offer fresh perspectives to the readers.
Table of Content
- 1 Related Articles: Enhancing Productivity and Accessibility: Pinning Applications in Windows 11
- 2 Introduction
- 3 Enhancing Productivity and Accessibility: Pinning Applications in Windows 11
- 3.1 Pinning Applications from the Start Menu
- 3.2 Pinning Applications to the Taskbar
- 3.3 Pinning Applications to the Desktop
- 3.4 Unpinning Applications
- 3.5 Frequently Asked Questions
- 3.6 Tips for Pinning Applications
- 3.7 Conclusion
- 4 Closure
Enhancing Productivity and Accessibility: Pinning Applications in Windows 11
Windows 11, with its refined interface and improved functionality, offers a range of methods for streamlining user experience. One such feature, the ability to pin applications to the desktop, significantly enhances accessibility and productivity by providing users with rapid access to frequently used programs. This article will delve into the various methods for pinning applications in Windows 11, highlighting the advantages and providing detailed instructions for each technique.
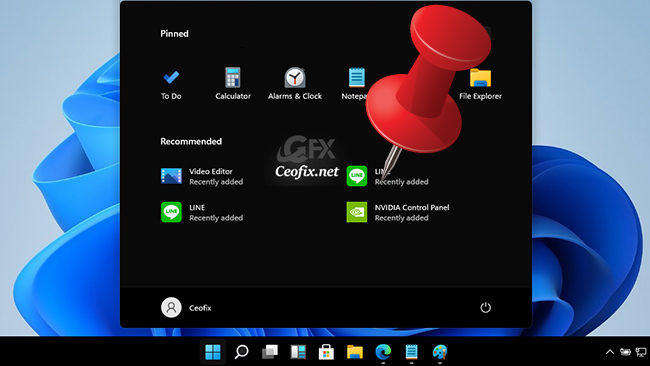
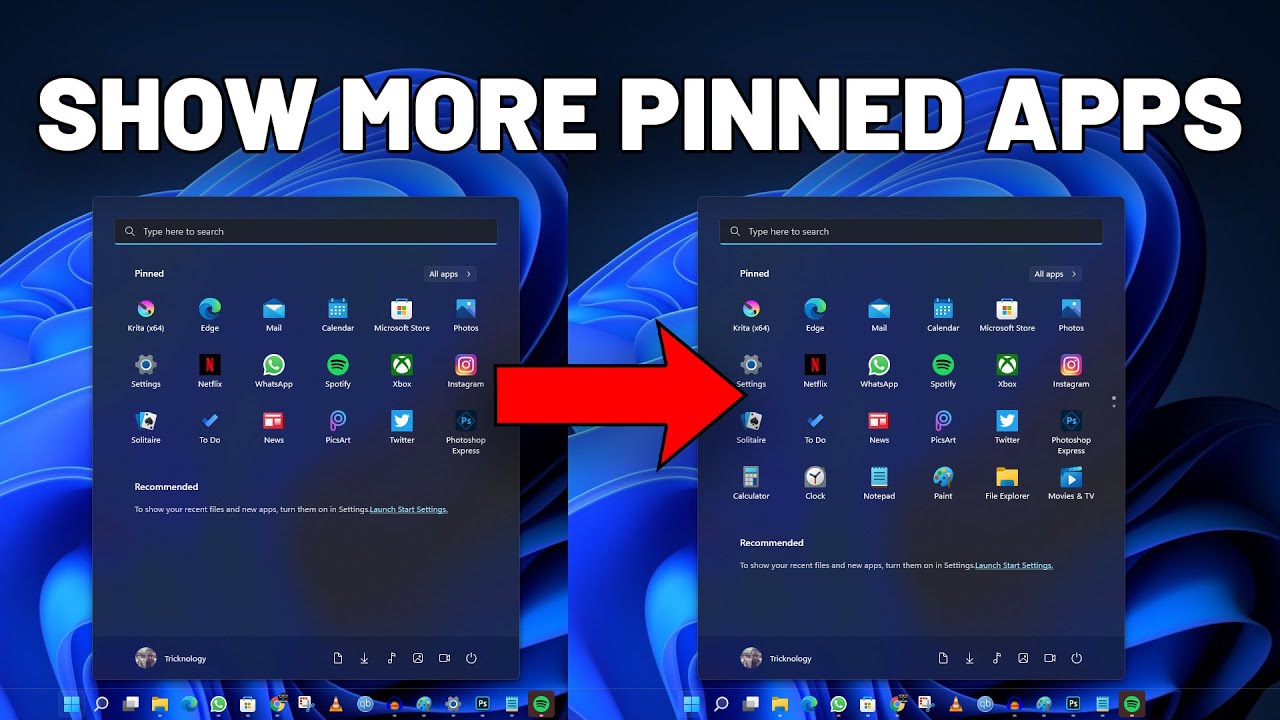
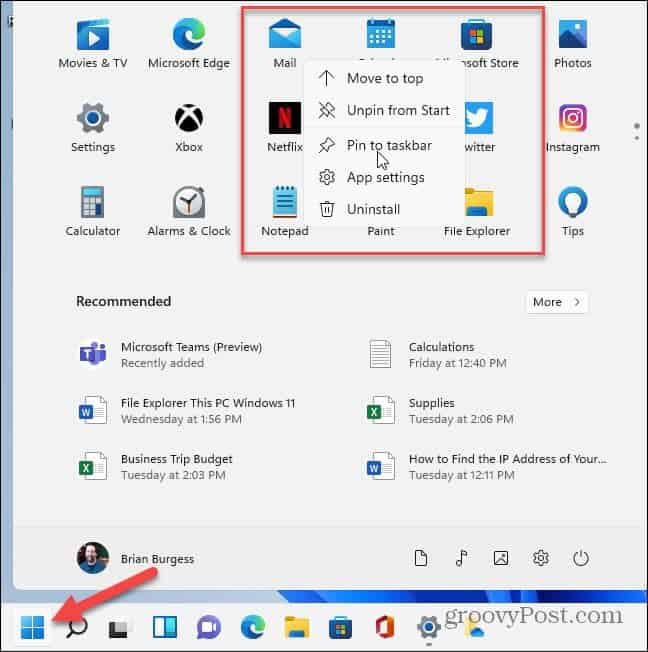
Pinning Applications from the Start Menu
The Start Menu serves as the central hub for launching applications in Windows 11. Pinning applications to the Start Menu ensures quick and convenient access, eliminating the need to navigate through menus or search for the program.
To pin an application from the Start Menu:
- Open the Start Menu: Click the Windows logo at the bottom-left corner of the taskbar.
- Locate the desired application: Scroll through the list of applications or use the search bar to find the specific program.
- Right-click the application icon: A context menu will appear.
- Select "Pin to Start": This action will add the application’s icon to the Start Menu.
Benefits of pinning to the Start Menu:
- Immediate access: Pinned applications are readily available with a single click.
- Organized interface: The Start Menu provides a centralized location for frequently used programs, reducing clutter on the desktop.
- Customizable layout: Users can arrange pinned applications in a personalized manner, optimizing access based on individual preferences.
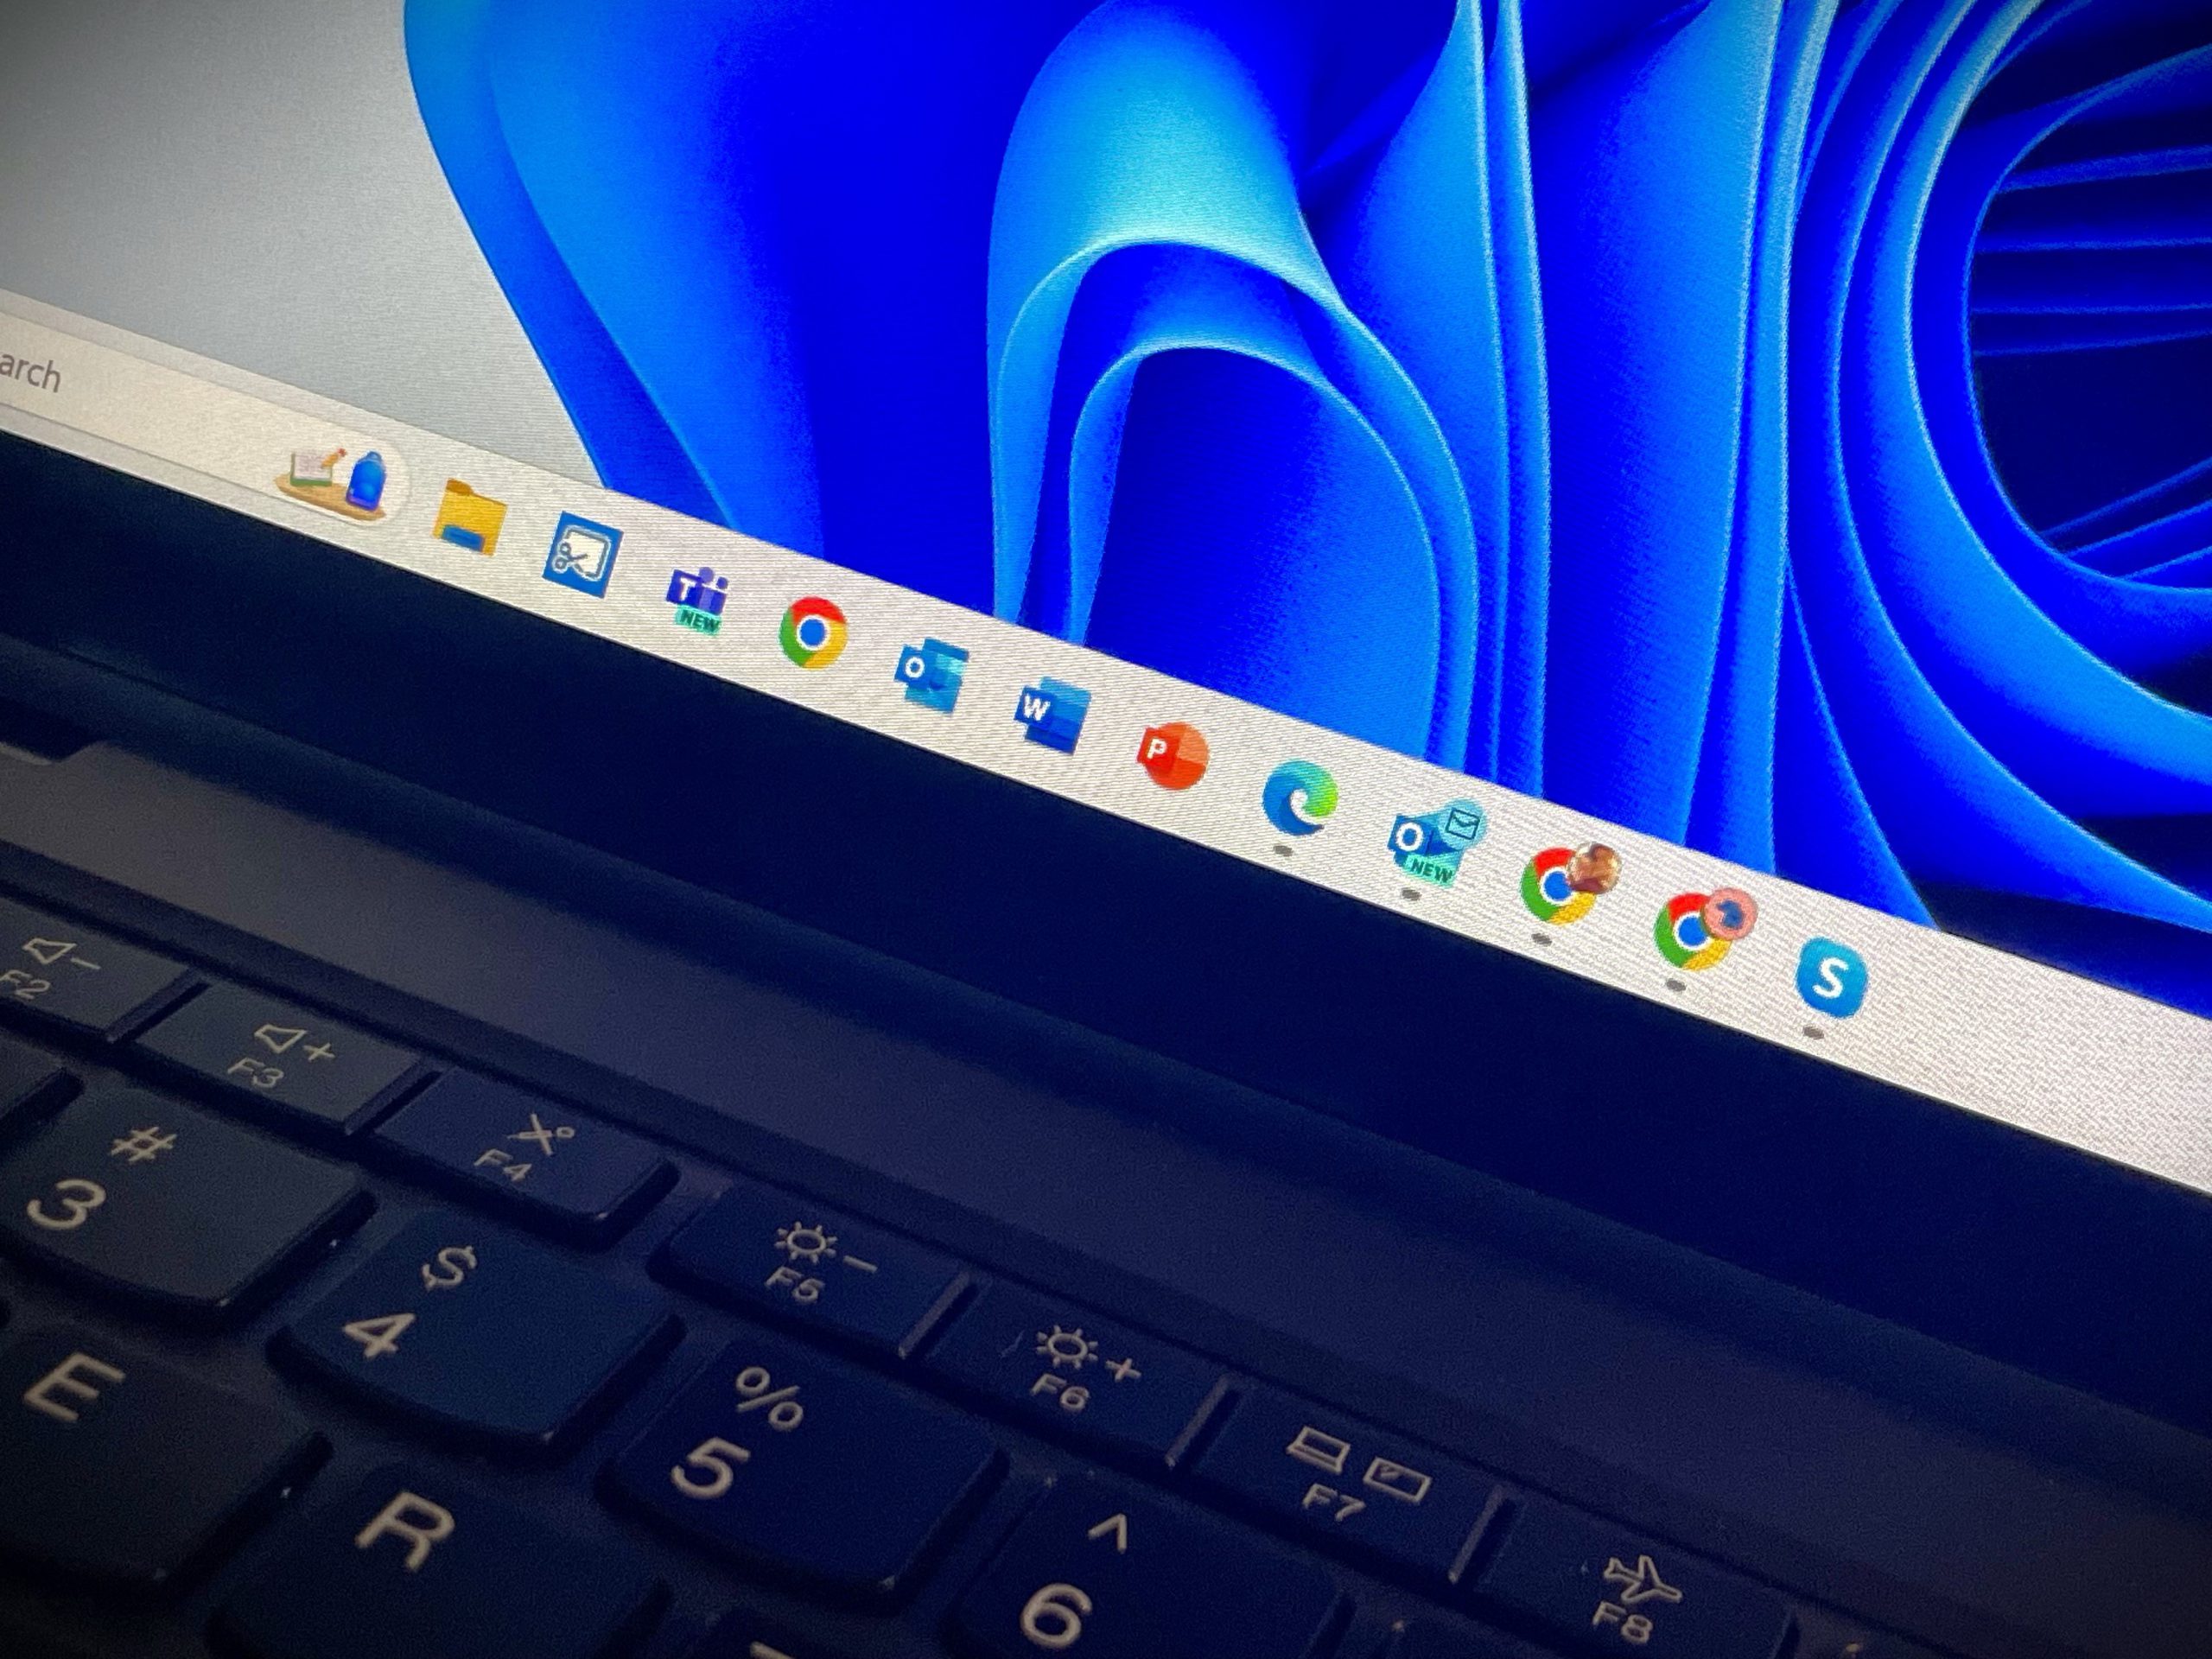
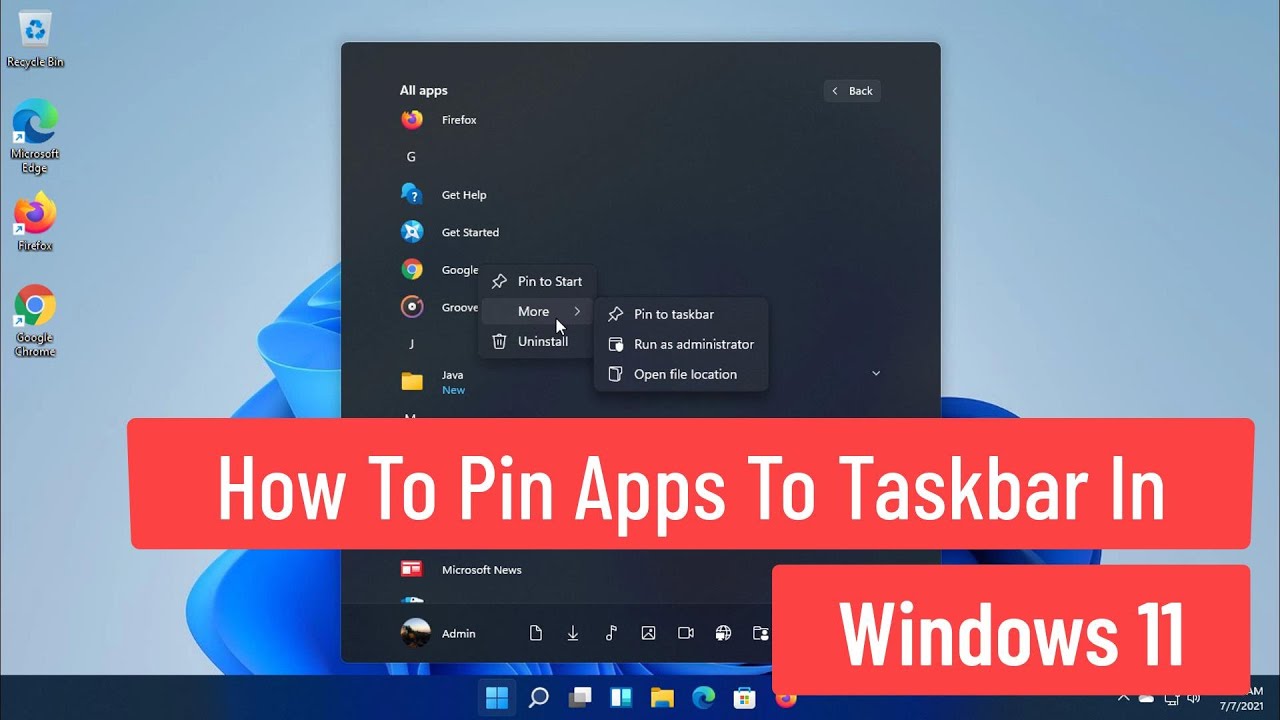
Pinning Applications to the Taskbar
The taskbar, located at the bottom of the screen, offers a persistent and readily accessible location for frequently used applications. Pinning applications to the taskbar provides a streamlined approach to launching programs, eliminating the need to navigate through the Start Menu or search for the desired application.
To pin an application to the taskbar:
- Open the Start Menu: Click the Windows logo at the bottom-left corner of the taskbar.
- Locate the desired application: Scroll through the list of applications or use the search bar to find the specific program.
- Right-click the application icon: A context menu will appear.
- Select "Pin to taskbar": This action will add the application’s icon to the taskbar.
Benefits of pinning to the taskbar:
- Instant launch: Pinned applications are readily accessible with a single click on the taskbar icon.
- Always visible: The taskbar remains visible at all times, ensuring constant access to pinned applications.
- Streamlined workflow: Pinning frequently used applications to the taskbar minimizes the time spent searching for programs, enhancing productivity.
Pinning Applications to the Desktop
While pinning applications to the Start Menu and taskbar provides convenient access, pinning applications directly to the desktop offers a more visually prominent and readily accessible location. This method is particularly useful for programs that are frequently used and require immediate access.
To pin an application to the desktop:
- Open the Start Menu: Click the Windows logo at the bottom-left corner of the taskbar.
- Locate the desired application: Scroll through the list of applications or use the search bar to find the specific program.
- Right-click the application icon: A context menu will appear.
- Select "Open file location": This action will open the folder containing the application’s executable file.
- Right-click the executable file: A context menu will appear.
- Select "Pin to Start": This action will create a shortcut of the application on the desktop.
Benefits of pinning to the desktop:
- Visual prominence: Desktop shortcuts are immediately visible, attracting user attention.
- Direct access: A single click on the desktop shortcut launches the application, eliminating the need for further navigation.
- Personalized organization: Users can arrange desktop shortcuts in a customized manner, reflecting their individual workflow and preferences.
Unpinning Applications
While pinning applications enhances accessibility, there might be instances where users need to remove pinned applications from the Start Menu, taskbar, or desktop. Unpinning applications is a straightforward process, allowing users to customize their interface and maintain a streamlined environment.
To unpin an application:
- Locate the pinned application: Identify the application icon pinned to the Start Menu, taskbar, or desktop.
- Right-click the application icon: A context menu will appear.
- Select "Unpin from Start," "Unpin from taskbar," or "Delete" (for desktop shortcuts): This action will remove the application from the respective location.
Frequently Asked Questions
Q: Can I pin multiple instances of the same application?
A: While you can pin multiple instances of the same application to the Start Menu, taskbar, or desktop, only one instance will be active at a time. Launching a second instance of the same application will simply open a new window within the existing application.
Q: Can I pin folders to the Start Menu or taskbar?
A: Currently, Windows 11 does not allow pinning folders directly to the Start Menu or taskbar. However, you can create shortcuts to folders and pin those shortcuts to these locations.
Q: Can I customize the appearance of pinned applications?
A: While you cannot directly customize the appearance of pinned applications, you can create custom icons for shortcuts and use these icons when pinning applications to the desktop.
Tips for Pinning Applications
- Prioritize frequently used applications: Pin only those applications that you use regularly, ensuring a streamlined and efficient interface.
- Organize pinned applications: Arrange pinned applications logically, grouping similar programs together for easy access.
- Use desktop folders: Create folders on your desktop and organize pinned applications within these folders for improved organization.
- Explore third-party tools: Some third-party tools offer additional customization options for pinning applications, allowing for more personalized arrangements.
Conclusion
Pinning applications in Windows 11 provides a user-friendly method for enhancing accessibility and productivity. By pinning frequently used programs to the Start Menu, taskbar, or desktop, users can streamline their workflow, eliminating the need for time-consuming searches and navigation. The ability to customize the pinned applications based on individual preferences further enhances the user experience, creating a personalized and efficient work environment. Through the various methods outlined in this article, users can leverage the pinning feature to optimize their Windows 11 experience, fostering a more productive and intuitive workflow.


Closure
Thus, we hope this article has provided valuable insights into Enhancing Productivity and Accessibility: Pinning Applications in Windows 11. We hope you find this article informative and beneficial. See you in our next article!