Downgrading from Windows 11 to Windows 10: A Comprehensive Guide
Related Articles: Downgrading from Windows 11 to Windows 10: A Comprehensive Guide
Introduction
In this auspicious occasion, we are delighted to delve into the intriguing topic related to Downgrading from Windows 11 to Windows 10: A Comprehensive Guide. Let’s weave interesting information and offer fresh perspectives to the readers.
Table of Content
Downgrading from Windows 11 to Windows 10: A Comprehensive Guide
The transition to Windows 11 has been a significant event for computer users. However, not every user finds the new operating system to their liking. For those seeking a return to the familiar interface and features of Windows 10, downgrading is a viable option. This article provides a detailed guide on how to perform this process effectively, outlining the steps, prerequisites, and potential challenges.
Understanding the Downgrade Process
Downgrading from Windows 11 to Windows 10 involves reverting the operating system to its previous version. This process is not a simple uninstall, but rather a complete system restoration. It requires careful planning and execution to ensure a smooth transition without data loss.
Prerequisites for Downgrading
Before embarking on the downgrade process, it is essential to fulfill certain prerequisites:
- Backup Your Data: Prior to any system changes, it is crucial to back up all important data. This includes documents, photos, videos, and any other files that are irreplaceable. A comprehensive backup can be achieved through external hard drives, cloud storage services, or dedicated backup software.
- Check System Requirements: Verify that the computer meets the minimum system requirements for Windows 10. These specifications can be found on the official Microsoft website. In some cases, a hardware upgrade might be necessary.
- Obtain a Windows 10 Installation Media: A bootable USB drive or DVD containing the Windows 10 installation files is essential for the downgrade process. This can be created using the Microsoft Media Creation Tool, which can be downloaded from the official Microsoft website.
- Understand Potential Data Loss: While the downgrade process aims to preserve existing data, there is always a risk of data loss. Therefore, it is crucial to have a reliable backup in place.
Methods for Downgrading from Windows 11 to Windows 10
There are two primary methods for downgrading from Windows 11 to Windows 10:
-
Clean Installation: This method involves completely wiping the hard drive and installing Windows 10 from scratch. This is the most thorough approach, ensuring a fresh start without any leftover remnants of Windows 11. However, it requires a full data backup and subsequent restoration after the installation.
-
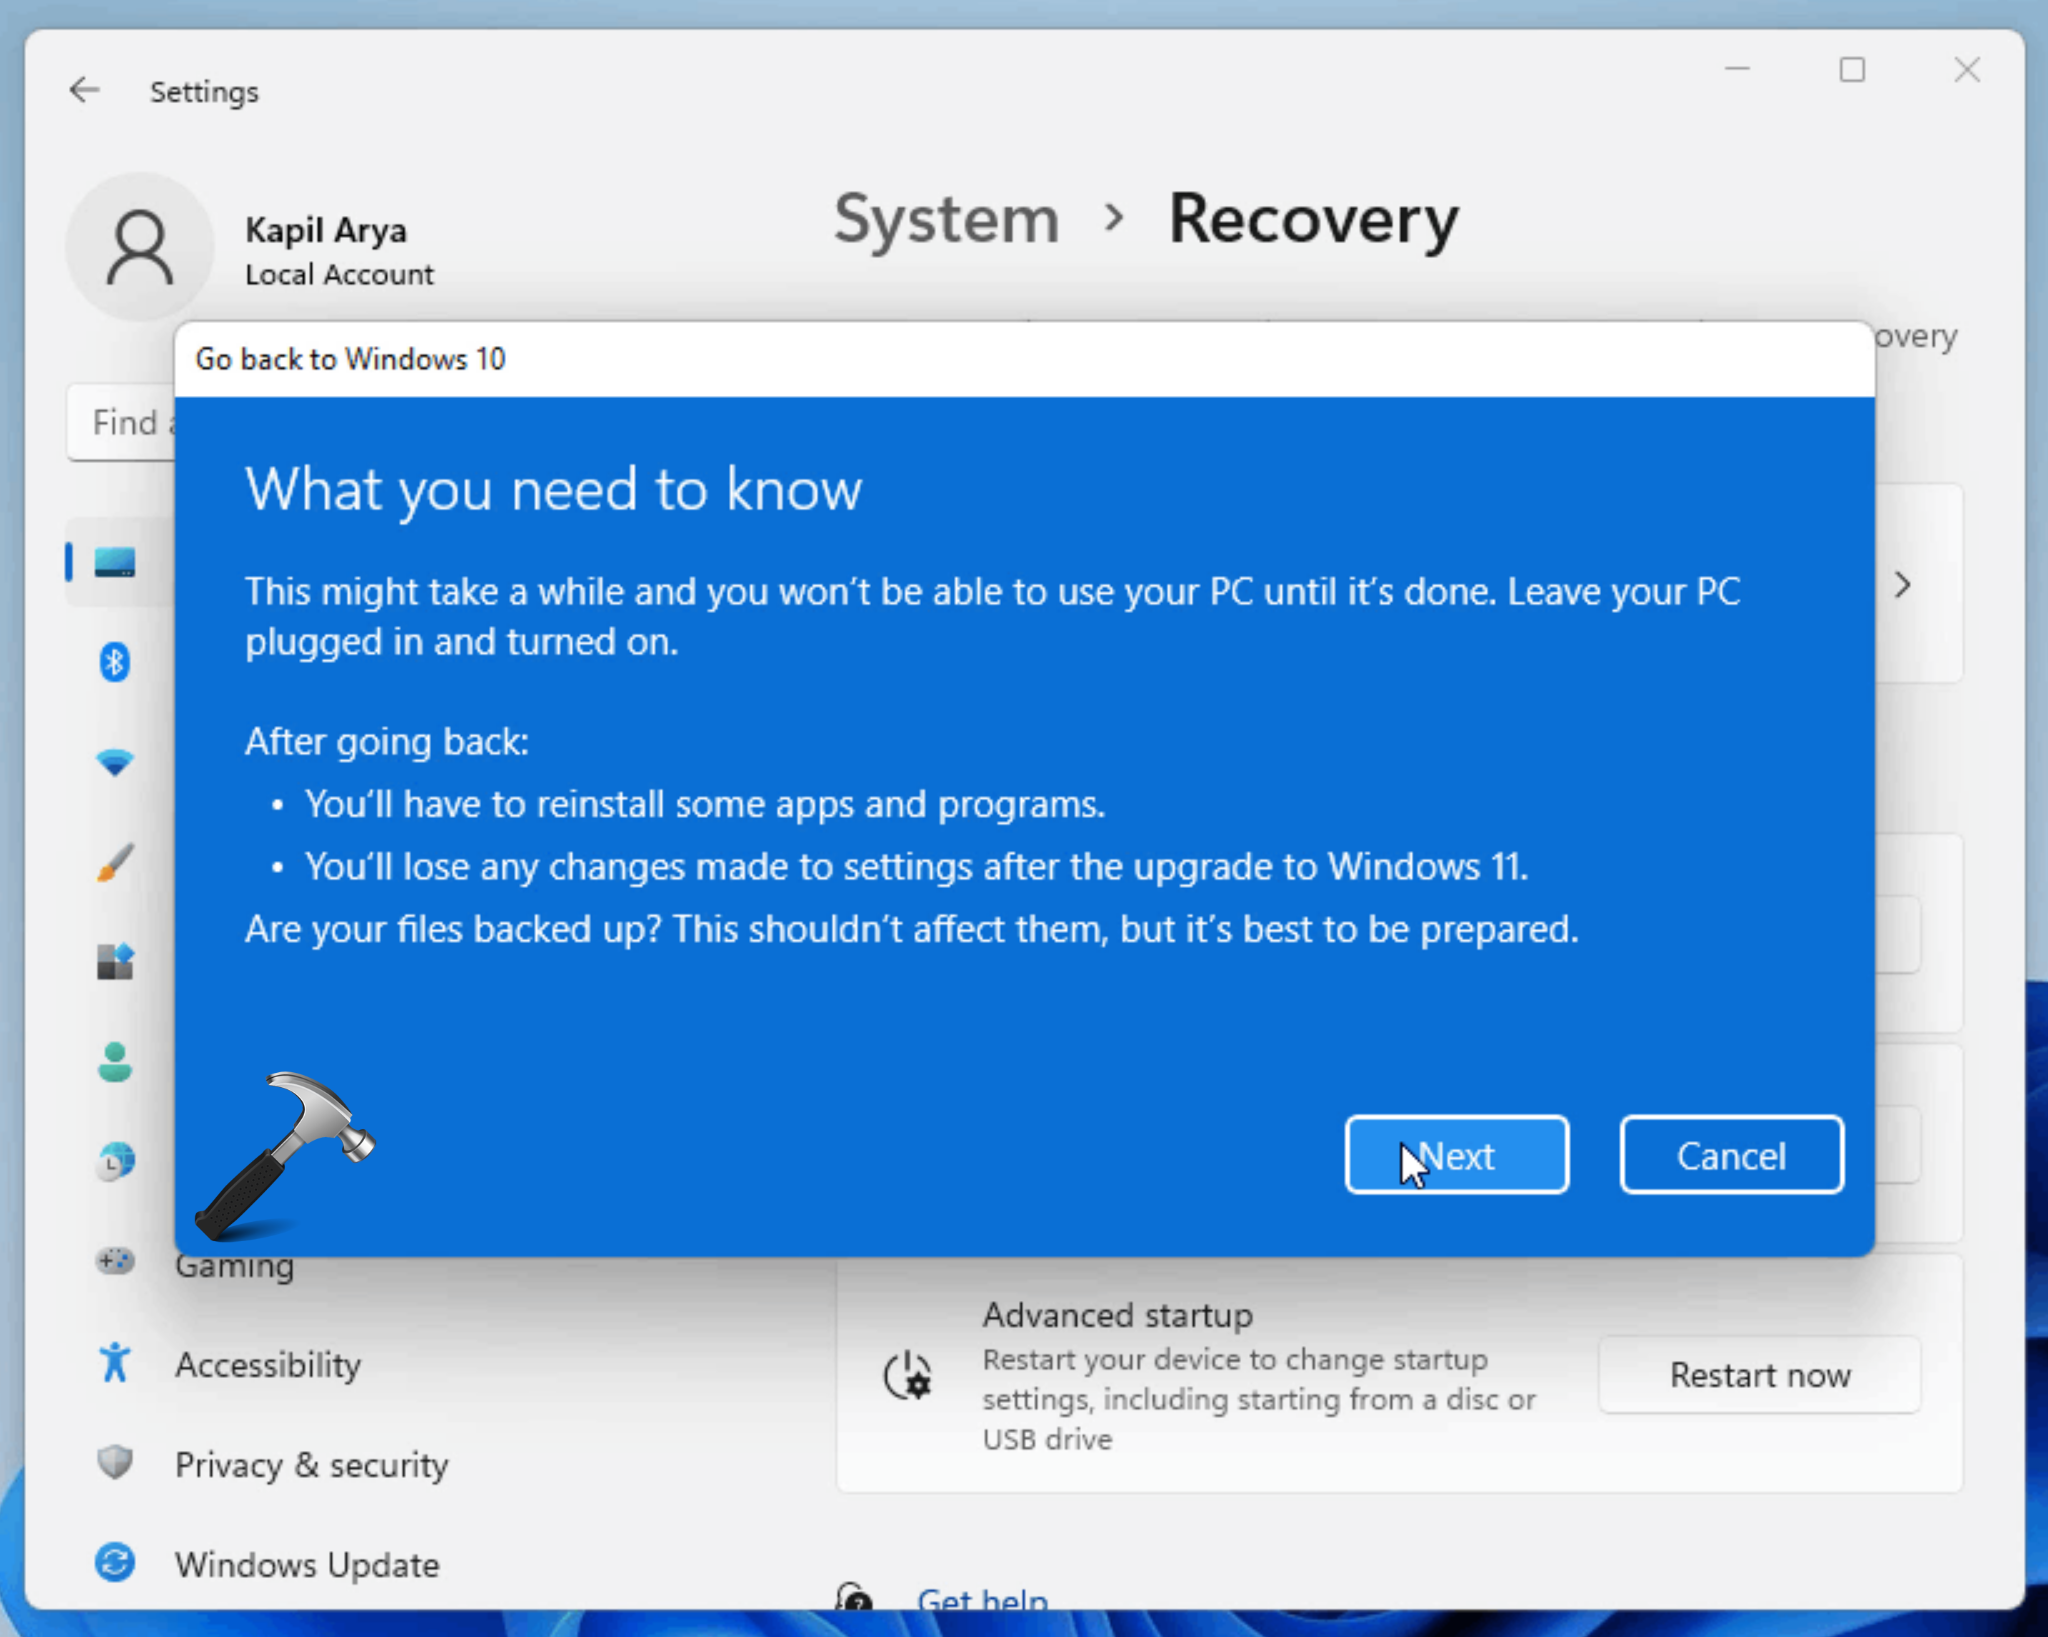
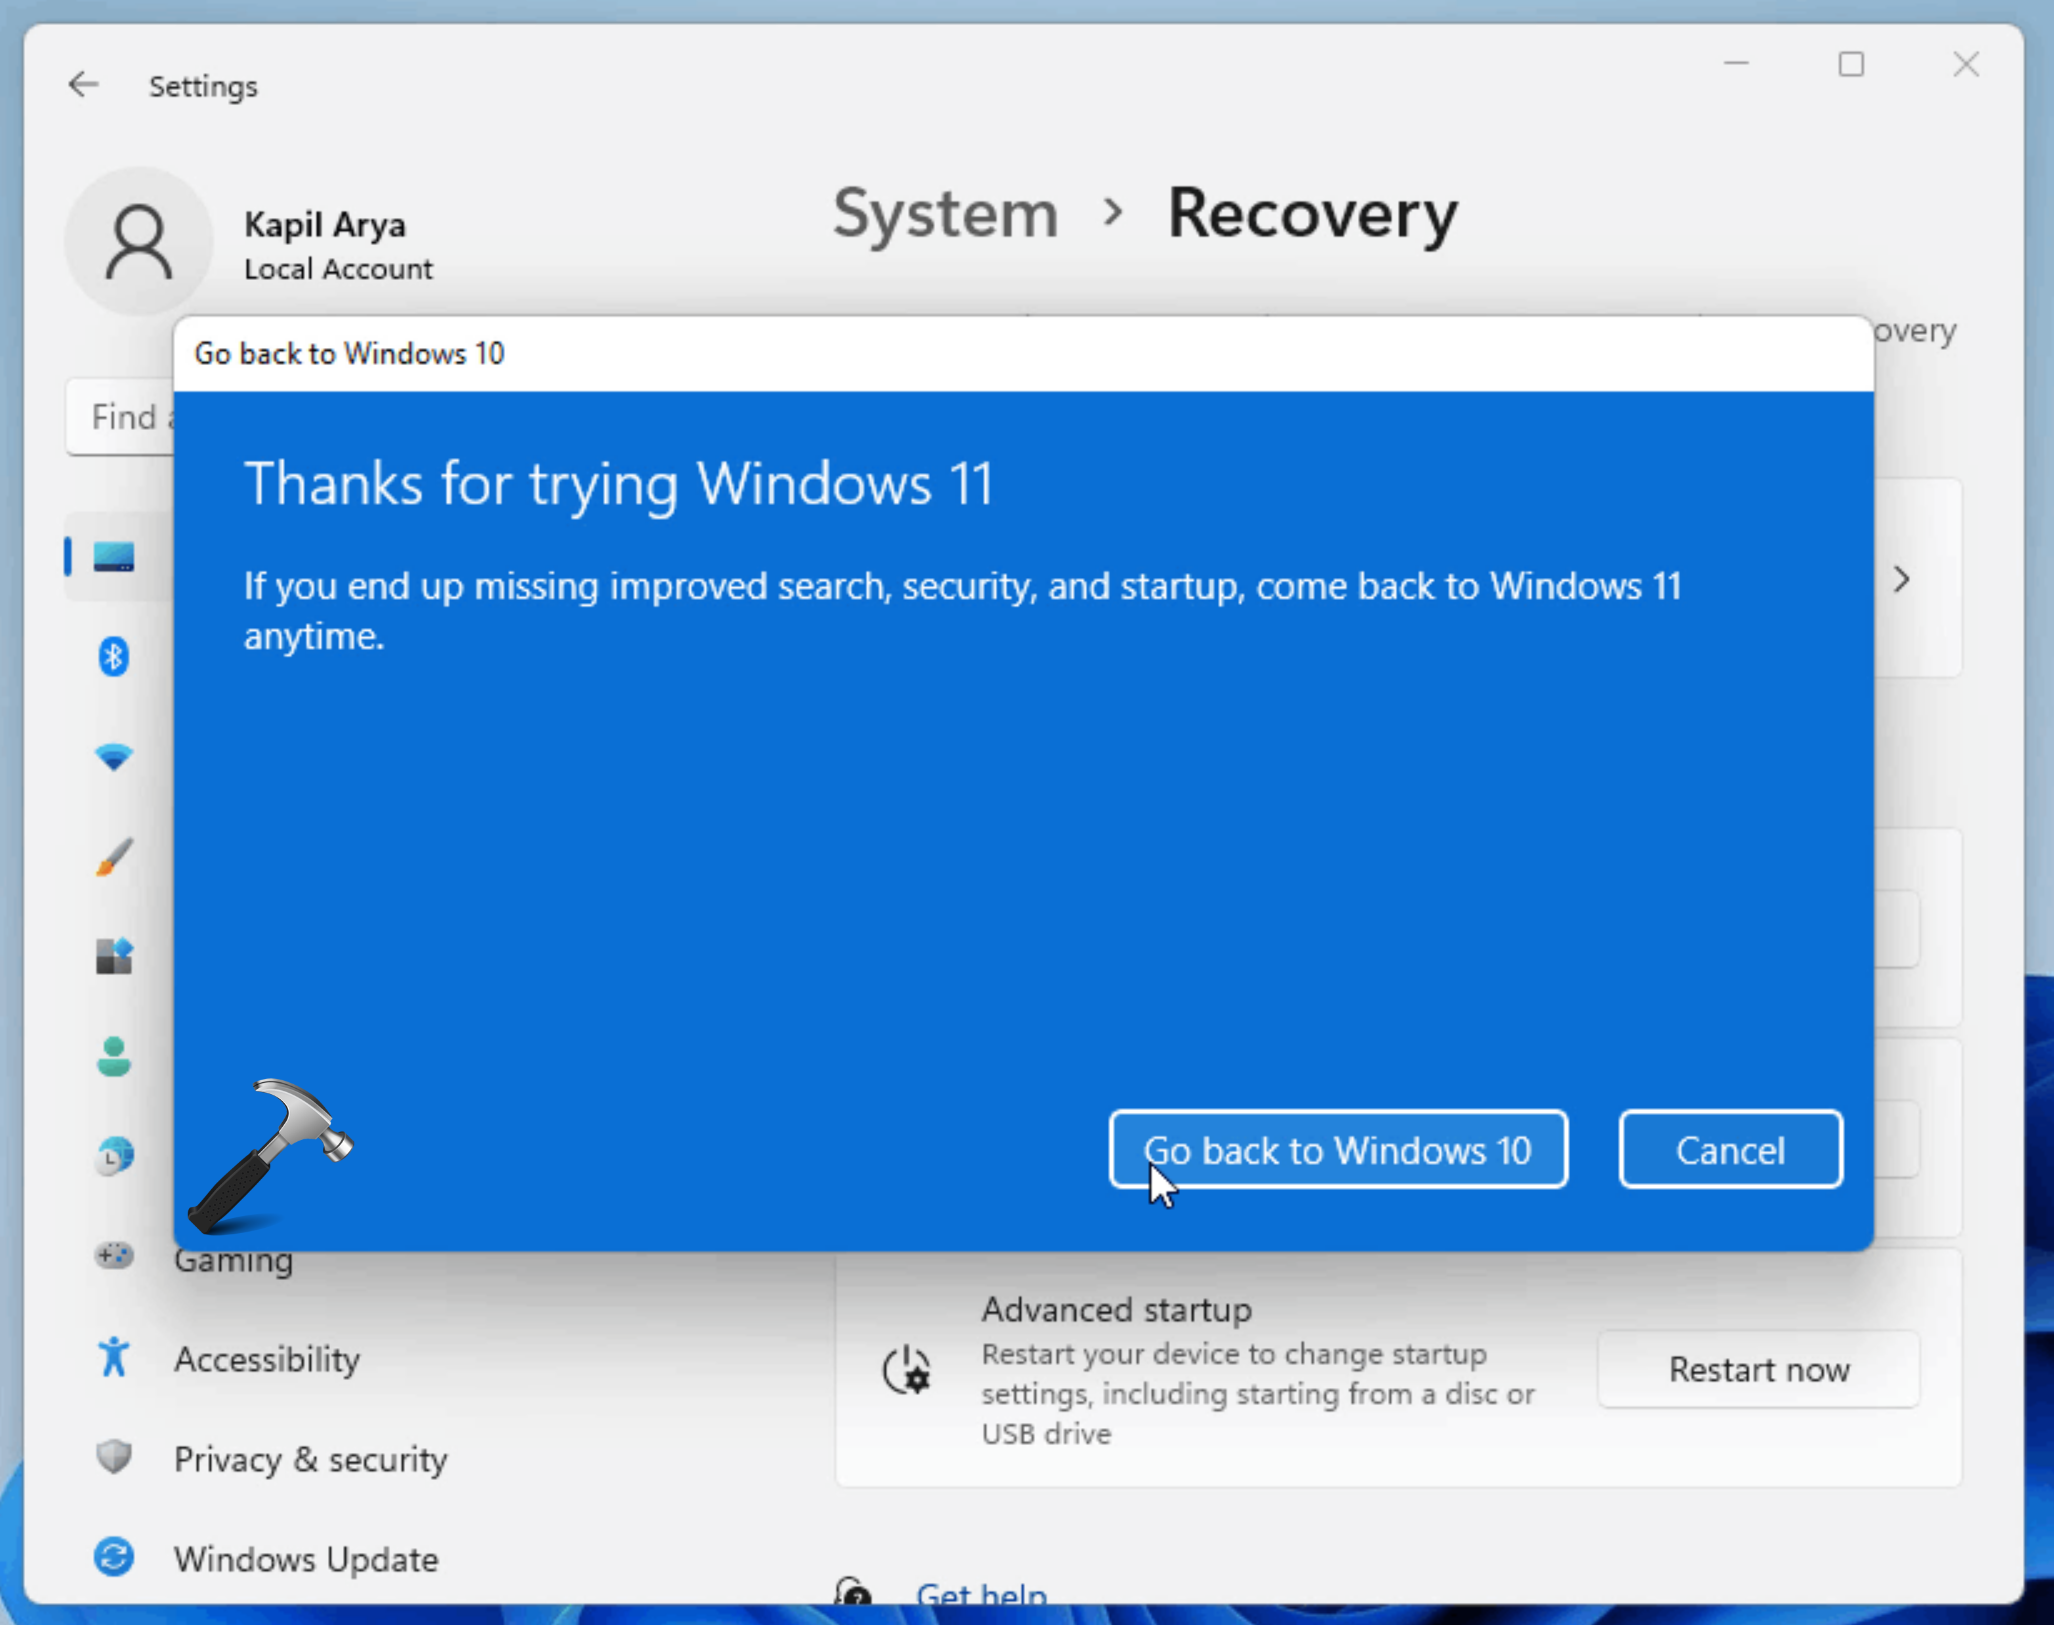
In-Place Upgrade: This method utilizes the existing Windows 11 installation to upgrade to Windows 10. It is a less time-consuming process, but it might not entirely remove all traces of Windows 11. This method is generally recommended for users who want to maintain their existing programs and settings.
Step-by-Step Guide: Downgrading from Windows 11 to Windows 10
Method 1: Clean Installation
- Backup Data: Create a complete backup of all important data using a preferred method.
- Create Bootable Media: Download the Microsoft Media Creation Tool and use it to create a bootable USB drive or DVD containing the Windows 10 installation files.
- Boot from Installation Media: Restart the computer and configure the BIOS to boot from the USB drive or DVD.
- Start Installation: Follow the on-screen instructions to initiate the Windows 10 installation process.
- Format Hard Drive: Choose the option to format the hard drive during the installation process. This will erase all existing data, so ensure a backup has been created.
- Install Windows 10: Proceed with the installation process, following the prompts.
- Restore Data: After the installation is complete, restore data from the backup.
Method 2: In-Place Upgrade
- Backup Data: Create a backup of all essential data.
- Download Windows 10 Installation Files: Download the Windows 10 ISO file from the official Microsoft website.
- Mount ISO File: Mount the ISO file using a file explorer or dedicated software.
- Run Setup: Navigate to the mounted ISO file and run the setup.exe file.
- Follow On-Screen Instructions: Follow the prompts to initiate the upgrade process.
- Confirm Upgrade: Carefully review the information and confirm the upgrade to Windows 10.
- Restart and Upgrade: The system will restart and begin the upgrade process.
Potential Challenges and Solutions
Downgrading from Windows 11 to Windows 10 might present certain challenges:
- Driver Compatibility: Some drivers designed for Windows 11 might not be compatible with Windows 10. It is advisable to check for updated drivers after the downgrade.
- Software Compatibility: Certain applications might not function correctly after the downgrade. It might be necessary to update or reinstall these applications.
- Data Loss: Despite backups, there is always a risk of data loss during the downgrade process. It is crucial to have a reliable backup and follow the steps carefully.
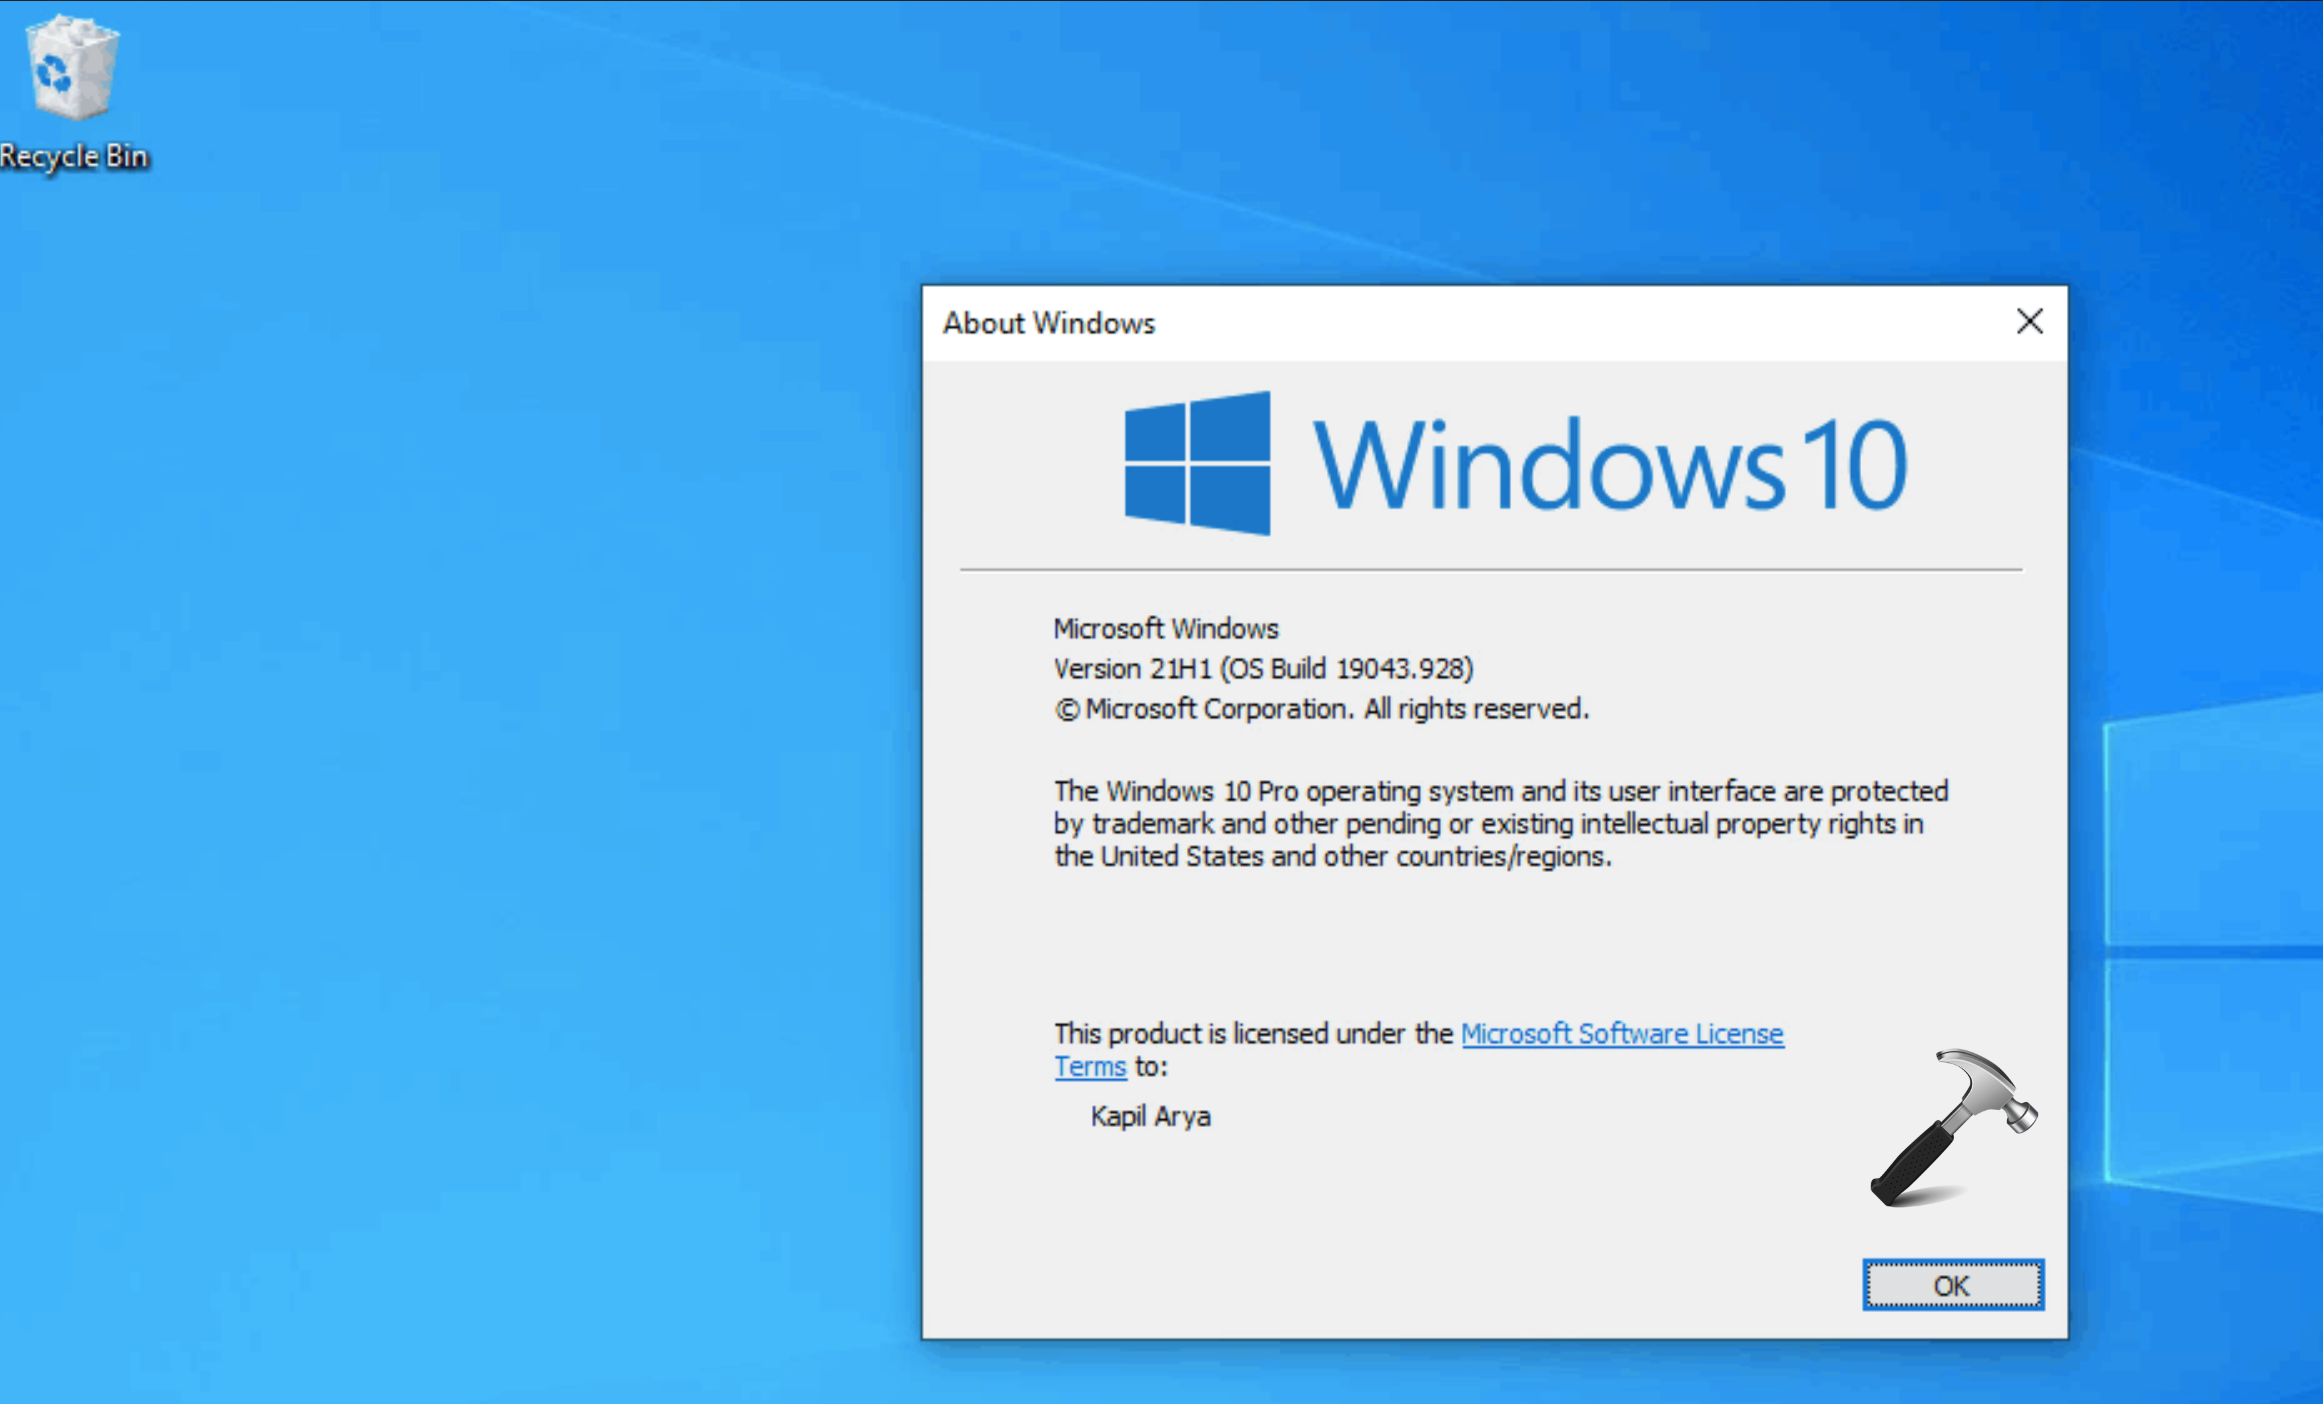
- System Activation: After the downgrade, Windows 10 might require reactivation. Ensure the product key is available for activation.
FAQs about Downgrading from Windows 11 to Windows 10
-
Q: Will I lose my data after downgrading?
- A: Data loss is a risk during any system change. It is crucial to back up all essential data before the downgrade process.
-
Q: Can I downgrade to an older version of Windows 10?
- A: The downgrade process typically reverts to the previous version of Windows 10 installed on the system.
-
Q: Is it possible to downgrade without a product key?
- A: You will need a valid Windows 10 product key for activation after the downgrade.
-
Q: What happens to my Windows 11 license after downgrading?
- A: The Windows 11 license remains valid, but it might not be applicable for Windows 10.
Tips for a Smooth Downgrade Experience
- Plan Ahead: Thoroughly plan the downgrade process, including data backup, system requirements, and necessary tools.
- Verify Compatibility: Ensure that the computer meets the minimum system requirements for Windows 10 and that drivers and software are compatible.
- Use a Reliable Backup Method: Choose a backup method that suits your needs and ensures the safety of important data.
- Seek Assistance if Needed: If you encounter difficulties or have any doubts, consult Microsoft support or a qualified IT professional.
Conclusion
Downgrading from Windows 11 to Windows 10 is a viable option for users seeking a return to the familiar features and interface of the previous operating system. While the process requires careful planning and execution, it can be achieved successfully by following the steps outlined in this guide. By understanding the prerequisites, potential challenges, and available methods, users can navigate the downgrade process effectively and ensure a smooth transition back to Windows 10. Remember to prioritize data backup, system compatibility, and seek assistance if needed to minimize the risk of data loss and ensure a successful downgrade.


Closure
Thus, we hope this article has provided valuable insights into Downgrading from Windows 11 to Windows 10: A Comprehensive Guide. We appreciate your attention to our article. See you in our next article!