Downgrading from Windows 11 to Windows 10: A Comprehensive Guide
Related Articles: Downgrading from Windows 11 to Windows 10: A Comprehensive Guide
Introduction
With great pleasure, we will explore the intriguing topic related to Downgrading from Windows 11 to Windows 10: A Comprehensive Guide. Let’s weave interesting information and offer fresh perspectives to the readers.
Table of Content
Downgrading from Windows 11 to Windows 10: A Comprehensive Guide
While Windows 11 boasts new features and a refreshed interface, some users may prefer the familiarity and stability of Windows 10. This guide will provide a comprehensive overview of the process involved in downgrading from Windows 11 to Windows 10, addressing common concerns and offering helpful tips.
Understanding the Process
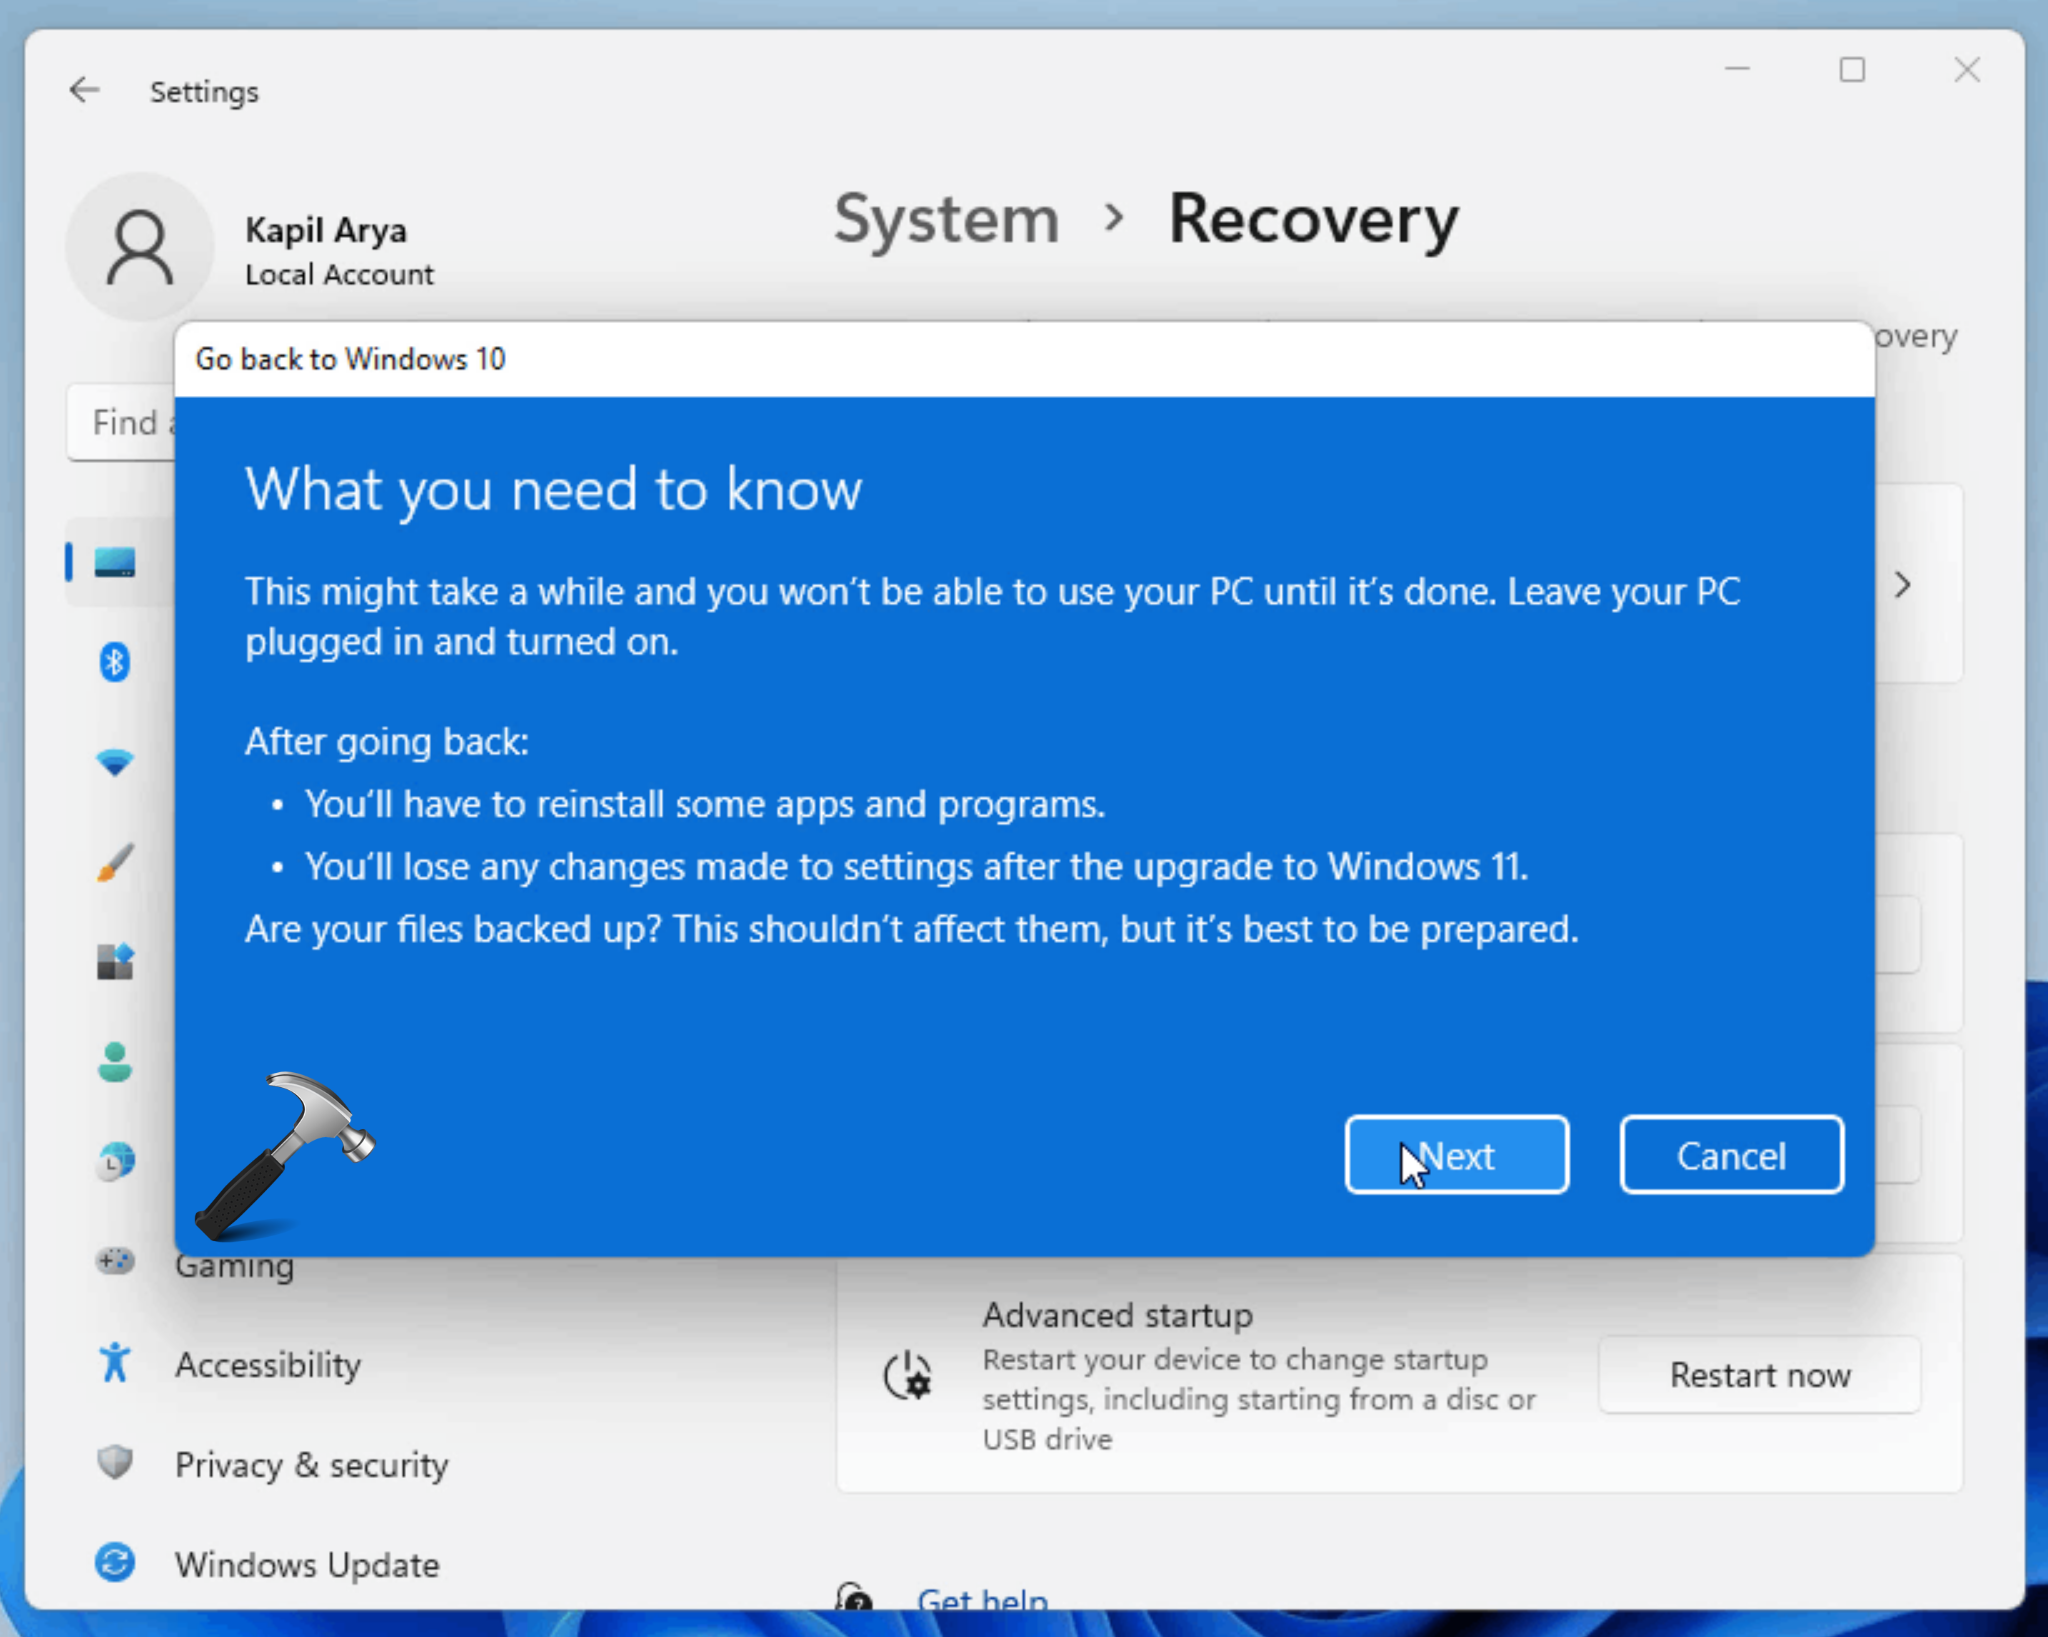
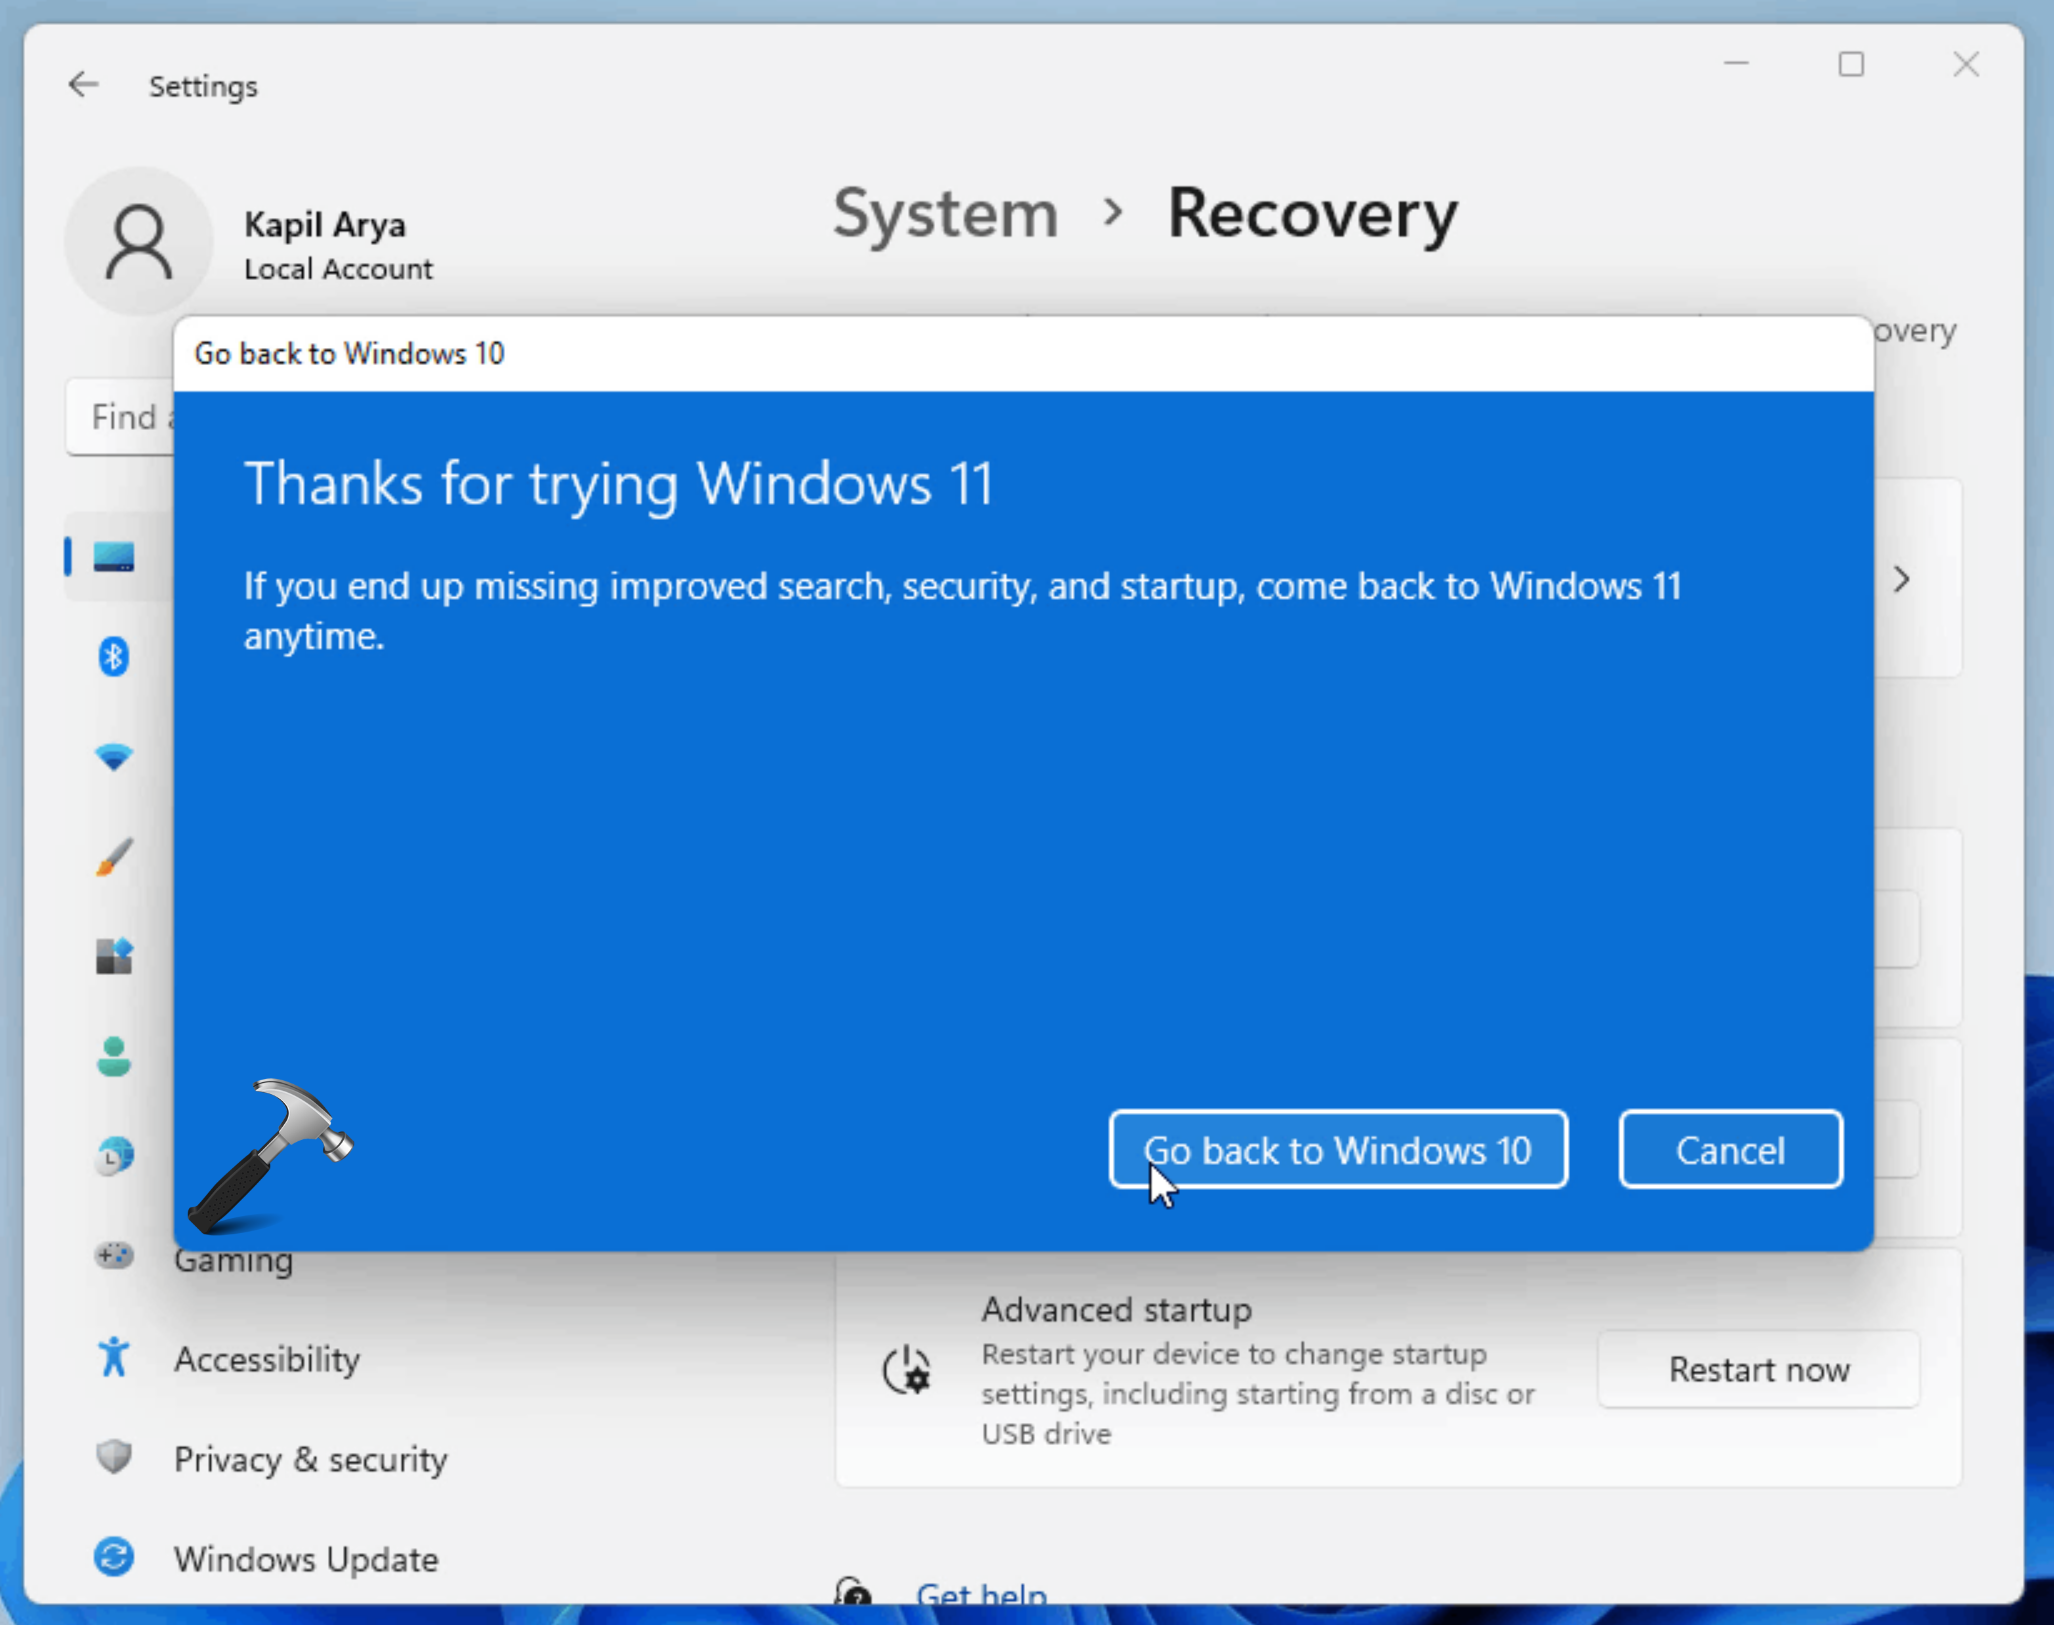
Downgrading from Windows 11 to Windows 10 is not a simple "uninstall" process. It involves a clean installation of Windows 10, requiring a fresh start with potential data loss. The following steps outline the process:
-
Backup Your Data: This is the most crucial step. Before proceeding with any downgrade, ensure all critical data, including documents, photos, videos, and software installations, is backed up. This can be done using external hard drives, cloud storage services, or other backup solutions.
-
Create a Bootable USB Drive: Download the Windows 10 ISO file from Microsoft’s official website. Use a tool like Rufus or the Windows USB/DVD Download Tool to create a bootable USB drive. This will be used to initiate the Windows 10 installation.
-
Access the BIOS/UEFI Settings: Restart your computer and repeatedly press the appropriate key (usually F2, F10, or Del) to access the BIOS or UEFI settings. Navigate to the Boot order section and prioritize the bootable USB drive.
-
Install Windows 10: Select the "Install Now" option from the Windows 10 installation screen. Follow the on-screen instructions to complete the installation. This will erase the existing Windows 11 installation and install Windows 10 on your computer.
-
Restore Your Data: After the installation is complete, connect your backup drive and restore your backed-up files to their original locations.
Considerations and Potential Issues
While the process seems straightforward, several factors can complicate the downgrade:
-
Hardware Compatibility: Some components might not be compatible with Windows 10, especially if they were specifically designed for Windows 11. It is advisable to check the manufacturer’s website for compatibility information.
-
Driver Compatibility: Drivers for certain hardware might not be available for Windows 10 or may require manual installation. This could lead to functional issues with specific devices.
-
Software Compatibility: Some software applications might not be compatible with Windows 10, requiring either a downgrade to a compatible version or finding alternative software.
-
Data Loss: The clean installation process can result in data loss if adequate backups are not in place. It is crucial to prioritize data backup before initiating the downgrade.
FAQs
Q: Can I downgrade to Windows 10 without losing my data?
A: No, downgrading to Windows 10 requires a clean installation, which will erase all existing data on your hard drive. Data loss can be avoided by creating a comprehensive backup before proceeding with the downgrade.
Q: Will I lose my Windows 11 license after downgrading?
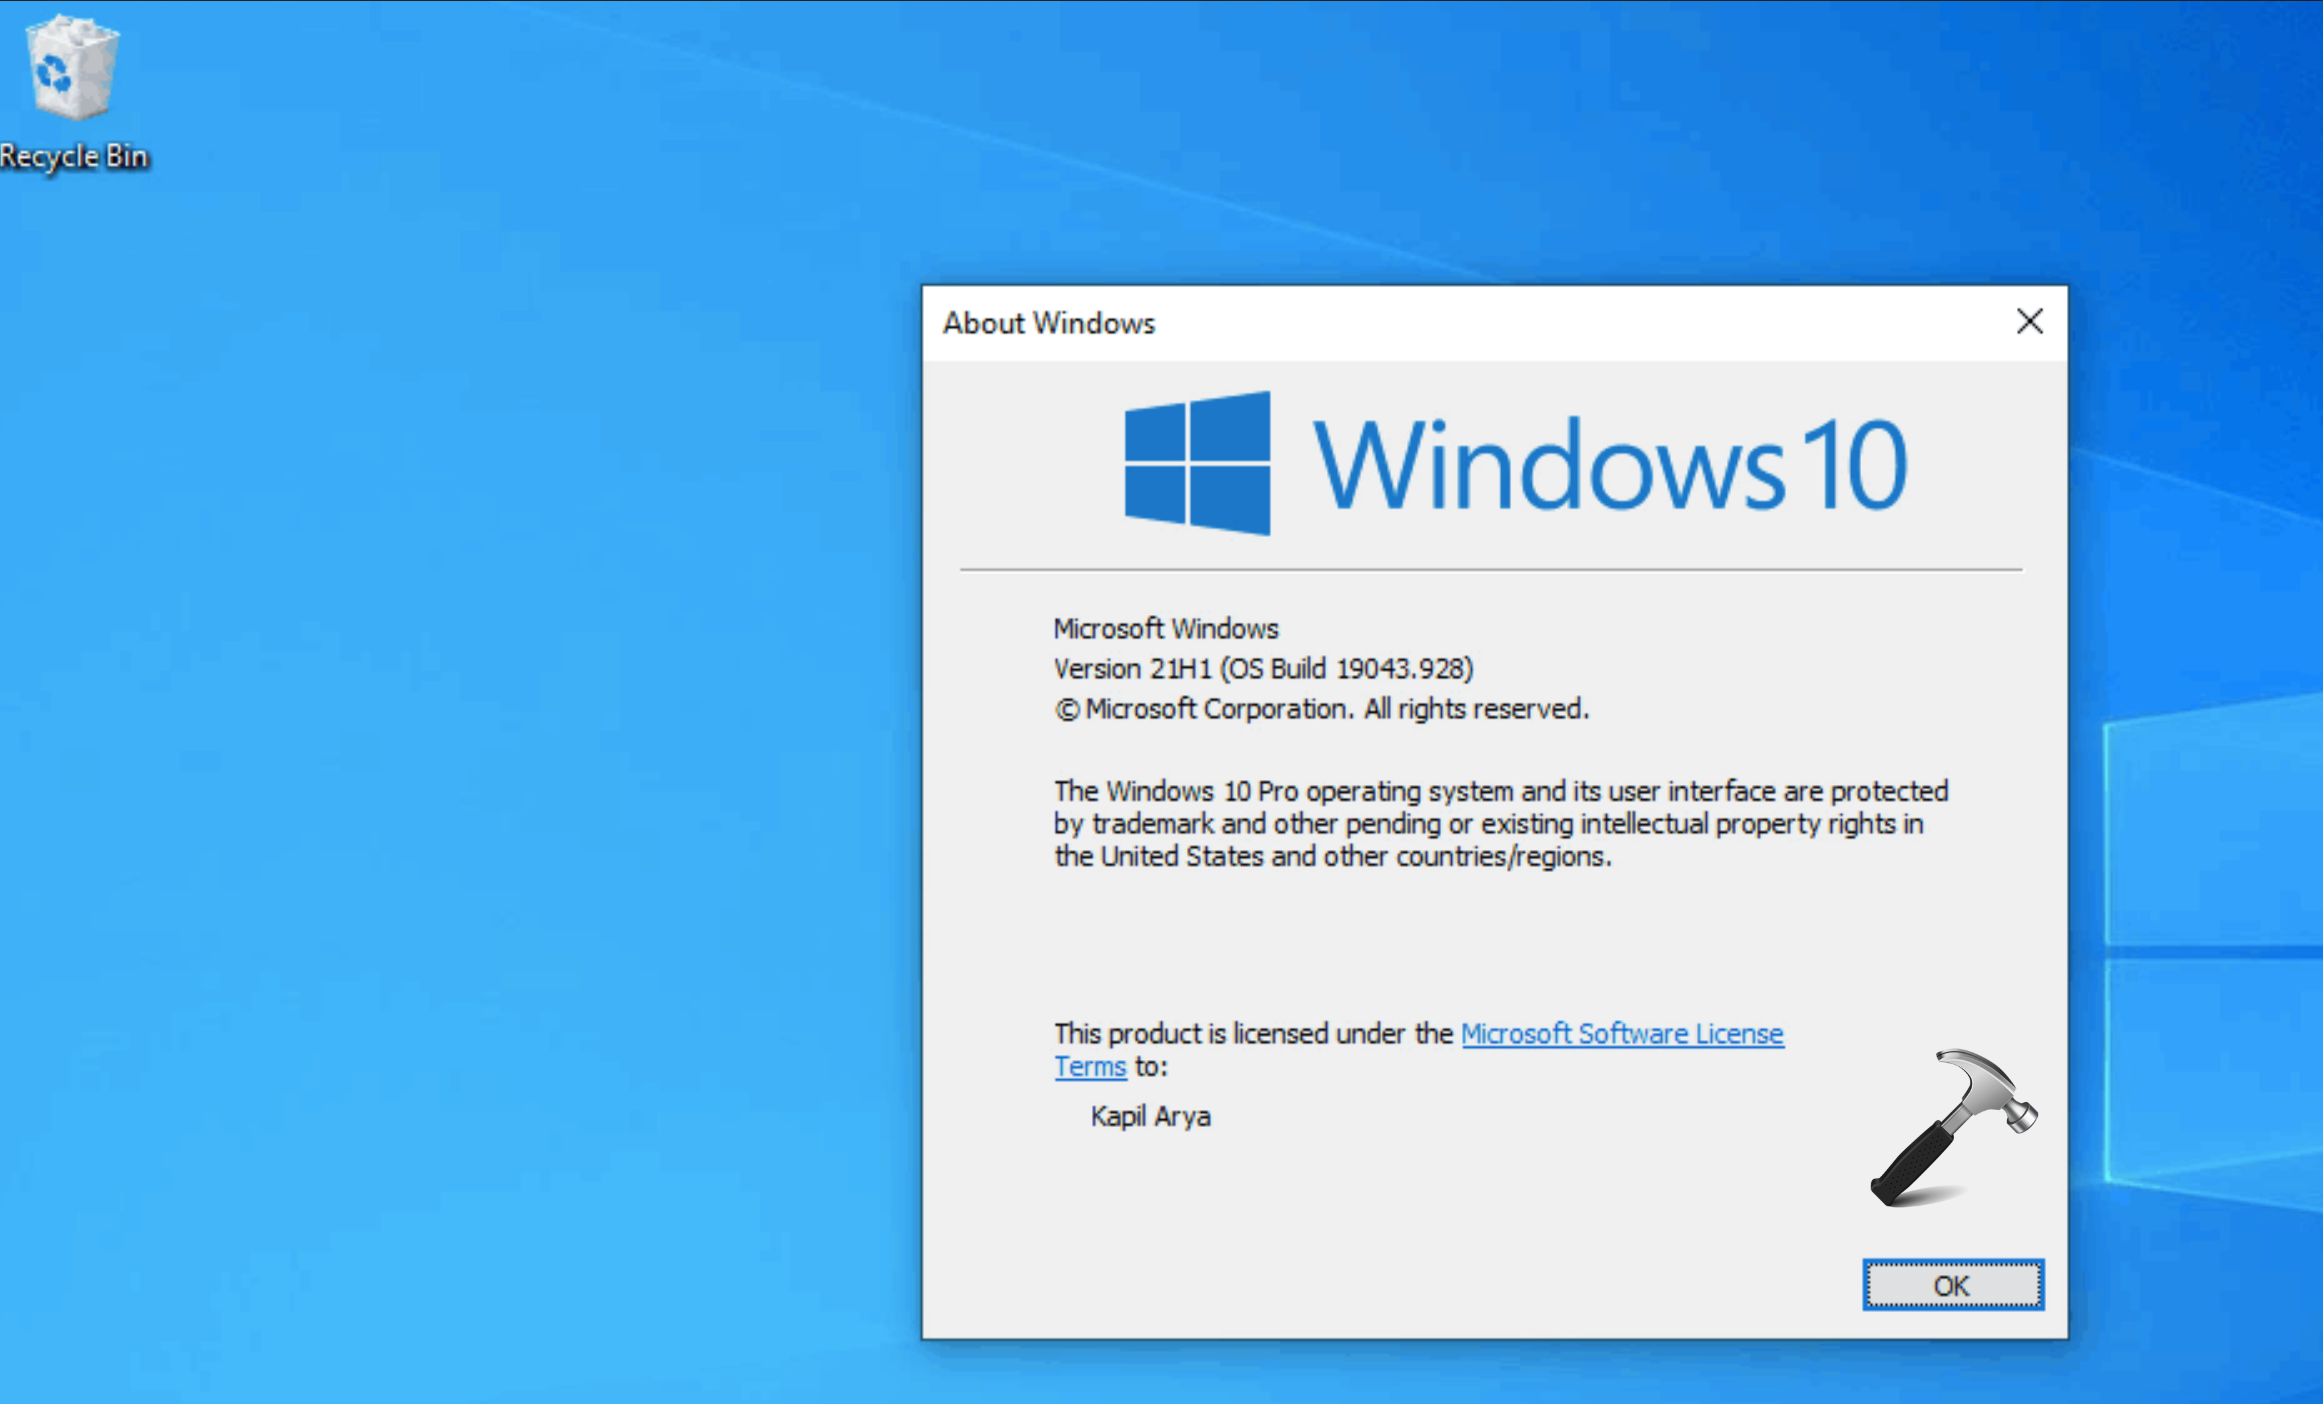
A: No, your Windows 11 license will remain valid even after downgrading to Windows 10. However, you may need to reactivate your Windows 10 license after the installation is complete.
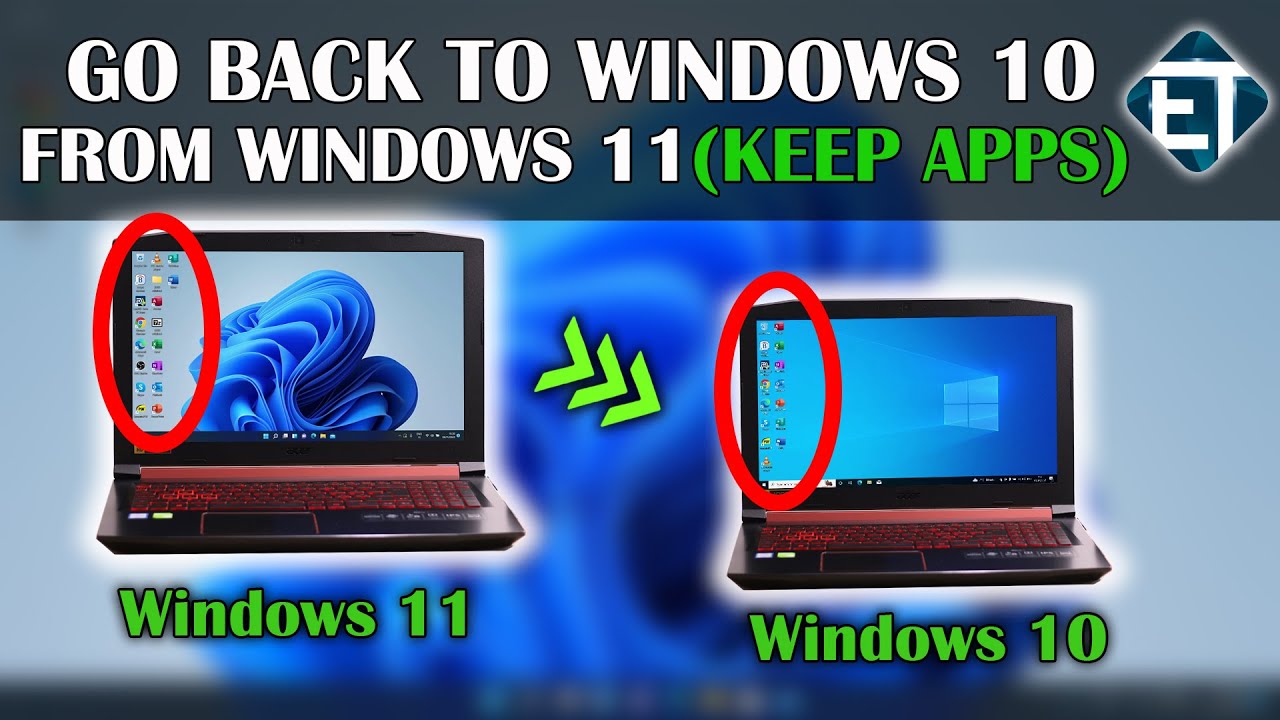
Q: Can I upgrade back to Windows 11 after downgrading?
A: Yes, you can upgrade back to Windows 11 after downgrading. However, you will need to reinstall all your applications and restore your data again.
Q: What if I encounter errors during the downgrade process?
A: If you encounter any errors, refer to Microsoft’s official documentation or contact their support team for assistance.
Tips for a Smooth Downgrade
-
Thorough Backup: Create a comprehensive backup of all your data, including system files, applications, and personal files.
-
Check Hardware Compatibility: Ensure all your hardware components are compatible with Windows 10.
-
Download Drivers: Gather the necessary drivers for your hardware before starting the downgrade.
-
Create a Recovery Drive: Create a recovery drive using the Windows 10 installation media to restore your system in case of any issues.
-
Patience and Troubleshooting: Downgrading can be a time-consuming process. Be patient and be prepared to troubleshoot any issues that may arise.
Conclusion
Downgrading from Windows 11 to Windows 10 is a significant decision that requires careful planning and execution. By following the steps outlined in this guide, users can effectively downgrade their system while minimizing data loss and potential complications. Remember to prioritize data backup, check compatibility, and be prepared for potential troubleshooting. Ultimately, the decision to downgrade should be based on individual needs and preferences.

Closure
Thus, we hope this article has provided valuable insights into Downgrading from Windows 11 to Windows 10: A Comprehensive Guide. We appreciate your attention to our article. See you in our next article!