Downgrading from Windows 11 to Windows 10: A Comprehensive Guide
Related Articles: Downgrading from Windows 11 to Windows 10: A Comprehensive Guide
Introduction
In this auspicious occasion, we are delighted to delve into the intriguing topic related to Downgrading from Windows 11 to Windows 10: A Comprehensive Guide. Let’s weave interesting information and offer fresh perspectives to the readers.
Table of Content
Downgrading from Windows 11 to Windows 10: A Comprehensive Guide
The release of Windows 11 brought a wave of excitement and anticipation, promising a revamped user experience and enhanced features. However, for some users, the transition hasn’t been entirely smooth. Certain hardware configurations may not meet the minimum system requirements, or users might prefer the familiarity and stability of Windows 10. This has led to a growing interest in reverting to the previous operating system.
This guide aims to provide a comprehensive understanding of the process of downgrading from Windows 11 to Windows 10, addressing the key considerations, potential challenges, and best practices.
Understanding the Need for Downgrading
Before embarking on the downgrade process, it’s crucial to understand the reasons behind the decision.
- Hardware Incompatibility: Windows 11 has specific hardware requirements, including a TPM 2.0 chip and Secure Boot enabled. If your computer lacks these features, you might encounter compatibility issues with Windows 11, leading to performance problems or even system instability.
- Software Compatibility: Some applications and software may not be compatible with Windows 11, particularly older programs designed for earlier operating systems. This can disrupt workflows and limit functionality.
- User Preference: While Windows 11 offers a redesigned interface and new features, some users might prefer the familiar layout and functionality of Windows 10. This is especially true for individuals who are accustomed to specific features or workflows within the older operating system.
- Performance Concerns: Some users have reported experiencing performance issues with Windows 11, such as slower boot times, decreased application responsiveness, or increased battery drain. These concerns can significantly impact user experience and productivity.
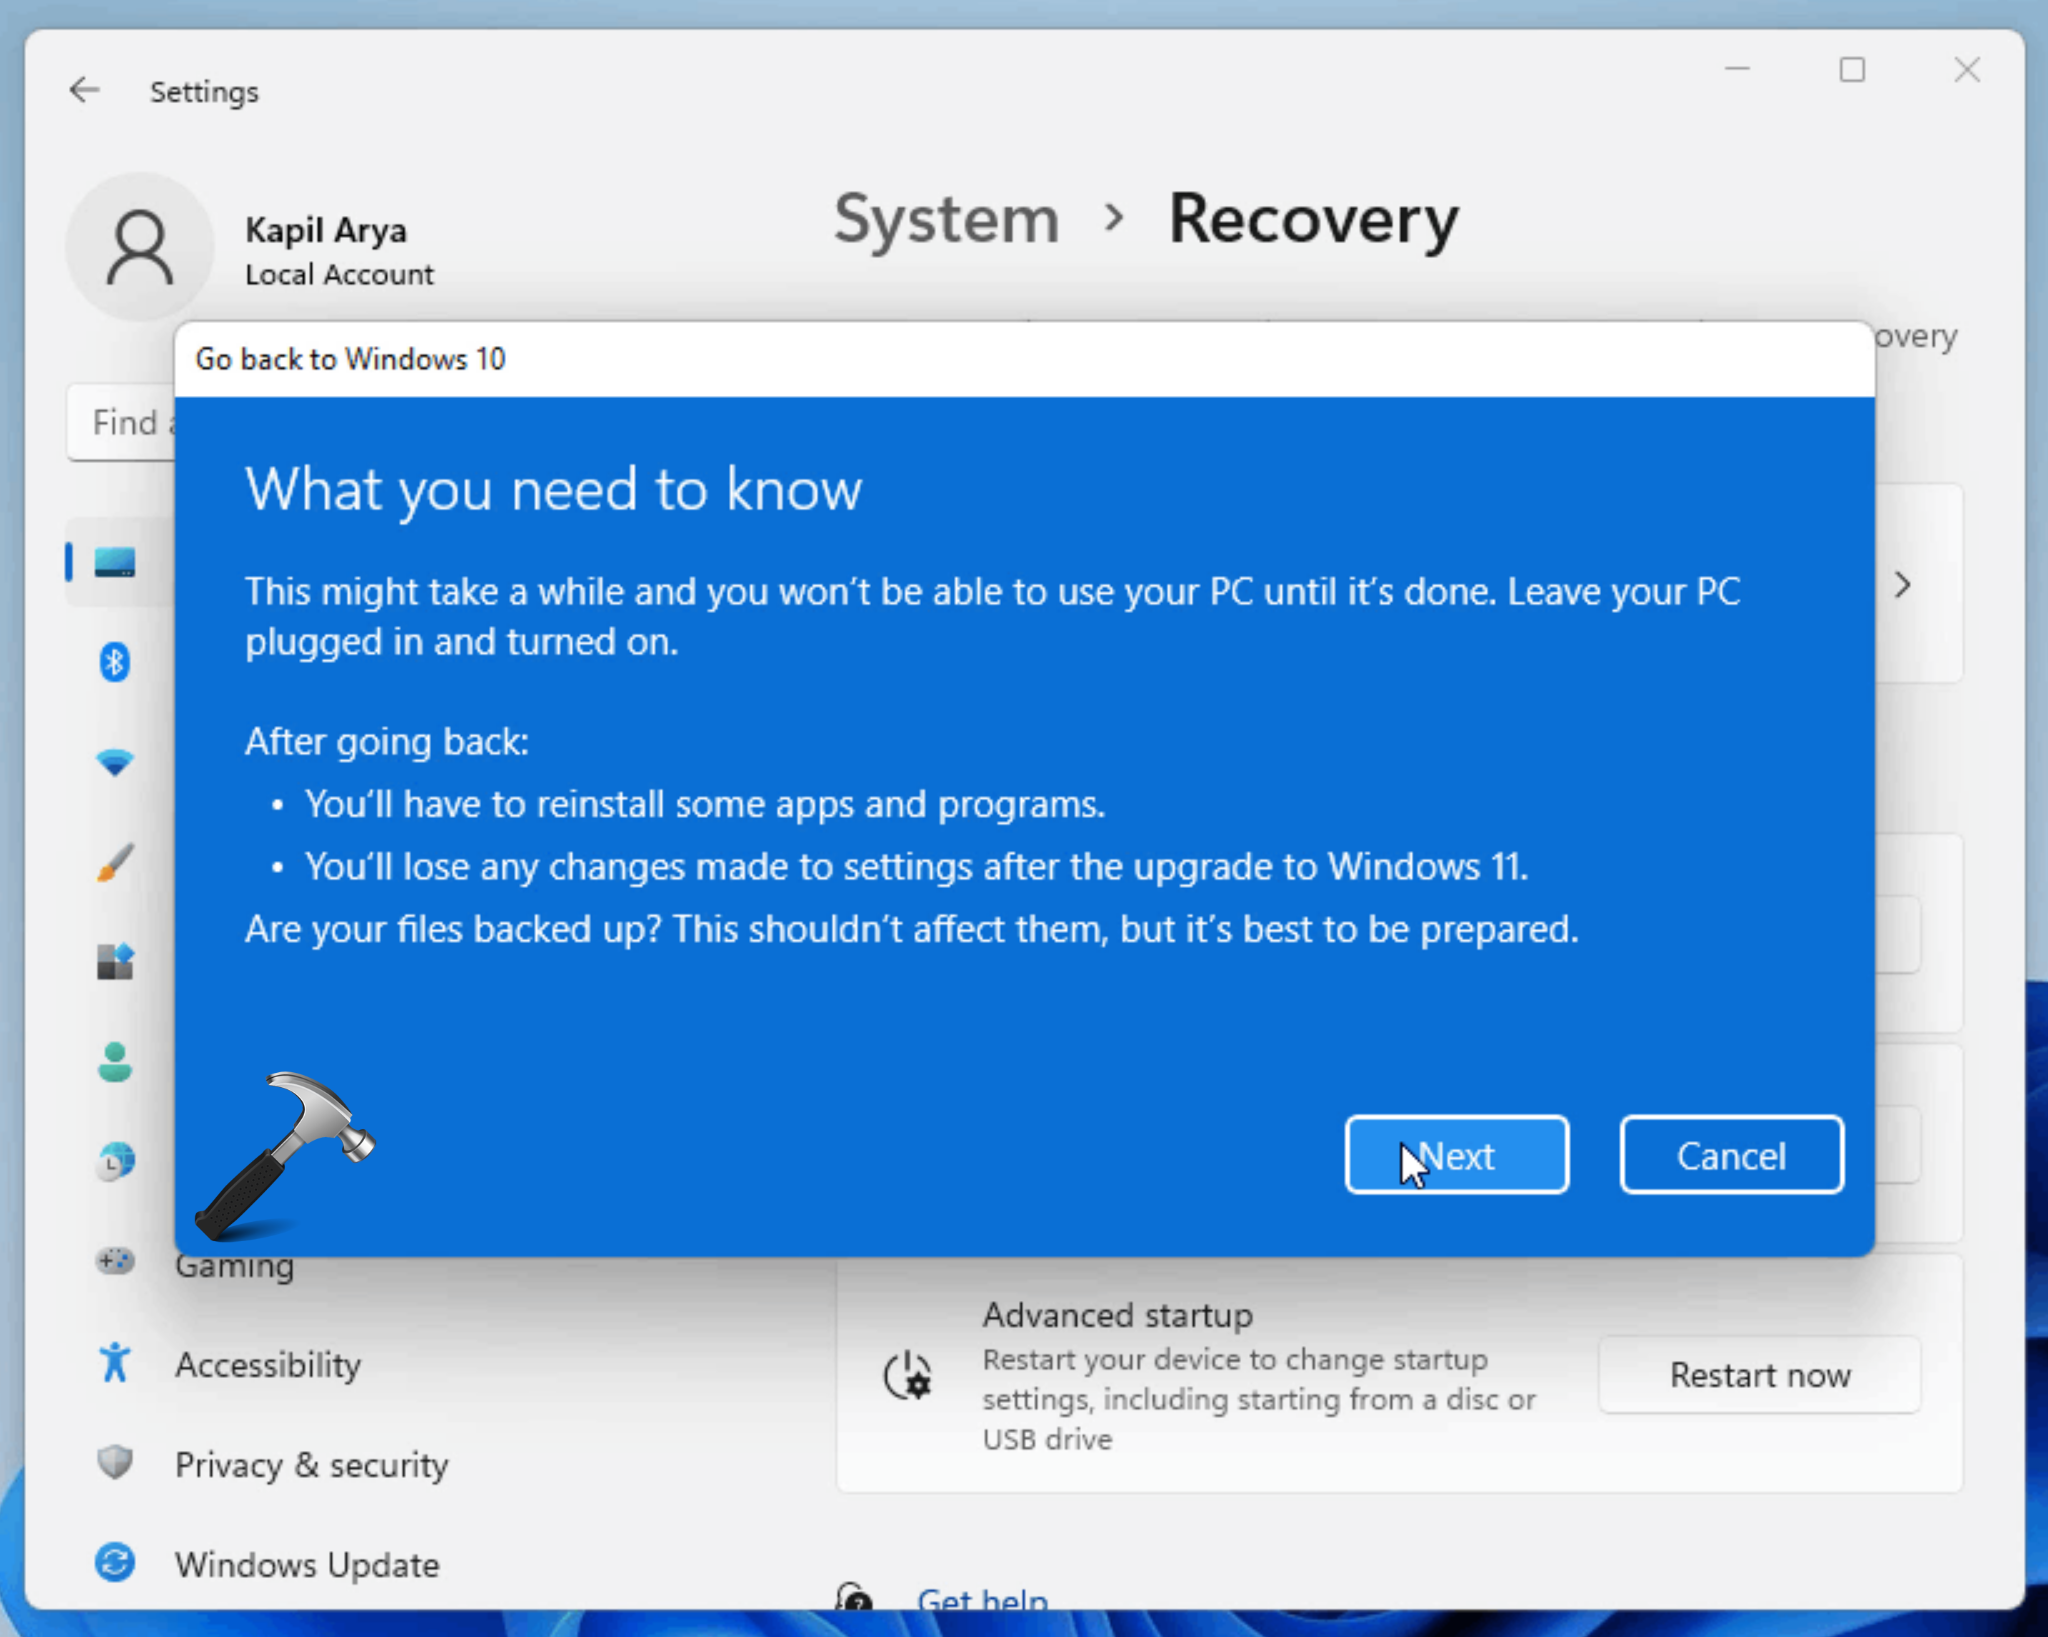
The Downgrade Process: A Step-by-Step Guide
Downgrading from Windows 11 to Windows 10 is a straightforward process, but it requires careful planning and execution. Here’s a detailed step-by-step guide:
-
Backup Your Data: Before initiating any changes to your operating system, it is essential to back up all your important data. This includes files, documents, pictures, videos, and any other critical information. You can utilize external hard drives, cloud storage services, or data backup software to ensure your data is safe and accessible.
-
Check for Compatibility: Ensure that your computer meets the minimum system requirements for Windows 10. This is crucial to avoid potential compatibility issues and ensure a smooth transition. You can find the system requirements on the official Microsoft website.
-
Obtain a Windows 10 Installation Media: You will need a bootable USB drive or DVD containing the Windows 10 installation files. You can download the ISO image from the Microsoft website and create the installation media using a tool like the Windows USB/DVD Download Tool or Rufus.
-
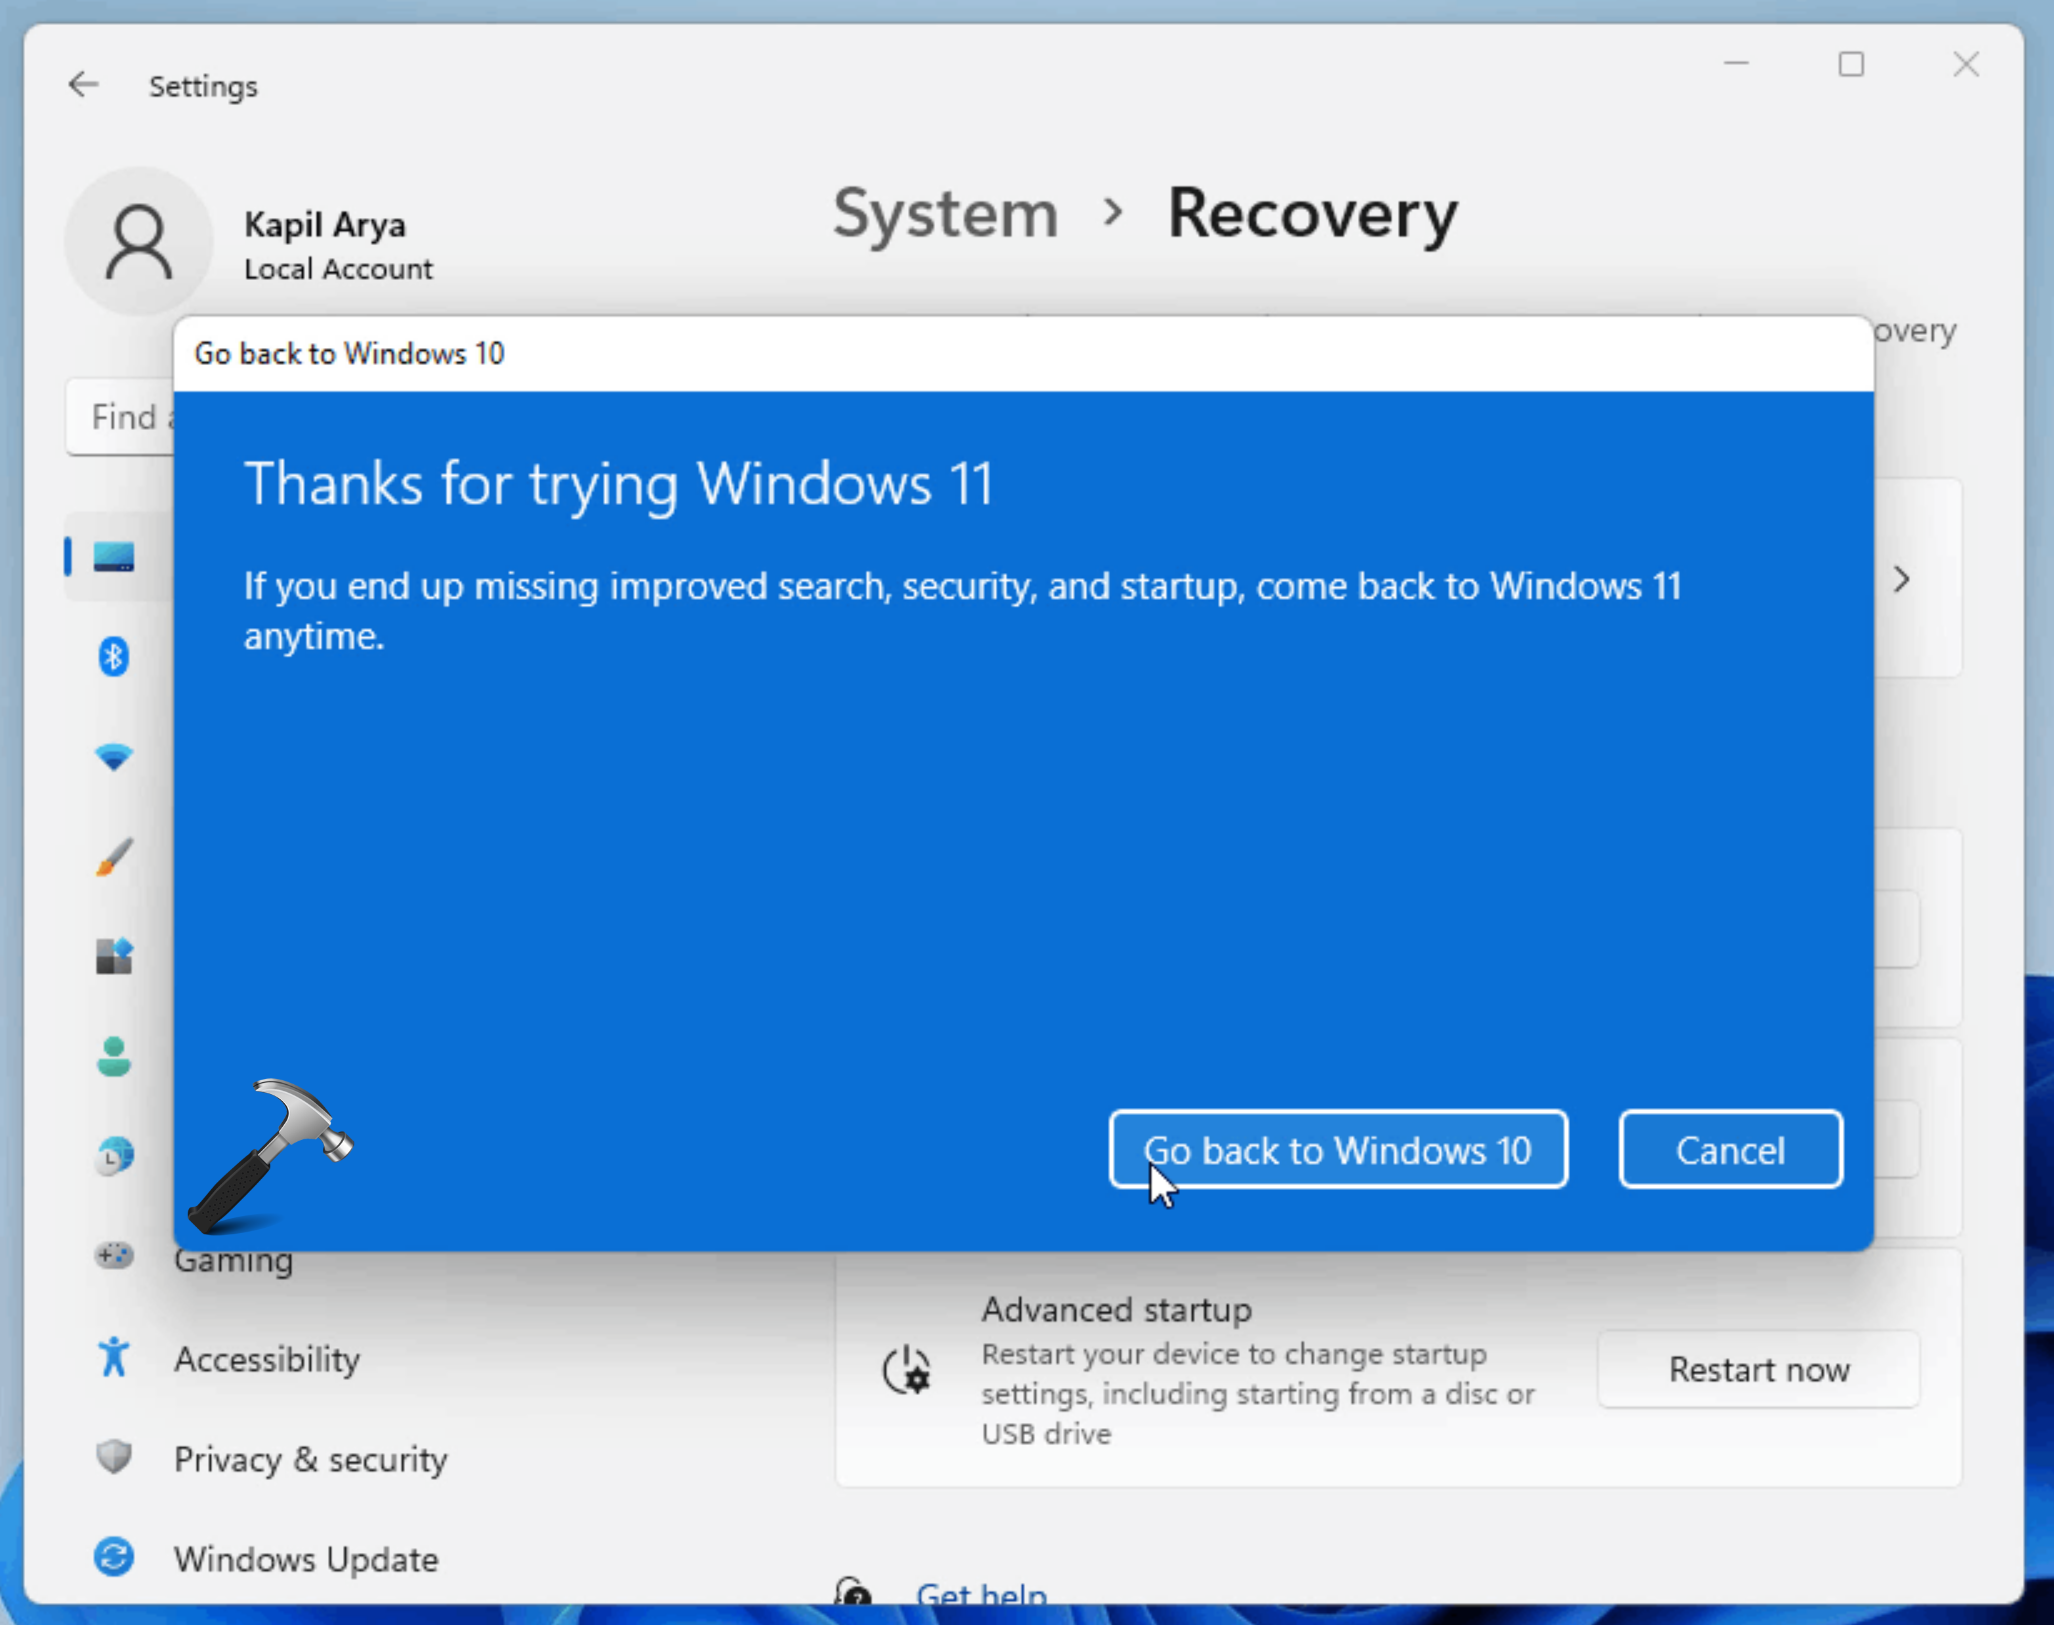
Create a System Restore Point: Creating a system restore point allows you to revert your computer to a previous state in case the downgrade process encounters any issues. This is a safety measure that ensures you have a backup option if anything goes wrong.
-
Boot from the Windows 10 Installation Media: Restart your computer and boot from the USB drive or DVD containing the Windows 10 installation media. Follow the on-screen instructions to initiate the installation process.
-
Choose "Custom Install" and Select the Partition: During the installation, select the "Custom Install" option. This allows you to choose the partition where you want to install Windows 10. Ensure you select the partition where Windows 11 was previously installed.
-
Format the Partition (Optional): Formatting the partition where Windows 11 was installed can help resolve potential conflicts and ensure a clean installation of Windows 10. However, this will erase all data on the partition, so make sure you have a backup before proceeding.
-
Install Windows 10: Follow the on-screen instructions to complete the installation process. This might take some time, depending on your system’s hardware and the size of the installation files.
-
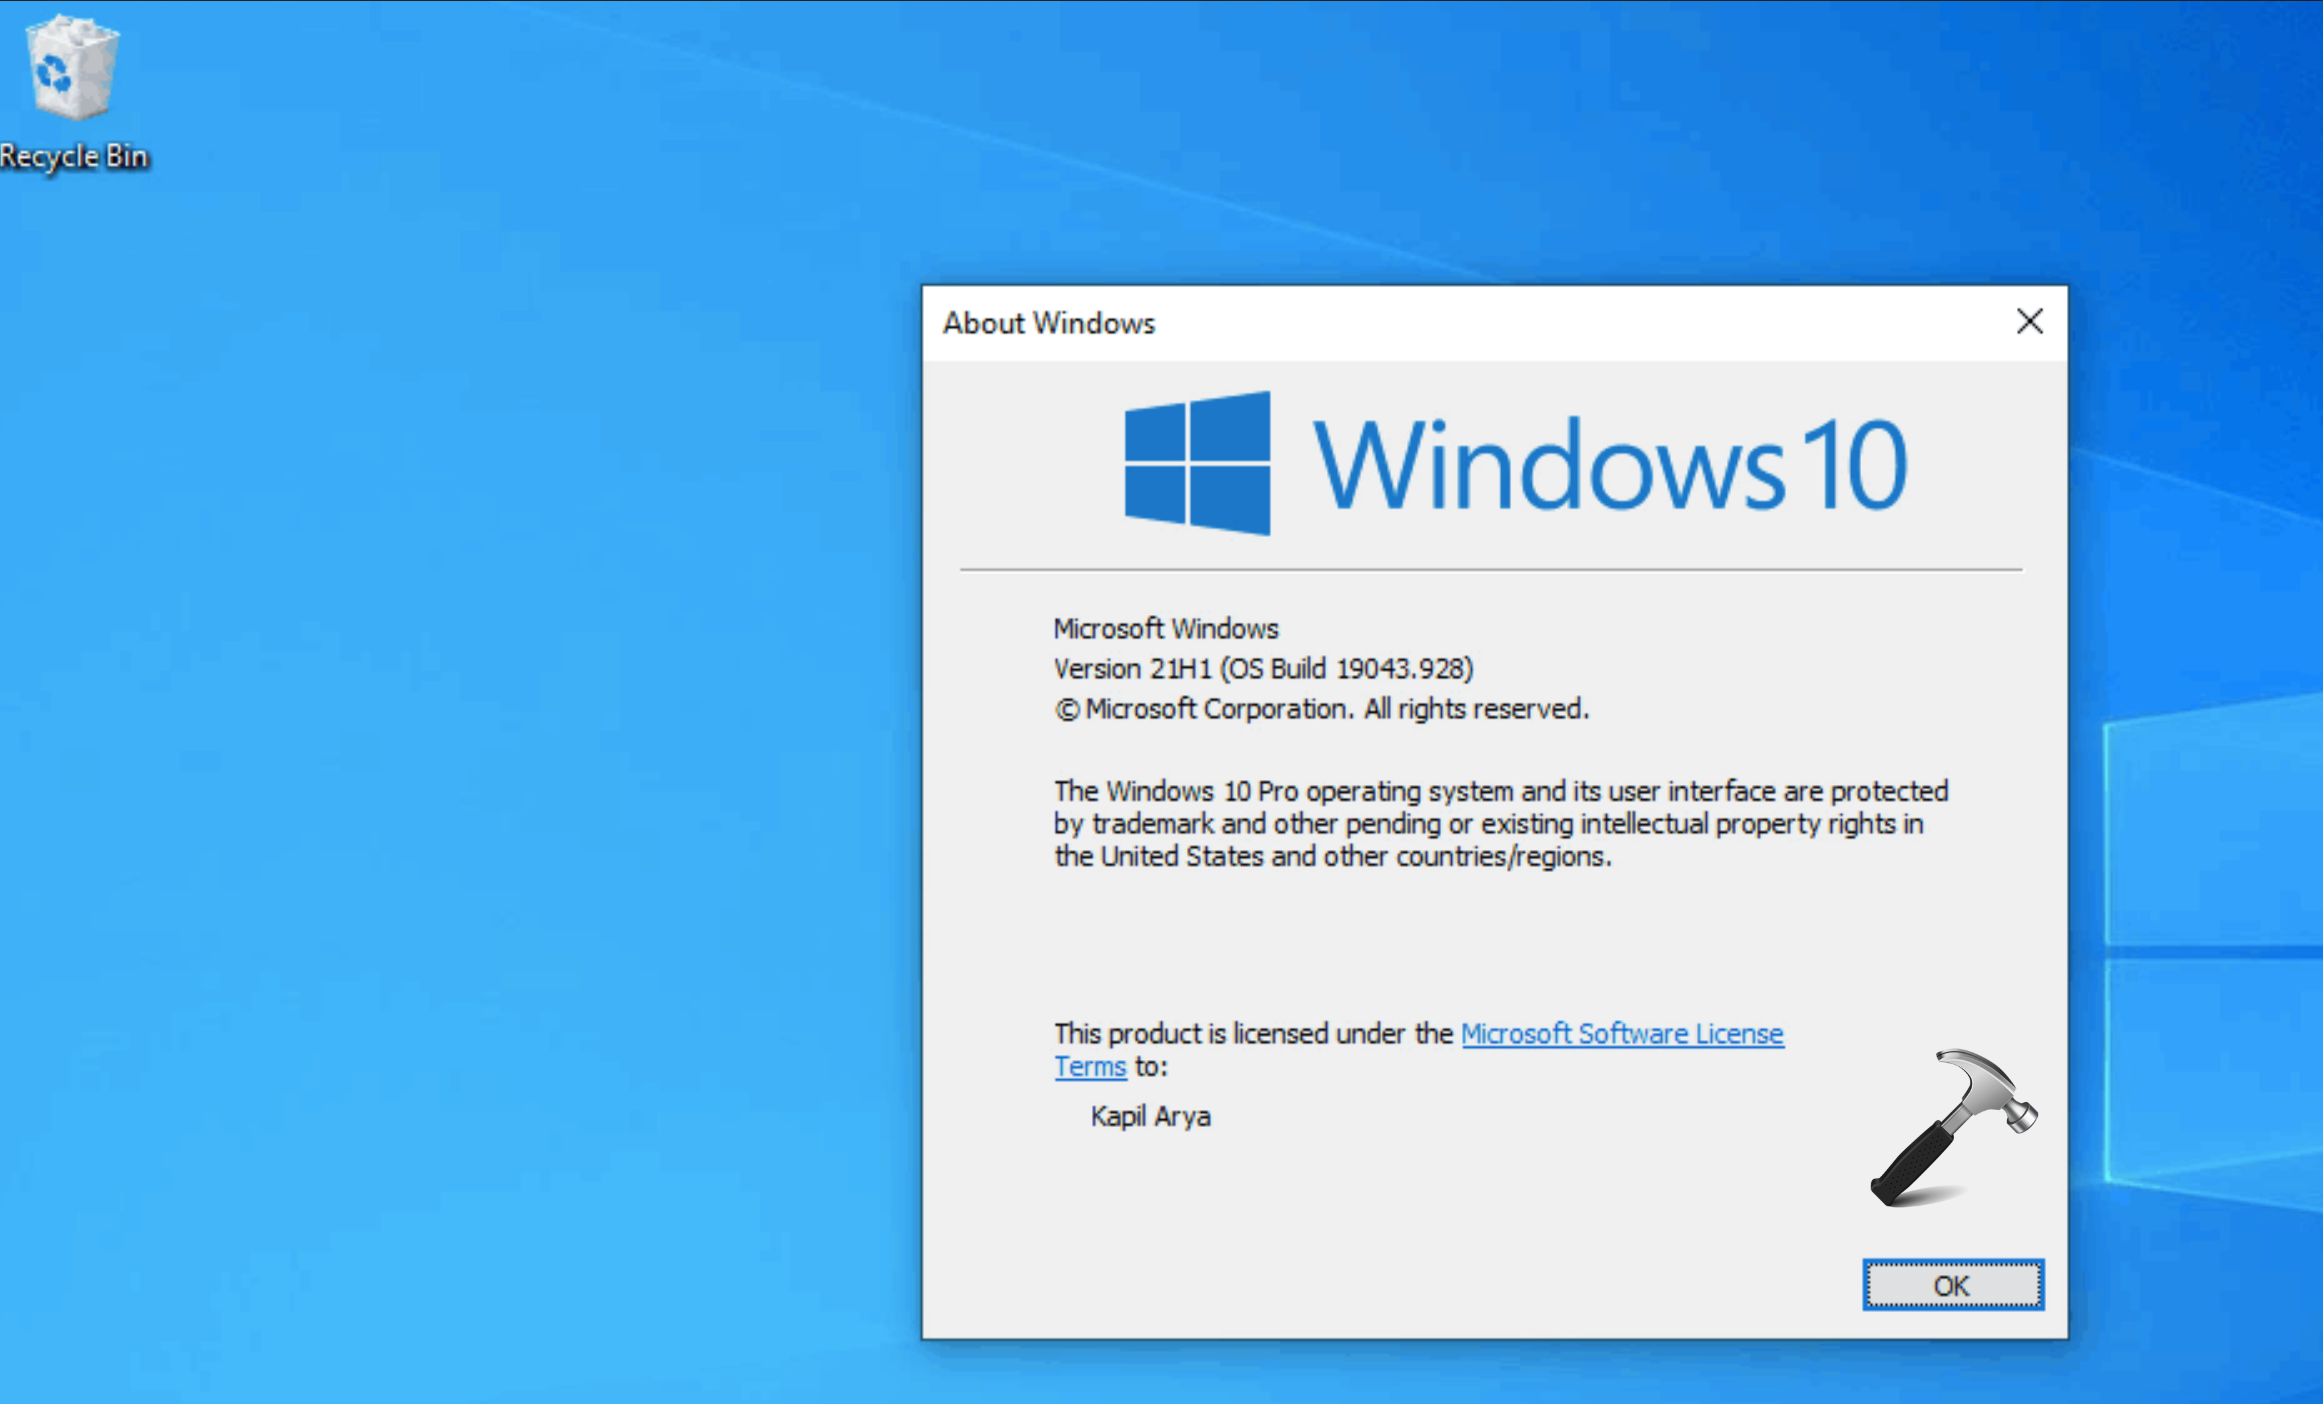
Activate Windows 10: Once the installation is complete, you will need to activate Windows 10. You can use the same product key that you used for Windows 11, as it should be compatible with both operating systems.
-
Install Drivers: After installing Windows 10, you might need to install drivers for your hardware components. You can download the latest drivers from the manufacturer’s website or use the Windows Update feature to automatically install them.
Potential Challenges and Solutions
While downgrading from Windows 11 to Windows 10 is generally straightforward, there are potential challenges that users might encounter.
- Lost Data: If you fail to back up your data before starting the downgrade process, you risk losing all your files and settings.
- Driver Compatibility Issues: Some hardware drivers might not be compatible with Windows 10, leading to performance problems or device malfunctions.
- Activation Issues: If you encounter activation issues, you may need to contact Microsoft support for assistance.
- Windows 11 Recovery Partition: Windows 11 might have created a recovery partition that could interfere with the installation of Windows 10. You might need to delete this partition before proceeding with the installation.
FAQs: Addressing Common Concerns
Q: Can I downgrade from Windows 11 to Windows 10 without losing my data?
A: While it is possible to perform a clean install of Windows 10 without losing your data, it is highly recommended to back up your data beforehand. This is a precaution to safeguard your information in case of unforeseen issues.
Q: Can I upgrade back to Windows 11 after downgrading to Windows 10?
A: Yes, you can upgrade back to Windows 11 after downgrading to Windows 10. However, you will need to ensure your computer meets the minimum system requirements for Windows 11 and obtain the necessary installation files.
Q: Will my Windows 11 product key work for Windows 10?
A: Yes, your Windows 11 product key should be compatible with Windows 10. You can use the same key to activate both operating systems.
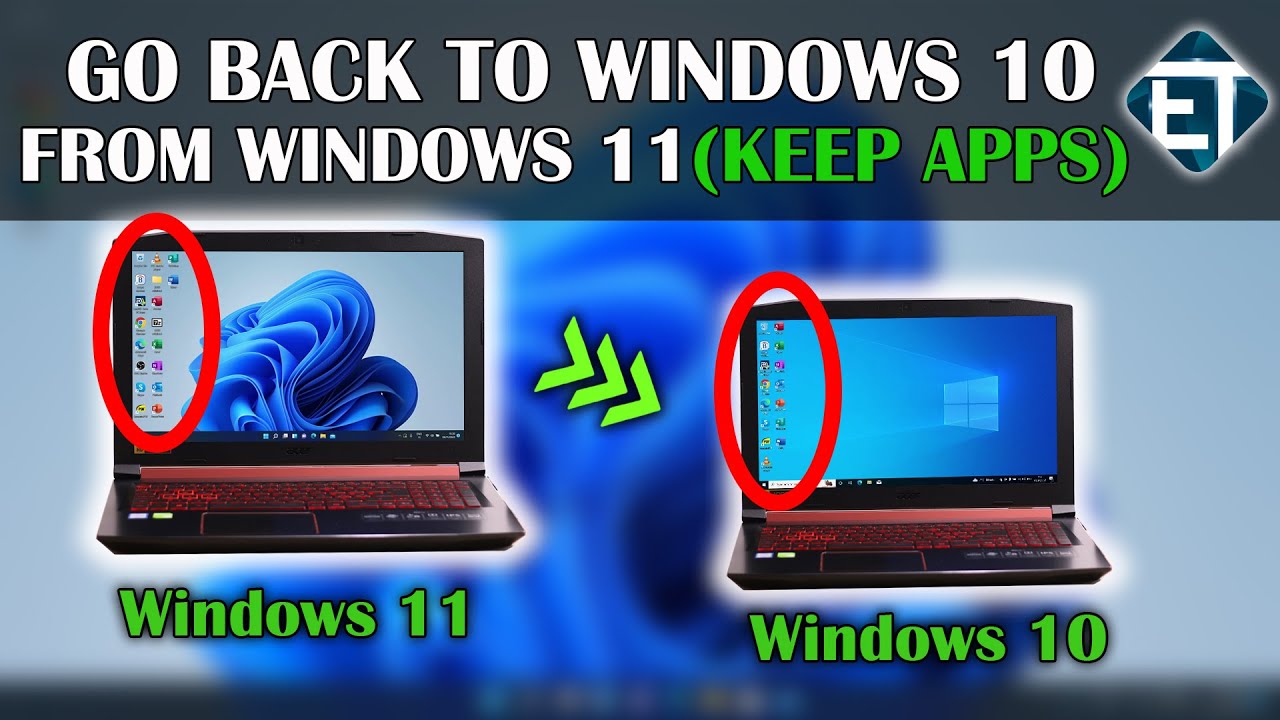
Q: What happens to my Windows 11 apps after downgrading to Windows 10?
A: Apps installed on Windows 11 might not be compatible with Windows 10. You will need to reinstall these apps from the Microsoft Store or the respective developers’ websites.
Q: Will I lose my personal settings and files after downgrading to Windows 10?
A: A clean install of Windows 10 will erase all data on the partition where Windows 11 was installed. To preserve your personal settings and files, it is essential to back up your data before starting the downgrade process.
Tips for a Smooth Downgrade
- Thorough Backup: Ensure you have a complete backup of all your important data before starting the downgrade process.
- Check System Requirements: Confirm that your computer meets the minimum system requirements for Windows 10.
- Obtain a Valid Windows 10 Installation Media: Download the official Windows 10 ISO image from the Microsoft website and create a bootable USB drive or DVD.
- Review Drivers: Check for available drivers for your hardware components before starting the installation process.
- Contact Microsoft Support: If you encounter any difficulties or have questions, contact Microsoft support for assistance.
Conclusion
Downgrading from Windows 11 to Windows 10 can be a necessary step for users experiencing compatibility issues, performance concerns, or simply preferring the familiarity of the older operating system. This guide provides a comprehensive overview of the process, addressing potential challenges and offering practical tips for a smooth transition. By carefully planning and following the outlined steps, users can successfully downgrade to Windows 10 while preserving their data and minimizing potential complications.

Closure
Thus, we hope this article has provided valuable insights into Downgrading from Windows 11 to Windows 10: A Comprehensive Guide. We appreciate your attention to our article. See you in our next article!