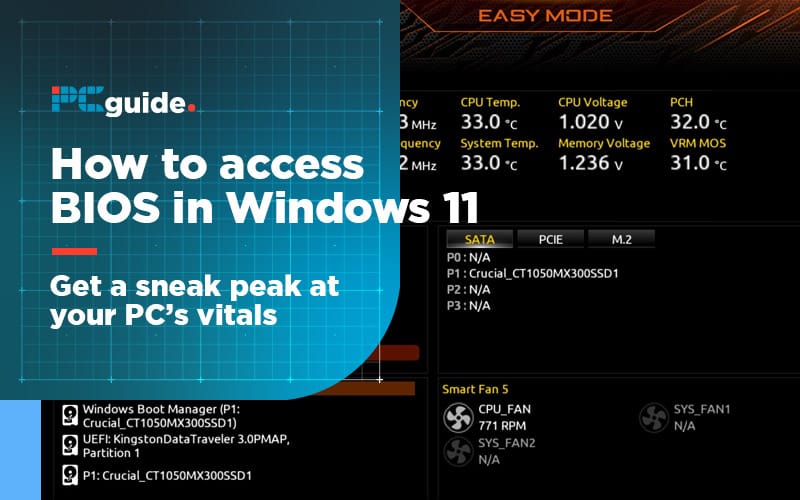
Delving into the Heart of Your System: Understanding and Accessing Your BIOS Version in Windows 11
Related Articles: Delving into the Heart of Your System: Understanding and Accessing Your BIOS Version in Windows 11
Introduction
With great pleasure, we will explore the intriguing topic related to Delving into the Heart of Your System: Understanding and Accessing Your BIOS Version in Windows 11. Let’s weave interesting information and offer fresh perspectives to the readers.
Table of Content
Delving into the Heart of Your System: Understanding and Accessing Your BIOS Version in Windows 11
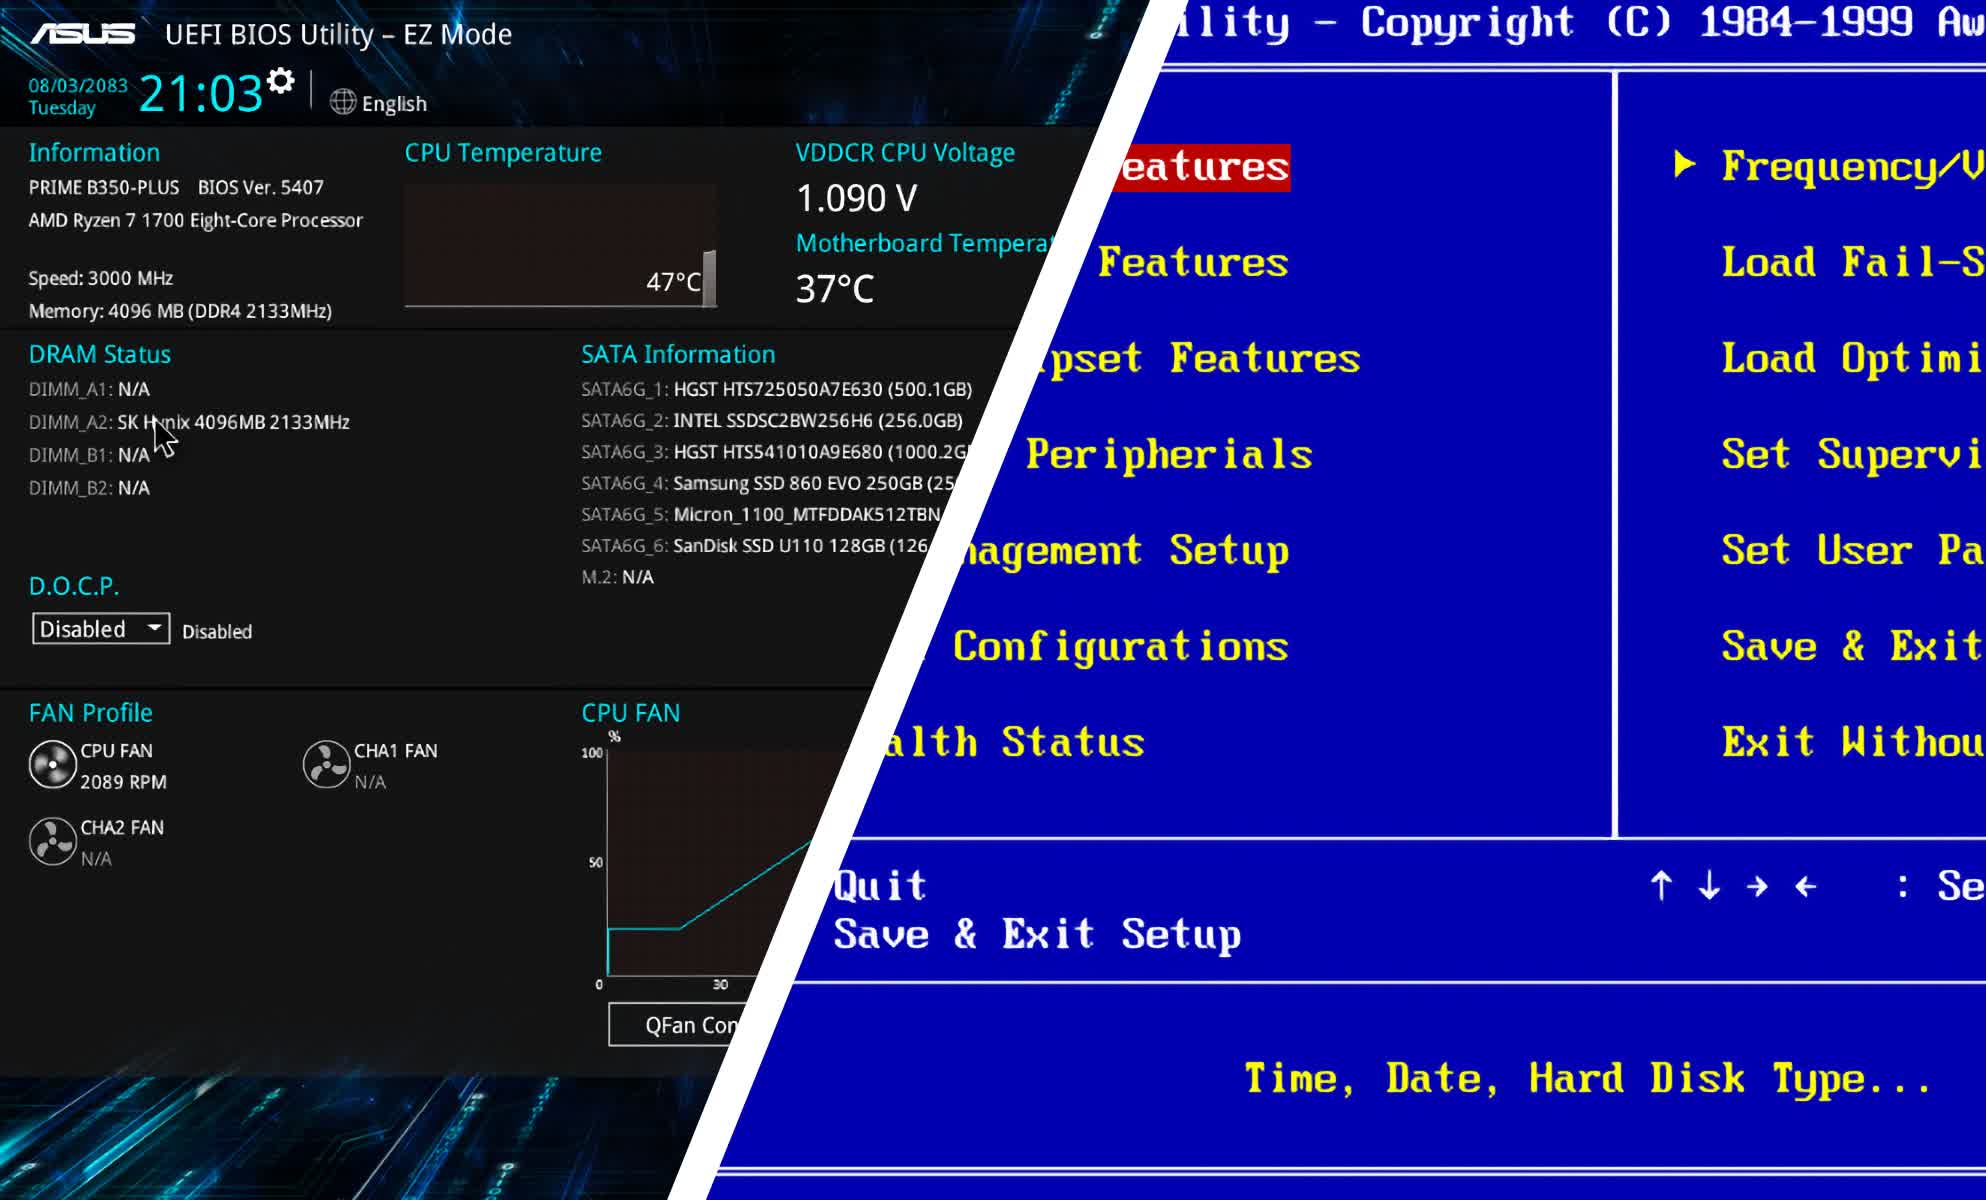
The BIOS (Basic Input/Output System), often referred to as the firmware, is a fundamental component of every computer system. It acts as the intermediary between the operating system and the hardware, initiating the boot process and managing essential hardware functions. The BIOS version, therefore, represents a snapshot of your system’s core functionalities and capabilities.
Understanding and accessing your BIOS version is crucial for several reasons:
- Troubleshooting Hardware Issues: If you encounter hardware-related problems, knowing your BIOS version can help identify potential compatibility issues or guide troubleshooting efforts.
- Updating Drivers and Firmware: Some hardware components, such as graphics cards or network adapters, require specific BIOS versions for optimal performance. Checking your BIOS version enables you to determine if an update is necessary.
- System Compatibility: Certain software applications or operating systems might have specific BIOS version requirements. Knowing your BIOS version allows you to ensure compatibility before attempting installation.
- Security Updates: BIOS updates often include security patches that address vulnerabilities and enhance system security. Regularly checking your BIOS version and applying updates can strengthen your system’s defenses.
Navigating the Path to Your BIOS Version
Accessing your BIOS version in Windows 11 can be achieved through two primary methods:
1. Utilizing the System Information Tool
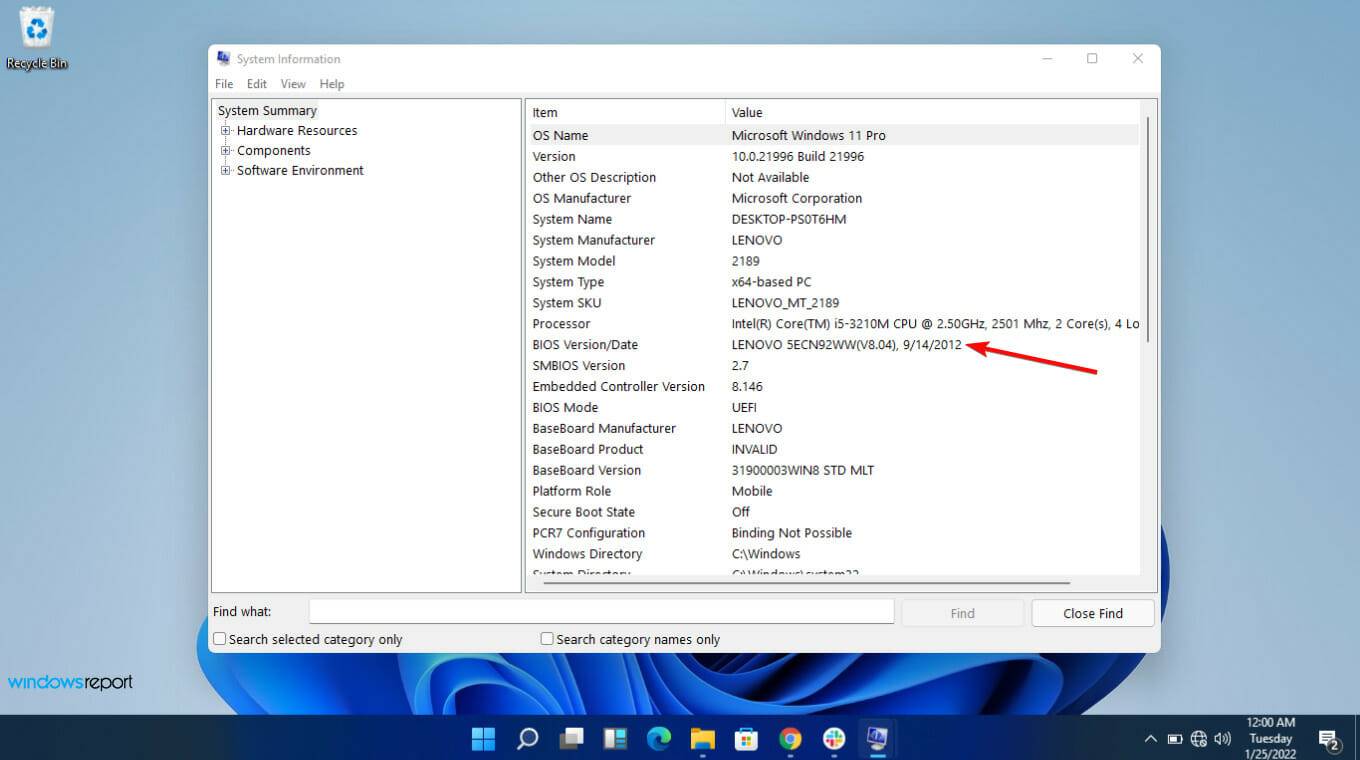
- Accessing System Information: Navigate to the "Start" menu and search for "System Information". Alternatively, you can use the keyboard shortcut "Win + R" and type "msinfo32" in the Run dialog box.
- Locating the BIOS Version: Once the System Information window opens, locate the "System Summary" section. Within this section, you will find an entry labelled "BIOS Version/Date". This entry displays the current BIOS version and the date it was last updated.
2. Employing the Command Prompt
- Opening the Command Prompt: Right-click on the "Start" menu and select "Windows Terminal (Admin)" or "Command Prompt (Admin)".
-
Executing the Command: Type the following command in the terminal window and press "Enter":
wmic bios get smbiosbiosversion - Retrieving the BIOS Version: The output will display the BIOS version, typically in a format similar to "Version: [BIOS Version Number]".
Additional Considerations
- Manufacturer-Specific Utilities: Some computer manufacturers provide dedicated utilities for accessing BIOS information and performing updates. These utilities can be found on the manufacturer’s website or through pre-installed software on your system.
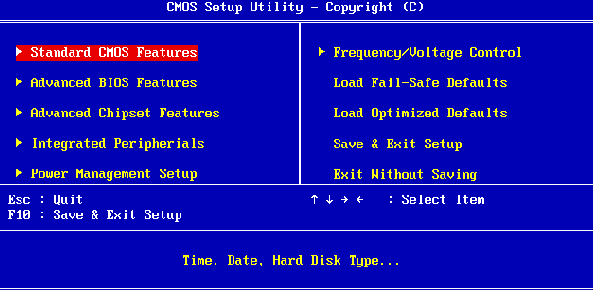
- BIOS Settings: While the BIOS version itself is typically static, you can access the BIOS settings to modify system configurations, including boot order, power management options, and advanced hardware settings. To access the BIOS settings, you usually need to press a specific key (e.g., F2, F10, Del) during the boot process.
FAQs
Q: What if the BIOS version information is not available in the System Information tool or Command Prompt?
A: If the BIOS version is not displayed, it might indicate an issue with the system’s ability to access this information. Consider restarting your computer and attempting the process again. If the problem persists, contacting your computer manufacturer for assistance is recommended.
Q: Can I update my BIOS version?
A: Updating your BIOS version can be beneficial, but it should be approached with caution. Always download the BIOS update from the manufacturer’s website and follow their instructions carefully. Incorrect BIOS updates can lead to system instability or even render your computer unusable.
Q: How often should I check my BIOS version?
A: Regularly checking your BIOS version is recommended, especially if you are experiencing hardware issues or if your system is not performing optimally. However, there is no set frequency. Checking once or twice a year is generally sufficient.
Tips
- Backup Your Data: Before performing any BIOS updates, ensure you have backed up your important data to prevent data loss.
- Consult Manufacturer Instructions: Always refer to the manufacturer’s instructions for updating your BIOS.
- Avoid Interruptions: During a BIOS update, avoid interrupting the process, as this can lead to system corruption.
Conclusion
Understanding and accessing your BIOS version is essential for maintaining system stability, troubleshooting hardware issues, and ensuring compatibility with software applications and operating systems. By following the methods outlined above, you can easily retrieve your BIOS version and take proactive steps to optimize your system’s performance and security. Remember to approach BIOS updates with caution, always following the manufacturer’s guidelines to avoid potential problems.


Closure
Thus, we hope this article has provided valuable insights into Delving into the Heart of Your System: Understanding and Accessing Your BIOS Version in Windows 11. We thank you for taking the time to read this article. See you in our next article!