Capturing Your Screen: A Comprehensive Guide to Screen Recording in Windows 10
Related Articles: Capturing Your Screen: A Comprehensive Guide to Screen Recording in Windows 10
Introduction
In this auspicious occasion, we are delighted to delve into the intriguing topic related to Capturing Your Screen: A Comprehensive Guide to Screen Recording in Windows 10. Let’s weave interesting information and offer fresh perspectives to the readers.
Table of Content
- 1 Related Articles: Capturing Your Screen: A Comprehensive Guide to Screen Recording in Windows 10
- 2 Introduction
- 3 Capturing Your Screen: A Comprehensive Guide to Screen Recording in Windows 10
- 3.1 Understanding the Importance of Screen Recording
- 3.2 Built-in Screen Recording Tools in Windows 10
- 3.3 Advanced Screen Recording Tools: Exploring Third-Party Options
- 3.4 Tips for Optimal Screen Recording in Windows 10
- 3.5 Frequently Asked Questions (FAQs)
- 3.6 Conclusion
- 4 Closure
Capturing Your Screen: A Comprehensive Guide to Screen Recording in Windows 10

Screen recording has become an indispensable tool in today’s digital landscape. Whether it’s for creating tutorials, capturing gameplay, documenting software bugs, or simply sharing a specific moment on your computer screen, the ability to record what’s happening on your monitor is invaluable. Windows 10 offers several built-in and third-party options for screen recording, each with its own strengths and capabilities. This guide will explore the various methods available, providing detailed instructions and insights into their nuances.
Understanding the Importance of Screen Recording
Screen recording transcends the realm of mere digital documentation. It empowers individuals and organizations to communicate effectively, share knowledge, and enhance collaboration. The applications are diverse and impactful:
- Educational Content Creation: Educators and trainers can create engaging tutorials and demonstrations, providing step-by-step guidance for students and learners.
- Software Development and Testing: Developers can capture screen recordings to document bugs, demonstrate software features, and track progress during the development process.
- Gaming and Entertainment: Gamers can record their gameplay sessions, share highlights, and engage with a wider audience.
- Presentations and Business Communication: Screen recordings can be used to create professional presentations, share ideas with colleagues, and document important meetings.
- Customer Support and Troubleshooting: Technical support teams can use screen recordings to guide customers through troubleshooting steps and resolve issues effectively.
Built-in Screen Recording Tools in Windows 10
Windows 10 offers a convenient and readily accessible screen recording tool called Xbox Game Bar. This integrated feature allows users to capture their screen activity, including audio, with minimal effort.
Using Xbox Game Bar for Screen Recording:
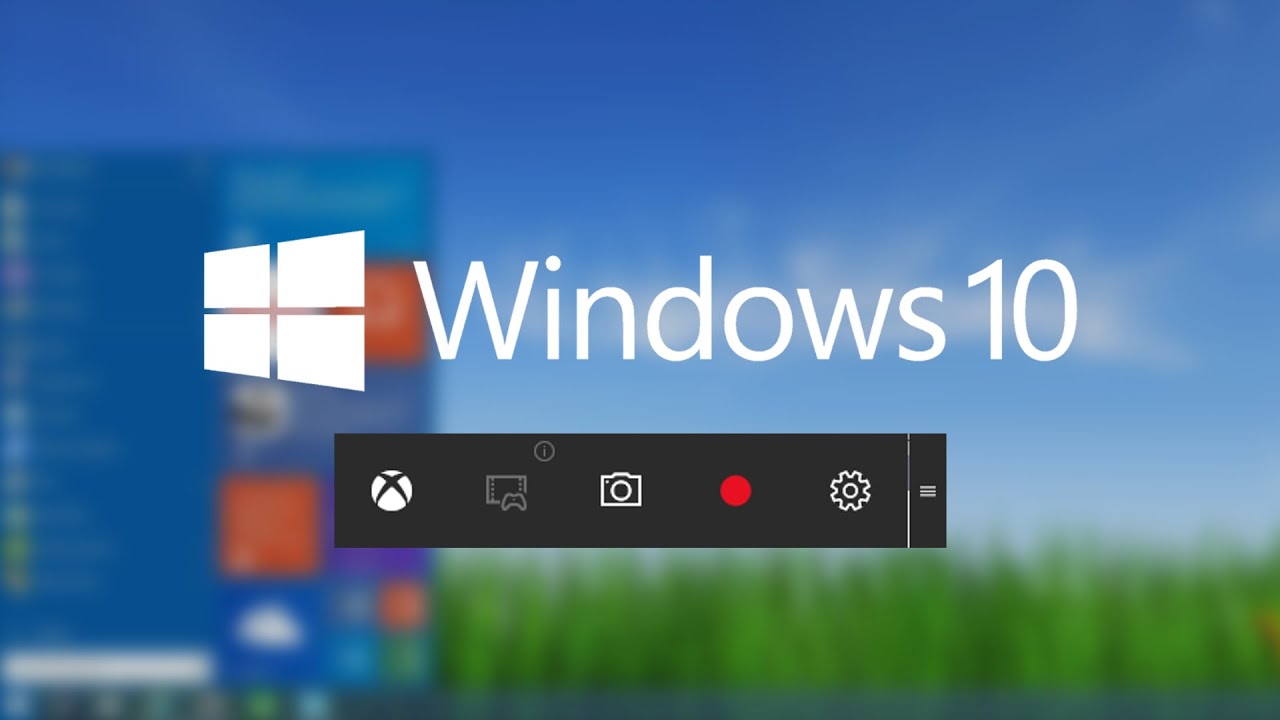
- Launch Xbox Game Bar: Press the Windows key + G simultaneously to open the Xbox Game Bar.
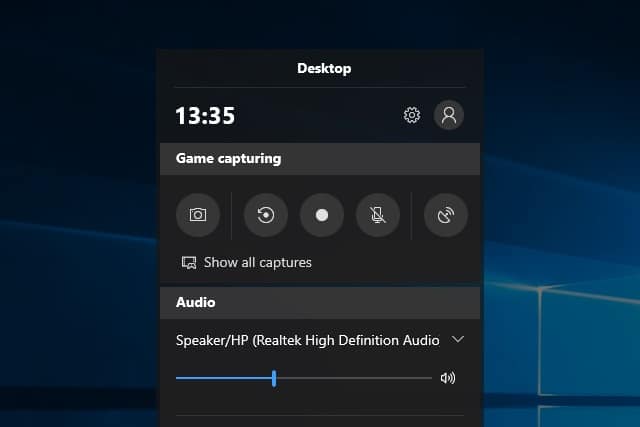
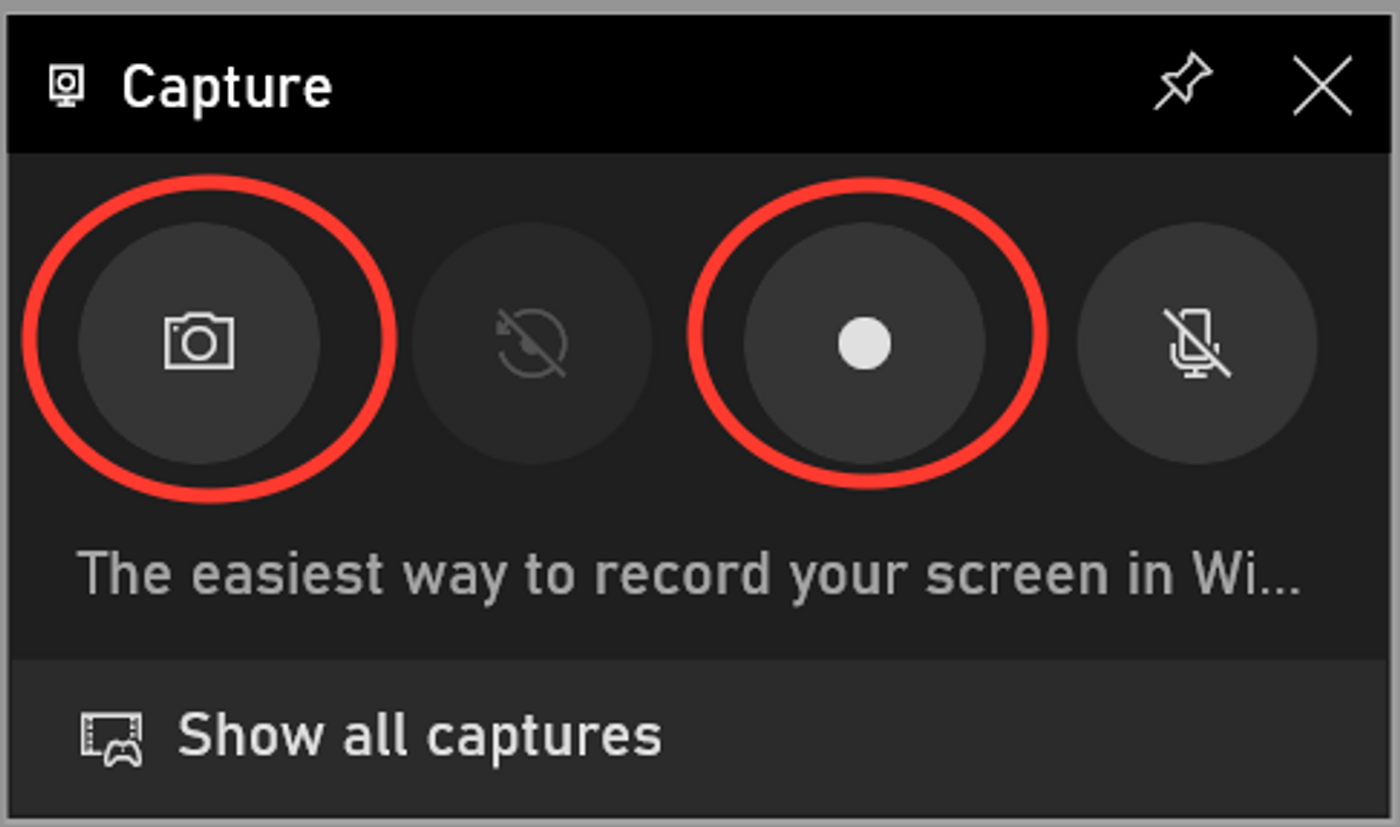
- Access Recording Options: In the Xbox Game Bar, click the "Capture" icon, which resembles a circle with a dot in the center.
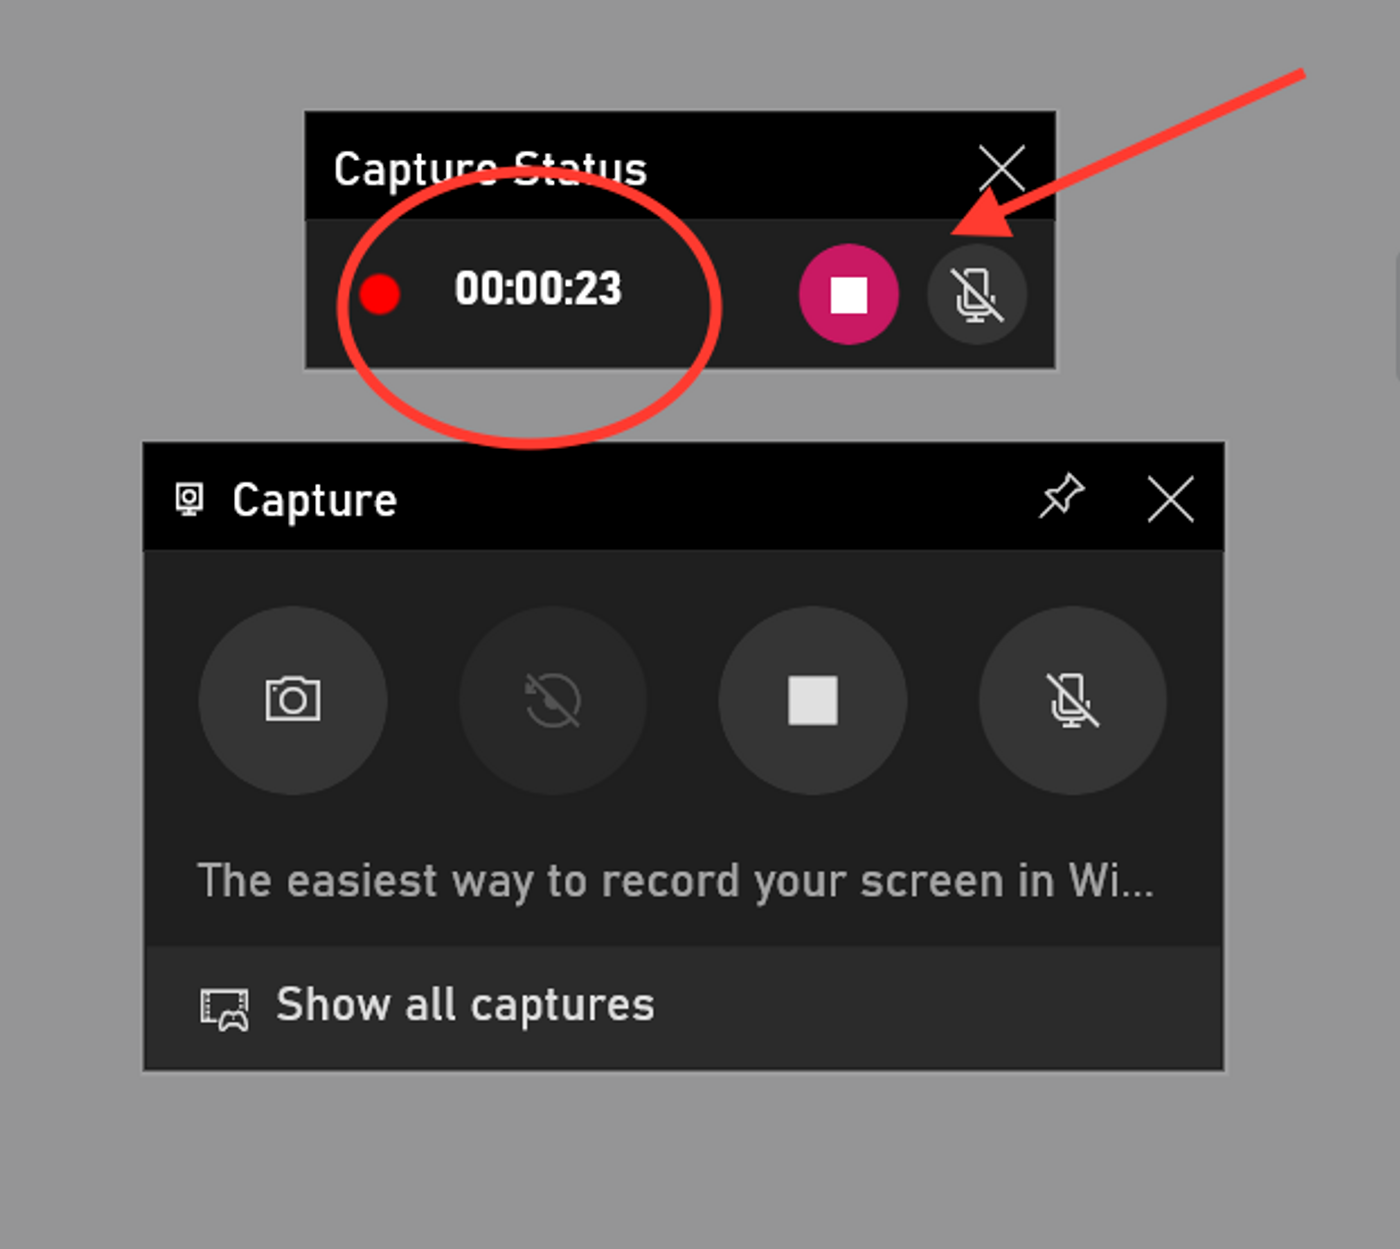
- Start Recording: Choose the "Record" button to begin capturing your screen. A timer will appear in the upper-right corner of the screen to indicate the recording duration.
- Stop Recording: Click the "Stop" button (a square icon) within the Xbox Game Bar to end the recording.
- Access Recordings: The captured video will be saved in the "Captures" folder located within the "Videos" folder on your computer.
Key Features of Xbox Game Bar:
- Audio Recording: Capture audio from your microphone and system audio simultaneously.
- Webcam Recording: Overlay your webcam video on the screen recording for a personalized touch.
- Shortcuts: Use keyboard shortcuts to quickly start, stop, and pause recordings.
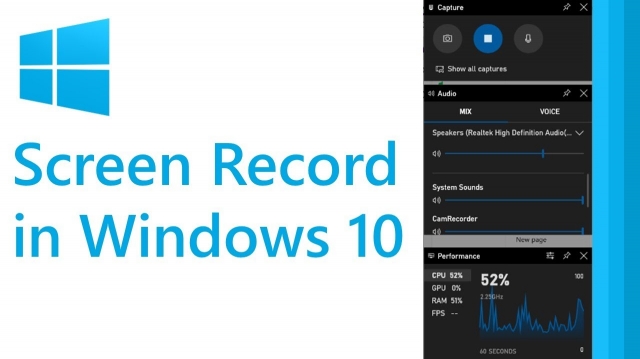
- Performance Monitoring: Monitor your system performance during recording, including frame rate and CPU usage.
Limitations of Xbox Game Bar:
- Limited Customization: Xbox Game Bar offers a basic set of recording options, with limited control over video quality and format.
- No Editing Features: The tool lacks built-in editing capabilities, requiring external video editing software for post-production.
Advanced Screen Recording Tools: Exploring Third-Party Options
For users seeking more advanced features and customization, several powerful third-party screen recording software solutions are available. These tools offer a wider array of options, including:
- High-Resolution Recording: Capture screen recordings in 4K and other high-resolution formats.
- Customizable Recording Settings: Control video quality, frame rate, and audio settings.
- Editing and Annotation Tools: Add text, shapes, and other annotations to your recordings.
- Advanced Features: Include webcam overlays, mouse highlighting, and screen splitting for enhanced clarity.
Popular Third-Party Screen Recording Software:
- OBS Studio: A free and open-source software widely used by streamers and content creators. It offers extensive customization options and supports various recording formats.
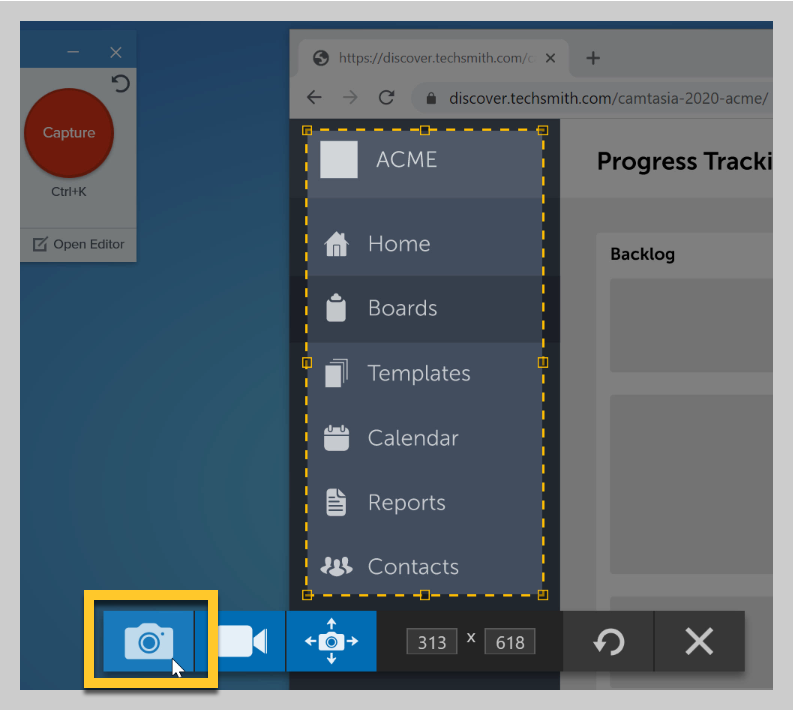
- Camtasia: A professional-grade screen recording and video editing software with a user-friendly interface and powerful features.
- Snagit: A comprehensive screen capture and recording tool known for its user-friendly interface and versatile features.
- Bandicam: A lightweight and efficient screen recorder that provides high-quality recordings and supports various video formats.
- Movavi Screen Recorder: A user-friendly screen recording software with intuitive features and a straightforward interface.
Choosing the Right Screen Recording Software:
The selection of screen recording software depends on individual needs and preferences. Consider the following factors:
- Purpose of Recording: Determine whether you require basic screen capture or advanced features for editing and customization.
- Required Features: Identify the specific features that are essential for your recording needs, such as audio recording, webcam integration, or performance monitoring.
- Budget: Consider the cost of the software, ranging from free open-source options to paid professional-grade solutions.
- Ease of Use: Choose a software with an intuitive interface and user-friendly controls.
Tips for Optimal Screen Recording in Windows 10
- Optimize System Performance: Ensure your computer has sufficient resources for smooth recording. Close unnecessary applications and programs to free up memory and processing power.
- Choose the Appropriate Resolution and Frame Rate: Select a resolution and frame rate that meet your recording needs without straining your system.
- Use a High-Quality Microphone: Invest in a good-quality microphone to ensure clear and crisp audio in your recordings.
- Minimize Distractions: Close notifications and minimize any visual clutter on your screen to maintain focus on the recording content.
- Test Recordings: Before recording anything important, perform a test recording to ensure the software is working correctly and the settings are optimal.
- Organize Recordings: Create a dedicated folder for storing your screen recordings to keep them organized and easily accessible.
Frequently Asked Questions (FAQs)
Q: What is the best way to record my screen in Windows 10?
A: The best way to record your screen in Windows 10 depends on your individual needs. For basic recording with built-in features, Xbox Game Bar is a convenient option. For advanced features and customization, third-party software like OBS Studio or Camtasia offers a wider range of possibilities.
Q: Can I record audio with my screen recording?
A: Yes, most screen recording tools allow you to capture audio from your microphone, system audio, or both. However, the specific options may vary depending on the software you are using.
Q: How do I edit my screen recordings?
A: Xbox Game Bar does not have built-in editing features. To edit your recordings, you will need to use a separate video editing software like Windows Movie Maker or Adobe Premiere Pro.
Q: Can I record my webcam alongside my screen recording?
A: Yes, many screen recording tools allow you to overlay your webcam video on the screen recording. This feature is useful for creating personalized tutorials or adding a visual element to your recordings.
Q: What are the best screen recording software options for beginners?
A: For beginners, user-friendly screen recording tools like Movavi Screen Recorder, Snagit, or Camtasia offer a good balance of features and ease of use.
Q: Can I record my screen in 4K resolution?
A: Yes, many third-party screen recording software solutions support 4K resolution recording. However, ensure your system has the necessary hardware capabilities to handle high-resolution recording.
Q: How can I optimize my screen recordings for YouTube?
A: To optimize your screen recordings for YouTube, use a video resolution of 1920×1080 (1080p) or higher, maintain a consistent frame rate of 30 frames per second (fps) or higher, and compress your video files using a suitable codec.
Conclusion
Mastering screen recording in Windows 10 is a valuable skill that unlocks a world of possibilities. Whether you’re creating educational content, documenting software development, or capturing memorable gaming moments, the tools and techniques outlined in this guide empower you to capture and share your digital experiences effectively. By understanding the different options available, choosing the right software, and applying the tips provided, you can elevate your screen recordings to new heights of clarity, engagement, and professional quality.
Closure
Thus, we hope this article has provided valuable insights into Capturing Your Screen: A Comprehensive Guide to Screen Recording in Windows 10. We appreciate your attention to our article. See you in our next article!