Capturing the Screen: A Comprehensive Guide to Snipping Tool in Windows 11
Related Articles: Capturing the Screen: A Comprehensive Guide to Snipping Tool in Windows 11
Introduction
With enthusiasm, let’s navigate through the intriguing topic related to Capturing the Screen: A Comprehensive Guide to Snipping Tool in Windows 11. Let’s weave interesting information and offer fresh perspectives to the readers.
Table of Content
Capturing the Screen: A Comprehensive Guide to Snipping Tool in Windows 11

The Snipping Tool, a staple in Windows operating systems, provides a straightforward and powerful method for capturing portions of your screen. In Windows 11, this tool has been enhanced, offering a more intuitive interface and expanded functionality. This article delves into the mechanics of the Snipping Tool in Windows 11, exploring its features, benefits, and practical applications.
Understanding the Snipping Tool’s Core Functionality
At its core, the Snipping Tool functions as a screen capture utility. It allows users to select a specific area of the screen, capture it as an image, and then save or share it. This seemingly simple process holds immense value across various scenarios, from capturing instructional content to documenting visual errors or creating quick visual notes.
The Mechanics of Snipping
The Snipping Tool utilizes a straightforward process to capture screen content:
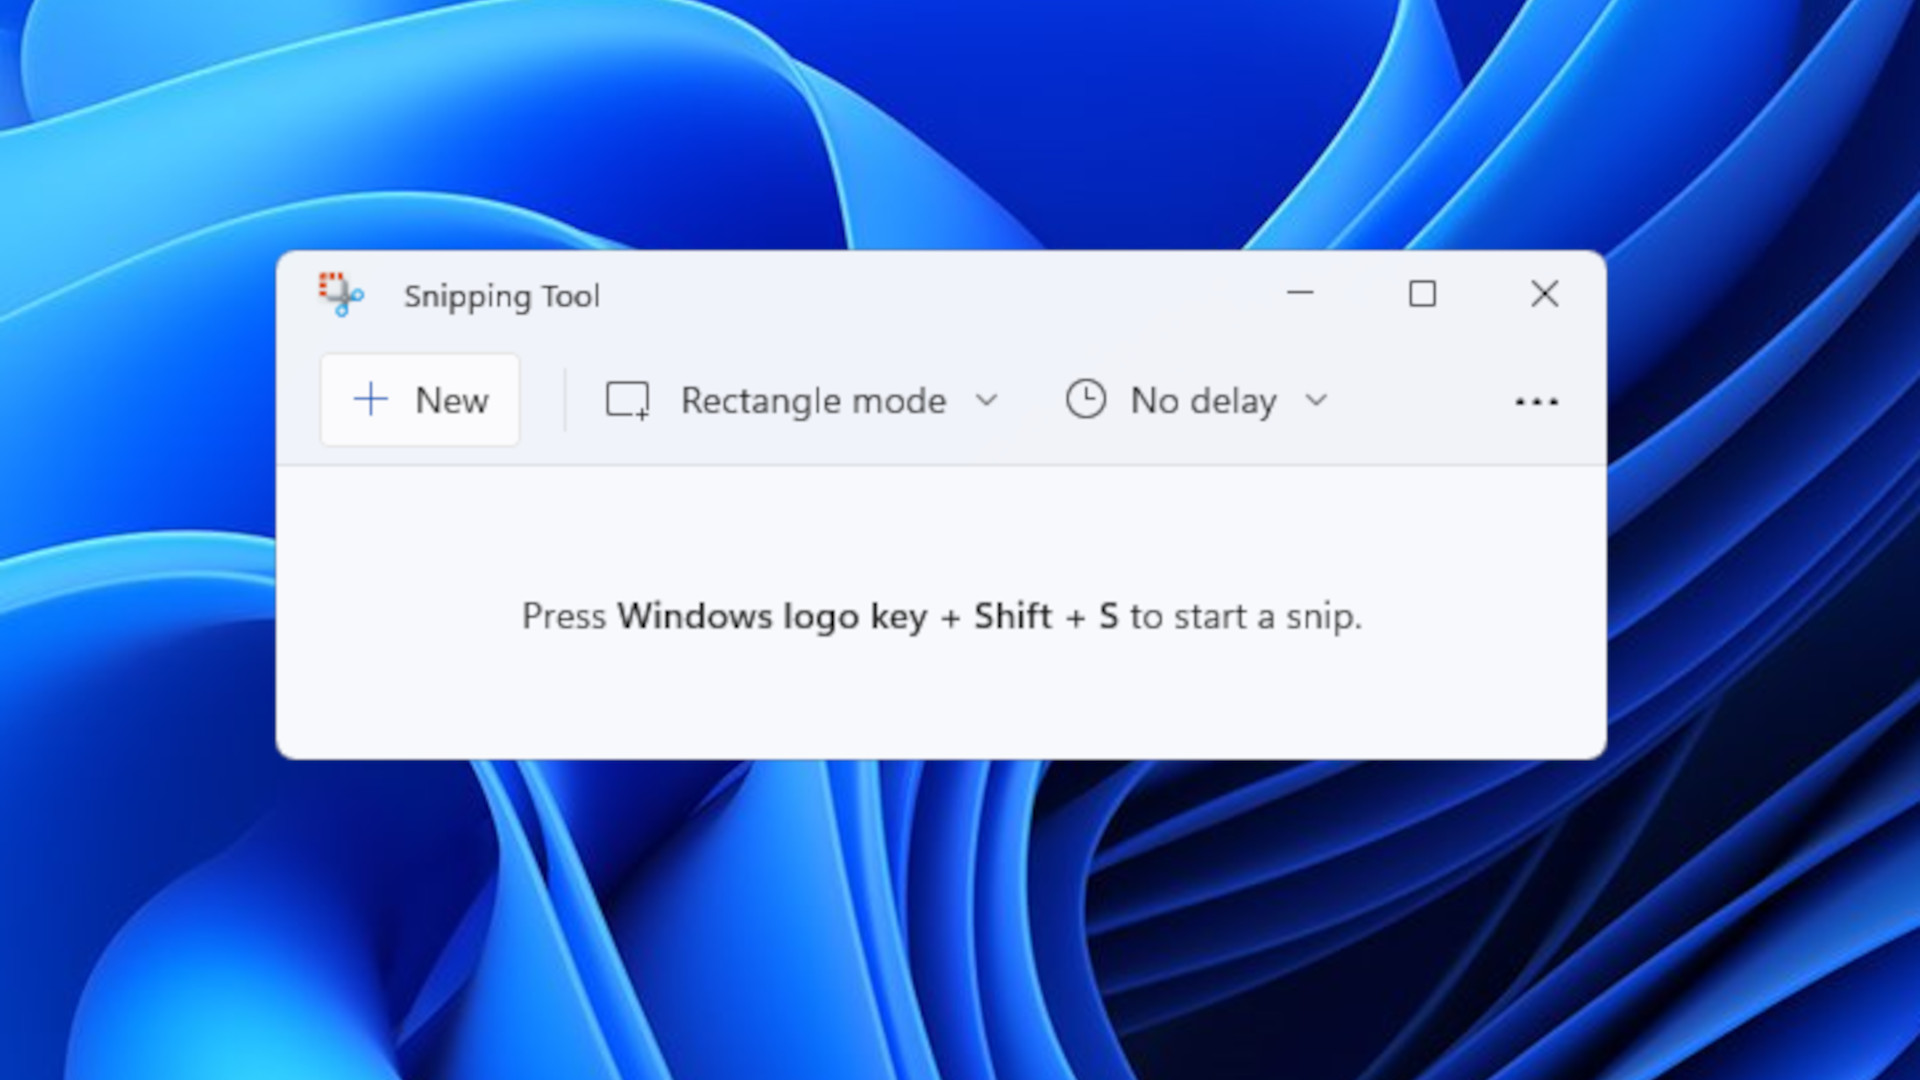
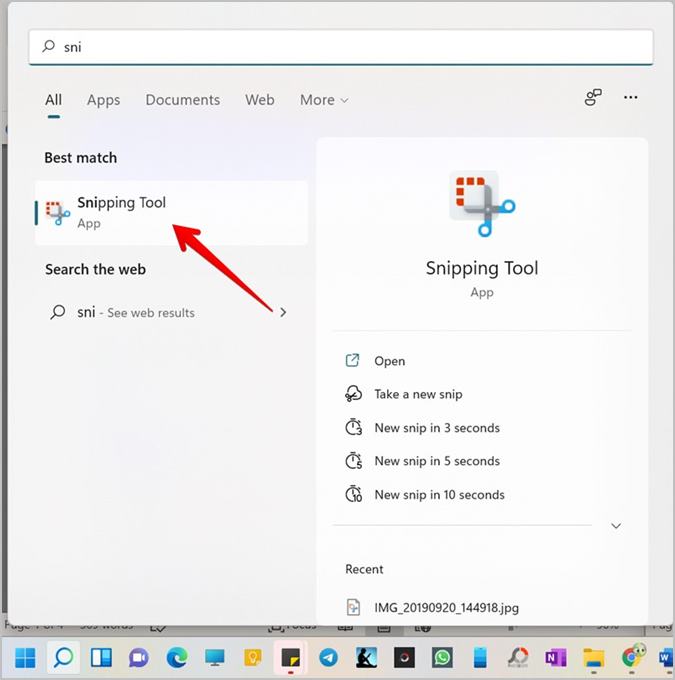
- Launch the Tool: The Snipping Tool can be accessed through the Windows search bar or by navigating to the Start Menu.
-
Selection Mode: Upon launching, the user is presented with a selection mode. This mode determines the type of capture:
- Free-form Snip: Allows users to draw a free-form shape around the desired area.
- Rectangular Snip: Enables the user to select a rectangular region by dragging the mouse.
- Window Snip: Captures the entire content of a specific window.
- Full-screen Snip: Captures the entire screen.
- Capture Initiation: After selecting the desired mode, the user clicks the "New" button to initiate the capture.
- Selection Area: The selected area becomes highlighted, and the user can adjust it as needed.
- Capture Execution: Clicking the "Save Snip" button captures the selected area and saves it as an image file.
Beyond Basic Capture: Enhanced Features in Windows 11
Windows 11 introduces several enhancements to the Snipping Tool, extending its capabilities beyond basic capture:
- Delay Option: Users can set a delay before the capture is taken, allowing time to prepare the desired content.
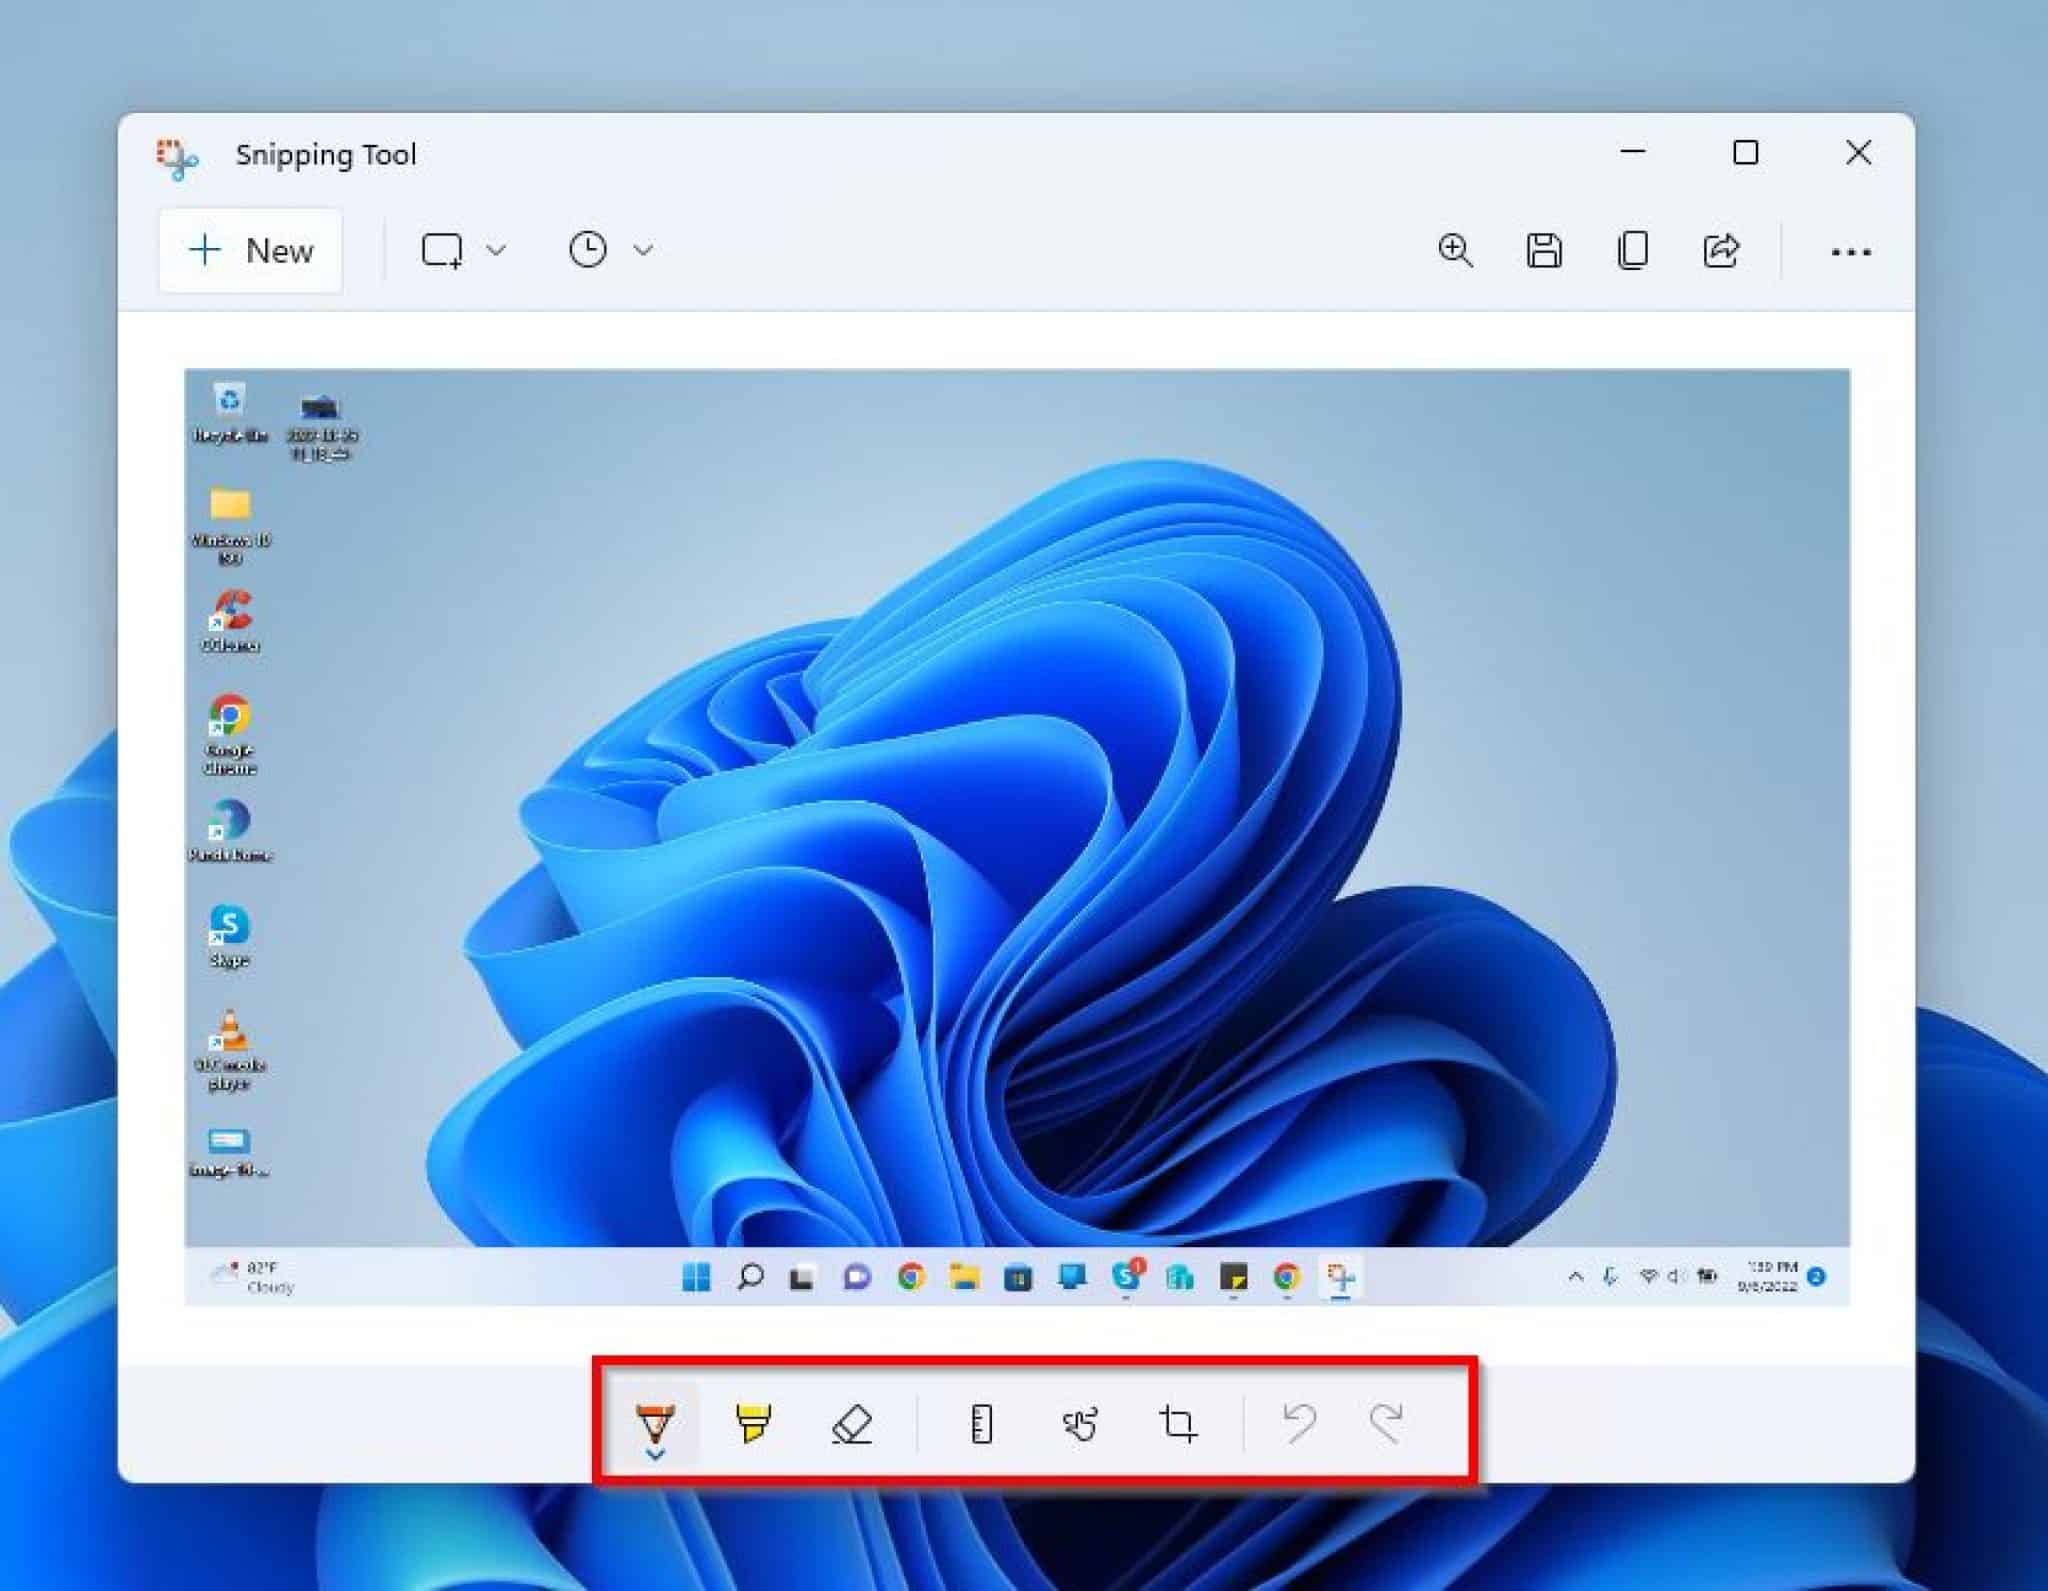
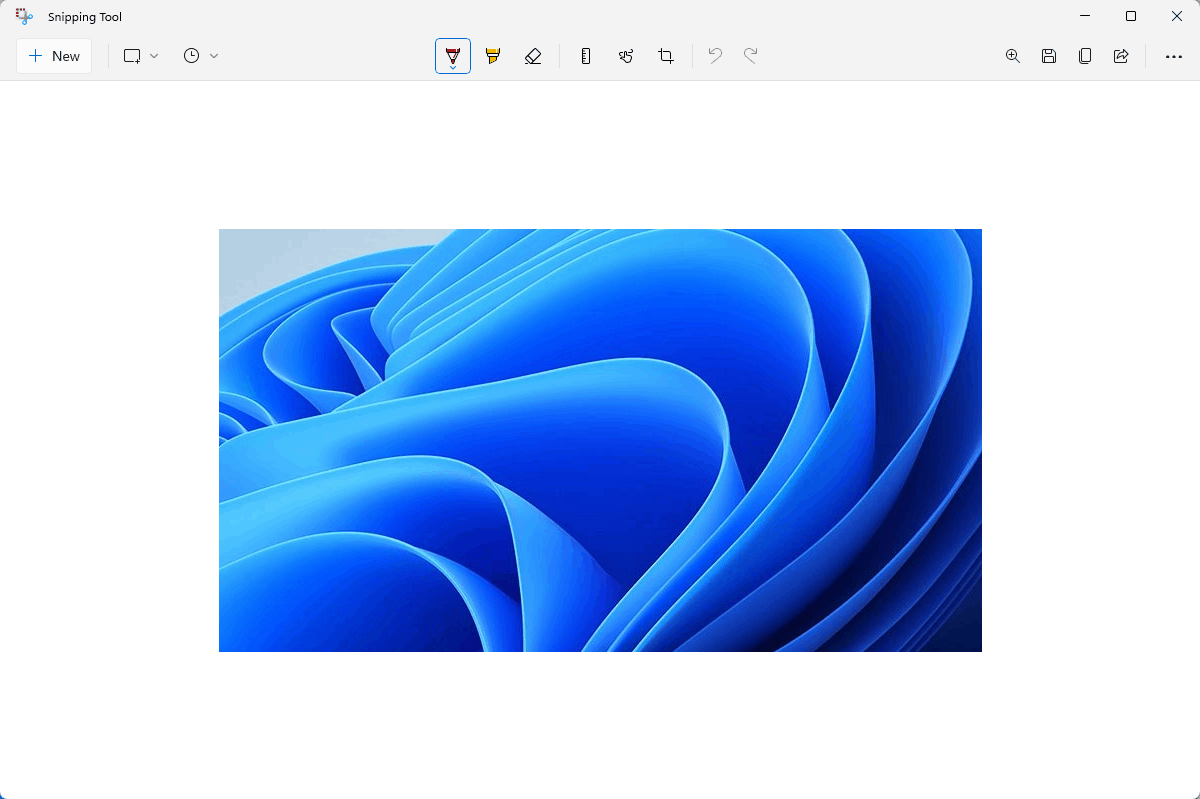
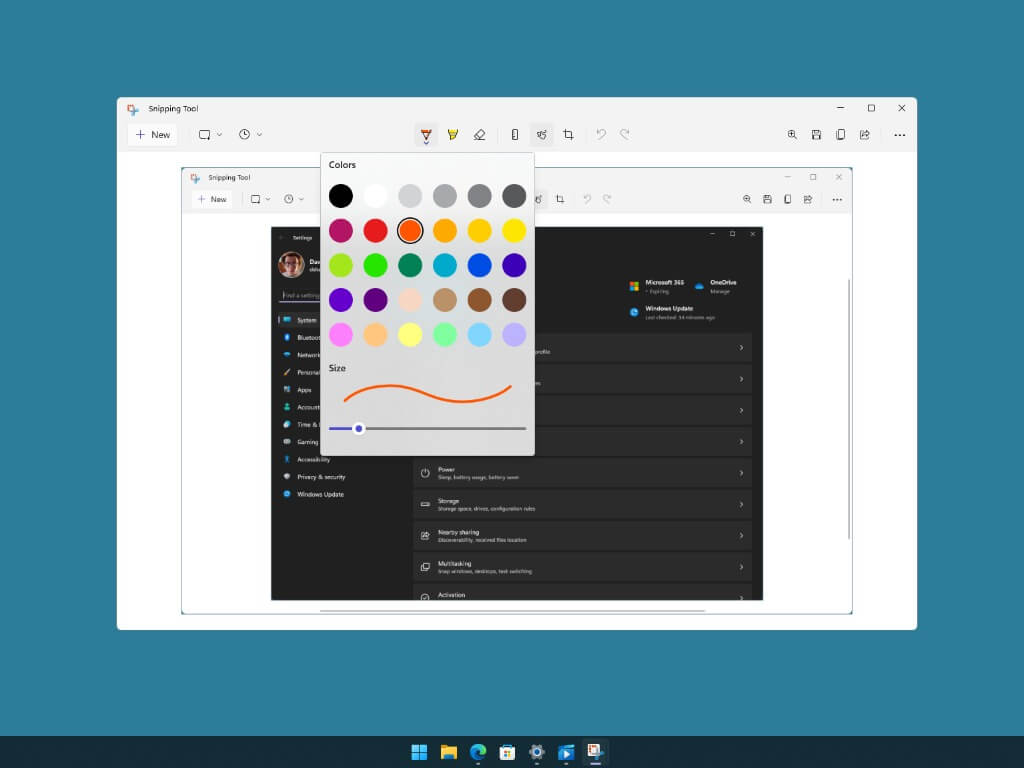
- Annotation Tools: The captured image can be annotated directly within the Snipping Tool. Users can add text, highlight areas, draw freehand, and even erase annotations.
- Direct Sharing: Captured images can be directly shared through email, social media, or other applications.
- Inking Options: The Snipping Tool offers a variety of inking options, including different pen styles, colors, and thickness.
- Clipboard Integration: Captured images can be automatically copied to the clipboard for immediate pasting into other applications.
Benefits and Applications of the Snipping Tool
The Snipping Tool’s versatility makes it a valuable tool for a wide range of tasks:
- Educational Purposes: Instructors can use it to capture specific content from presentations, web pages, or applications for sharing with students.
- Technical Support: Users facing technical issues can capture error messages, system information, or visual glitches to provide clear context when seeking support.
- Documentation: Capturing screenshots of procedures, workflows, or system configurations allows for easy documentation and sharing.
- Visual Communication: The Snipping Tool can be used to create quick visual notes, diagrams, or annotations, aiding in communication and collaboration.
- Content Creation: Designers, bloggers, or content creators can leverage the Snipping Tool to capture visual elements for use in their projects.
FAQs: Addressing Common Queries
Q1: How do I save a Snipping Tool capture?
A1: After taking a snip, click the "Save Snip" button. Choose a file name, select a location, and choose the desired image format (PNG or JPEG).
Q2: Can I edit a captured image after saving?
A2: While the Snipping Tool offers basic annotation tools, for more advanced editing, you can open the saved image in a dedicated image editing program.
Q3: Can I share a captured image directly from the Snipping Tool?
A3: Yes, Windows 11 allows you to share captured images directly through email, social media, or other applications.
Q4: What are the differences between the Snipping Tool and other screen capture tools?
A4: The Snipping Tool is a lightweight and built-in tool that provides basic capture functionality. Other screen capture tools may offer more advanced features like video recording, scheduling, or editing capabilities.
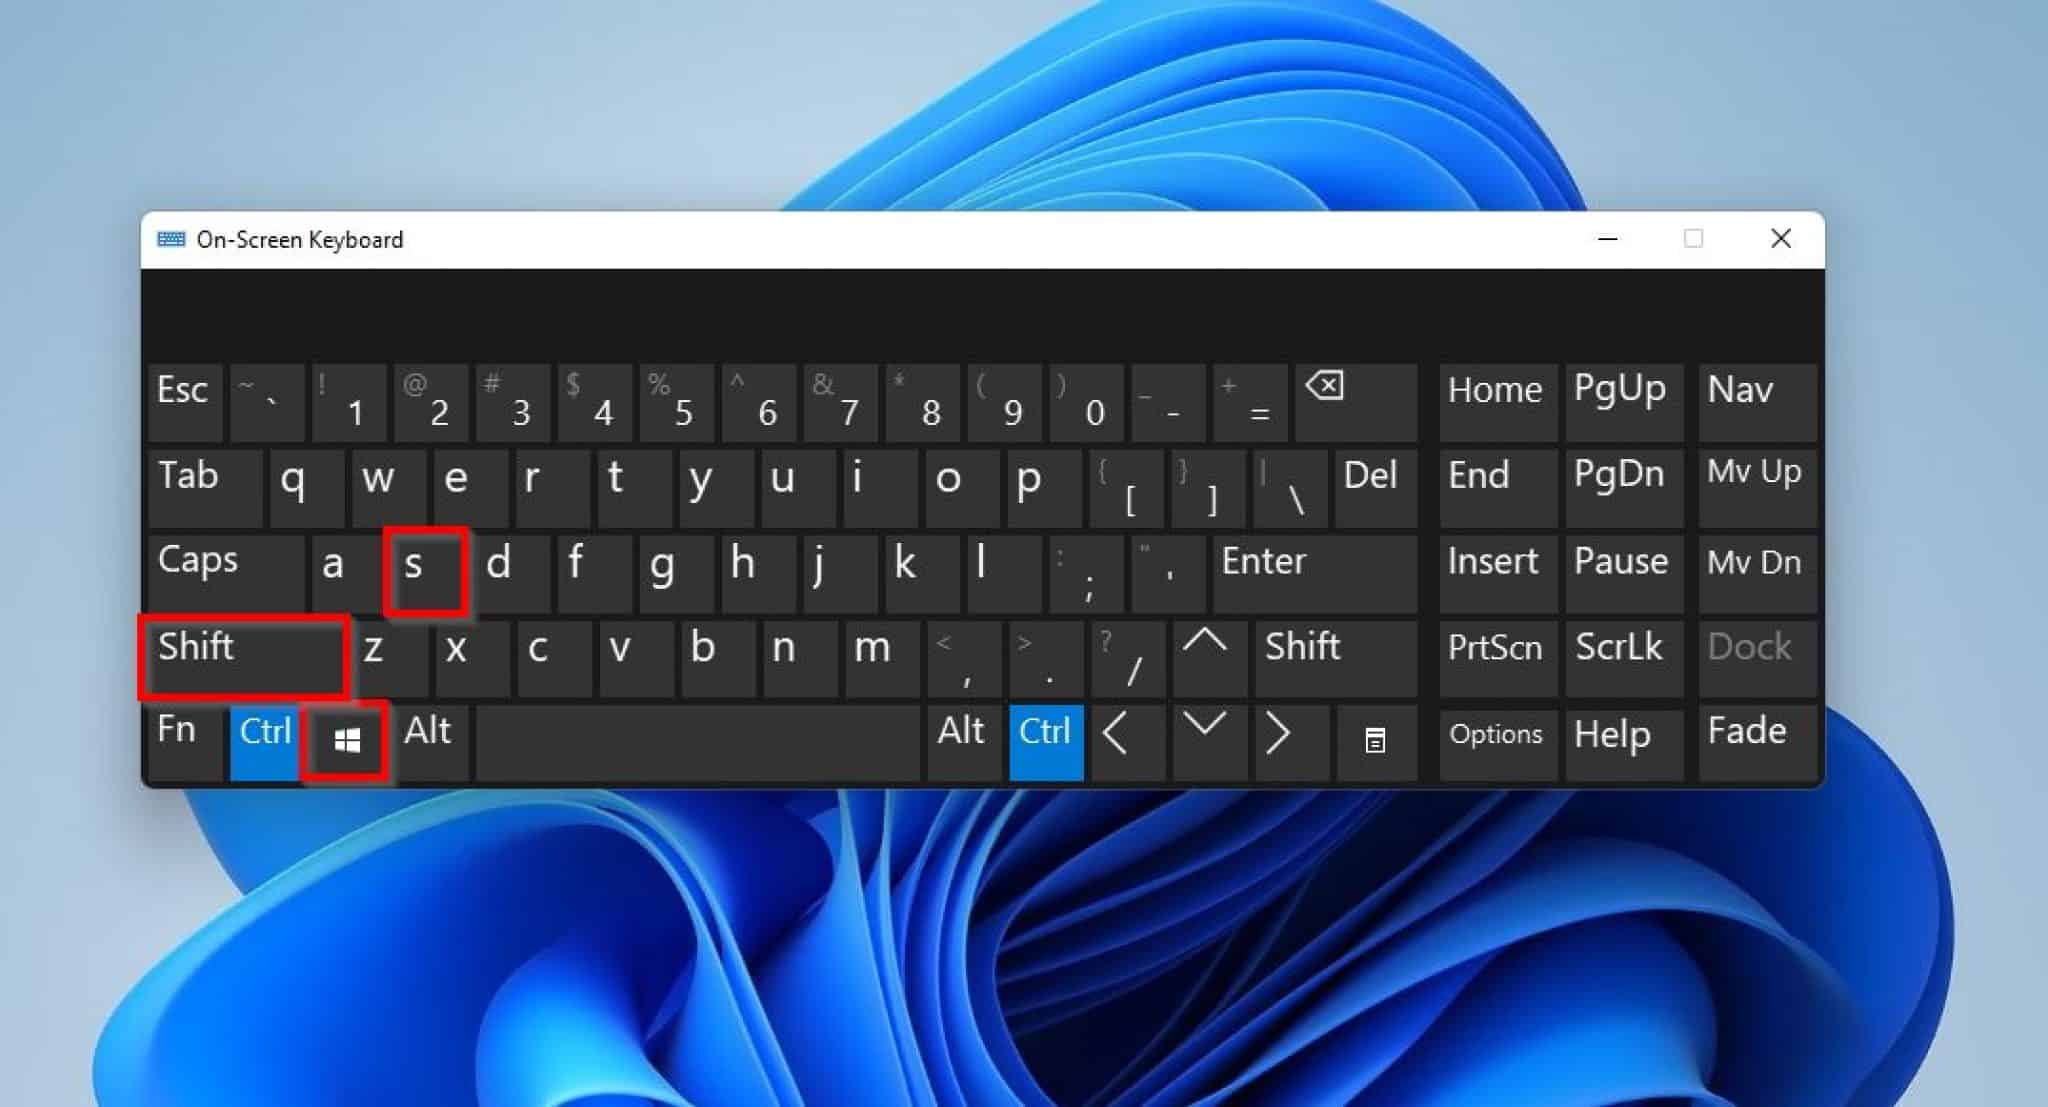
Q5: Is there a way to capture a specific area without using the mouse?
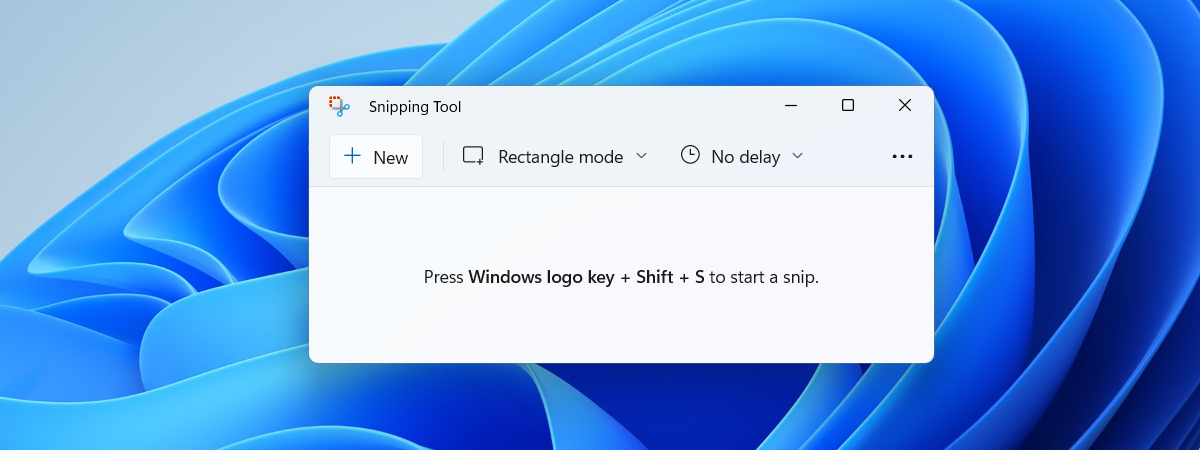
A5: Windows 11 includes keyboard shortcuts for taking snips. Use "Windows Key + Shift + S" to initiate a snip, then select the desired area using the keyboard arrow keys.
Tips for Effective Snipping
- Maximize Window: Before capturing a window, maximize it to ensure the entire content is captured.
- Use the Delay Option: For capturing dynamic content, such as a scrolling webpage, use the delay option to ensure everything is captured.
- Experiment with Annotation Tools: Explore the various annotation tools to add clarity and context to your captures.
- Save in High-Quality Format: Choose PNG format for lossless image quality, especially for technical documentation or images requiring precise detail.
- Consider Alternative Tools: For advanced capture needs, explore dedicated screen capture software that offers more features and customization options.
Conclusion: The Snipping Tool’s Enduring Value
The Snipping Tool in Windows 11 remains a valuable and versatile tool for capturing and sharing screen content. Its user-friendly interface, enhanced features, and seamless integration within the Windows ecosystem make it a powerful asset for a wide range of tasks. Whether for educational purposes, technical support, documentation, or creative projects, the Snipping Tool continues to be a cornerstone of productivity and communication in the digital age.

Closure
Thus, we hope this article has provided valuable insights into Capturing the Screen: A Comprehensive Guide to Snipping Tool in Windows 11. We appreciate your attention to our article. See you in our next article!