A Comprehensive Guide to Installing Windows 11 64-bit: From ISO to Operation
Related Articles: A Comprehensive Guide to Installing Windows 11 64-bit: From ISO to Operation
Introduction
With great pleasure, we will explore the intriguing topic related to A Comprehensive Guide to Installing Windows 11 64-bit: From ISO to Operation. Let’s weave interesting information and offer fresh perspectives to the readers.
Table of Content
A Comprehensive Guide to Installing Windows 11 64-bit: From ISO to Operation
Windows 11, the latest iteration of Microsoft’s flagship operating system, offers a range of new features and enhancements. For those seeking a fresh installation or an upgrade from previous versions, understanding the process of obtaining and installing Windows 11 64-bit is crucial. This guide provides a detailed explanation of the process, starting with acquiring the necessary installation files and culminating in a fully functional Windows 11 system.
Understanding the ISO Image
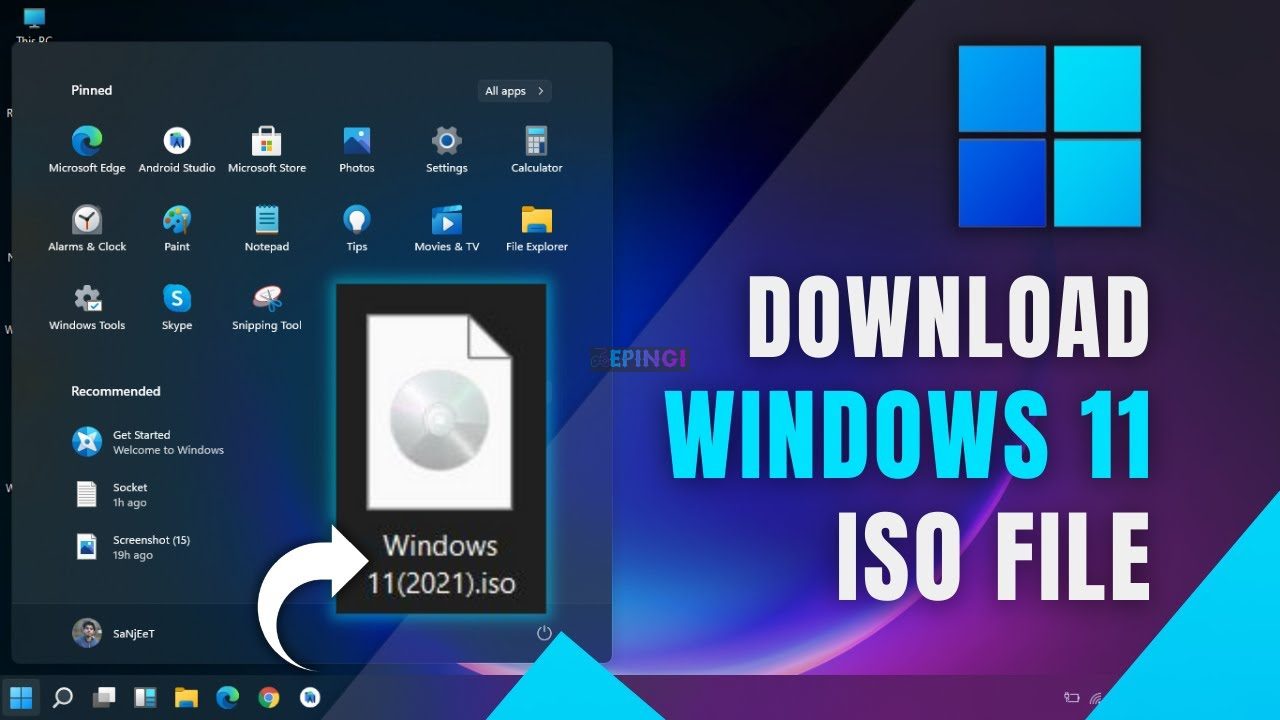
The foundation of a fresh Windows 11 installation lies in the ISO image. An ISO file is a digital representation of a bootable disc, containing all the necessary data to install the operating system. The Windows 11 64-bit ISO specifically refers to the version designed for computers with 64-bit processors. This version leverages the increased processing power and memory capabilities of modern hardware, delivering enhanced performance and compatibility with a wider range of applications.
Obtaining the Windows 11 64-bit ISO Image
There are two primary methods for obtaining the Windows 11 64-bit ISO image:
-
Direct Download from Microsoft: The official source for the Windows 11 ISO is the Microsoft website. To download the ISO, navigate to the official download page and follow the on-screen instructions. You will need to provide a valid product key or select the appropriate edition for your needs.
-
Using the Media Creation Tool: Microsoft offers a dedicated tool called the Media Creation Tool, designed to simplify the process of creating bootable installation media. This tool can be downloaded from the Microsoft website and allows users to create a USB drive or DVD containing the Windows 11 64-bit ISO.
Preparing for Installation
Before initiating the installation process, it is crucial to ensure your system meets the minimum requirements for Windows 11. These requirements encompass factors like processor compatibility, RAM capacity, storage space, and display resolution. It is highly recommended to review the official Microsoft documentation for the most up-to-date system requirements.
Additionally, it is prudent to back up your existing data before proceeding with the installation. This precautionary step helps safeguard your personal files and settings in case of unforeseen issues during the installation process.
Installing Windows 11 64-bit
Once you have the Windows 11 64-bit ISO image and have backed up your data, you can proceed with the installation:
-
Create a Bootable USB Drive: If you downloaded the ISO image, you will need to create a bootable USB drive. This can be done using a tool like Rufus or the Windows USB/DVD Download Tool. Follow the instructions provided by the tool to create a bootable USB drive with the Windows 11 64-bit ISO image.
-
Boot from the USB Drive: Restart your computer and enter the BIOS or UEFI settings. Configure the boot order to prioritize the USB drive as the first boot device. Save the changes and exit the BIOS. Your computer should now boot from the USB drive.
-
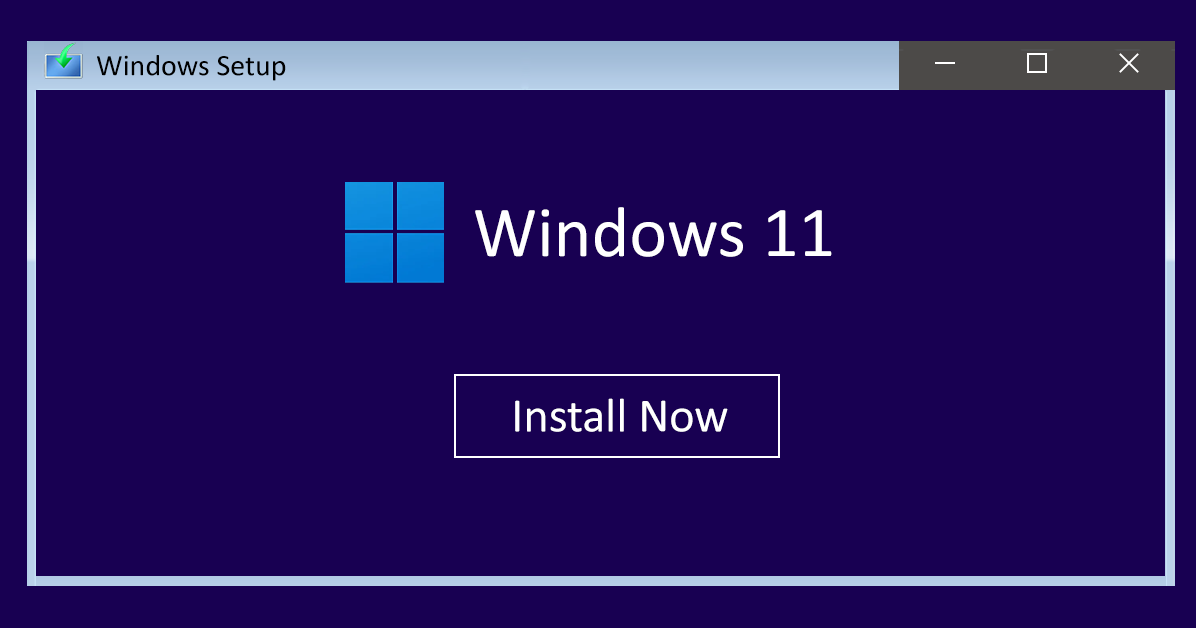
Follow the Installation Wizard: The Windows 11 installation wizard will guide you through the installation process. Select your language, region, and keyboard layout. Accept the license terms and choose the type of installation (clean install or upgrade).
-
Partition and Format the Hard Drive: If performing a clean install, you will need to partition and format your hard drive. This step allows you to allocate specific space for the Windows 11 installation.
-
Install Windows 11: The installation process will begin, copying files and configuring the operating system. This process may take some time, depending on your system’s hardware and the size of the installation files.
-
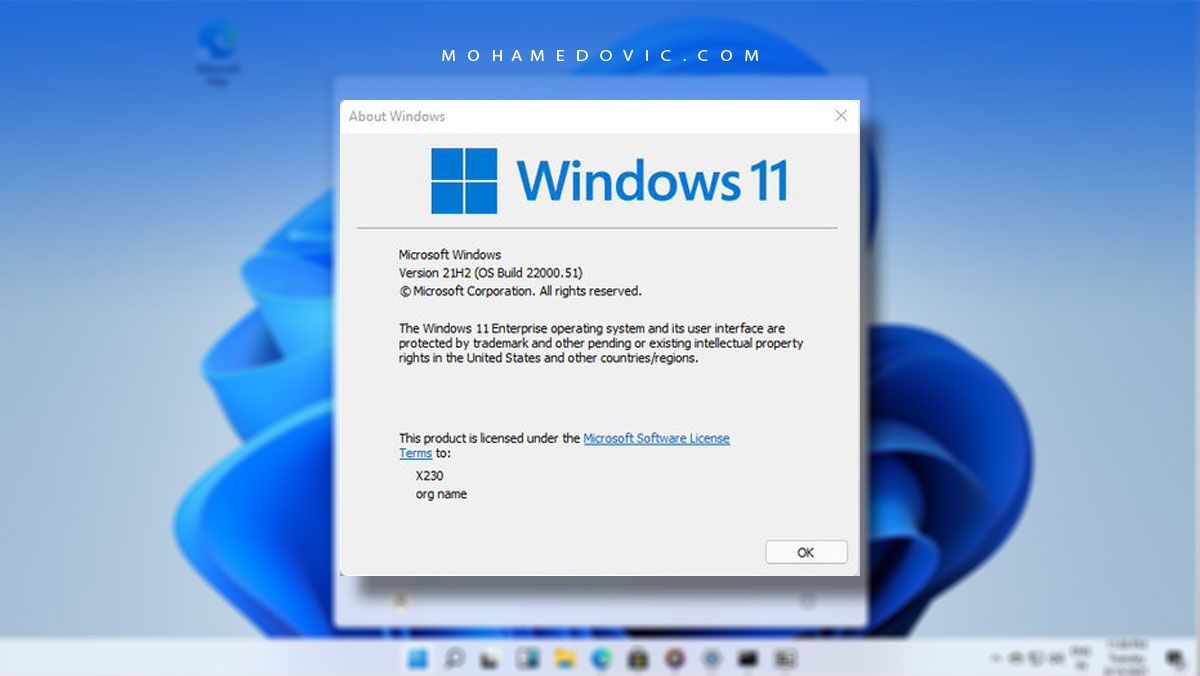
Activate Windows 11: Once the installation is complete, you will need to activate Windows 11. This can be done using a valid product key or by selecting the appropriate edition during the installation process.
-
Customize and Configure: After activation, you can customize your Windows 11 experience by configuring settings like user accounts, network connections, and personal preferences.
Troubleshooting Common Installation Issues
While the installation process is generally straightforward, certain issues can arise. Here are some common troubleshooting tips:
- Boot Order: Ensure that the USB drive is set as the primary boot device in the BIOS/UEFI settings.
- Compatibility Issues: Check that your system meets the minimum hardware requirements for Windows 11.
- Driver Errors: If you encounter driver errors, try updating your drivers after the installation is complete.
- Network Issues: Verify that your network connection is stable and that you have internet access during the installation process.
- Product Key: Ensure that you have a valid product key and that it is entered correctly during the activation process.
Benefits of Installing Windows 11 64-bit
Installing Windows 11 64-bit offers several benefits:
- Enhanced Performance: The 64-bit architecture allows for greater processing power and memory utilization, resulting in smoother performance and faster application execution.
- Improved Security: Windows 11 incorporates advanced security features, including hardware-based security measures and enhanced protection against malware and phishing attacks.
- Modern User Interface: The new user interface in Windows 11 is sleek and intuitive, with a focus on simplicity and user-friendliness.
- Enhanced Features: Windows 11 introduces new features like the redesigned Start menu, improved multitasking capabilities, and a more integrated cloud experience.
- Increased Compatibility: The 64-bit architecture supports a wider range of applications and drivers, ensuring compatibility with the latest software and hardware.
Frequently Asked Questions
Q: What are the minimum system requirements for Windows 11 64-bit?
A: The minimum requirements include a 1 GHz or faster processor with 2 or more cores, 4 GB of RAM, 64 GB of storage space, and a display with a resolution of at least 1280 x 720 pixels. It is recommended to consult the official Microsoft documentation for the most up-to-date requirements.
Q: Can I upgrade from Windows 10 to Windows 11 64-bit?
A: While Microsoft offers an upgrade path from Windows 10 to Windows 11, it is important to note that not all Windows 10 systems are eligible for the upgrade. It is recommended to check the compatibility of your system before attempting the upgrade.
Q: What is the difference between the Home and Pro editions of Windows 11?
A: The Windows 11 Home edition is designed for personal use, while the Pro edition offers additional features for business and enterprise users. These features include support for domain joining, BitLocker encryption, and remote desktop access.
Q: Can I install Windows 11 on a virtual machine?
A: Yes, you can install Windows 11 on a virtual machine. Virtualization software like VMware Workstation or Oracle VirtualBox allows you to run Windows 11 in a virtual environment, providing a sandboxed environment for testing and development.
Q: How do I activate Windows 11?
A: Windows 11 can be activated using a valid product key. You can purchase a product key from Microsoft or from authorized retailers. Alternatively, you can choose the appropriate edition during the installation process, which may include a free trial period.
Tips for a Successful Installation
- Back up your data: Always back up your data before proceeding with the installation, as this will help you recover your files in case of unforeseen issues.
- Check compatibility: Ensure that your system meets the minimum requirements for Windows 11 and that your hardware is compatible.
- Use a bootable USB drive: Creating a bootable USB drive with the Windows 11 64-bit ISO image is the most reliable method for installing the operating system.
- Follow the installation wizard: The installation wizard provides clear instructions and guidance throughout the installation process.
- Update your drivers: After the installation is complete, update your drivers to ensure optimal performance and compatibility with your hardware.
- Activate Windows 11: Activate your copy of Windows 11 using a valid product key or by selecting the appropriate edition during the installation process.
Conclusion
Installing Windows 11 64-bit involves obtaining the necessary installation files, preparing your system, and following the guided installation process. By understanding the steps involved and adhering to best practices, users can successfully install Windows 11 and enjoy its enhanced features and performance. Remember to back up your data, verify system compatibility, and update your drivers after installation for a smooth and successful experience. With a little preparation and attention to detail, you can seamlessly transition to the latest version of Windows.
![How To Install Windows 11 ISO [Developer Preview]: 3 Working Methods!](https://i0.wp.com/en.mohamedovic.com/wp-content/uploads/2021/06/Install-Windows-11-Guide.jpg)


![[Graphic Guide]: What’s Windows 11 & How to Install Windows 11? - MiniTool](https://www.minitool.com/images/uploads/news/2021/06/install-windows-11/install-windows-11-1.png)

Closure
Thus, we hope this article has provided valuable insights into A Comprehensive Guide to Installing Windows 11 64-bit: From ISO to Operation. We hope you find this article informative and beneficial. See you in our next article!